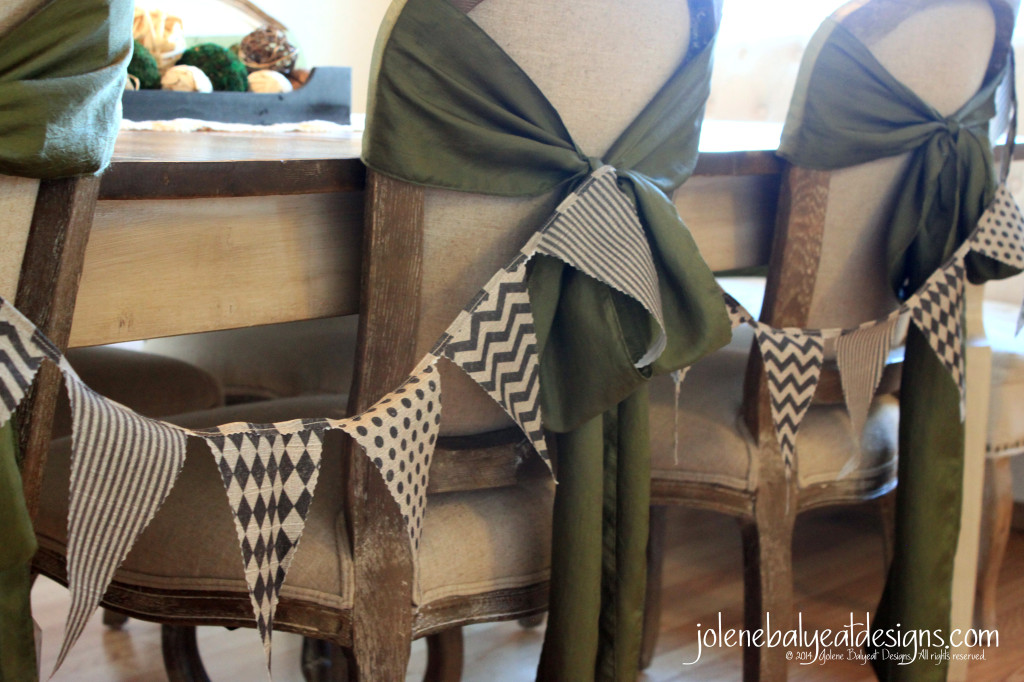
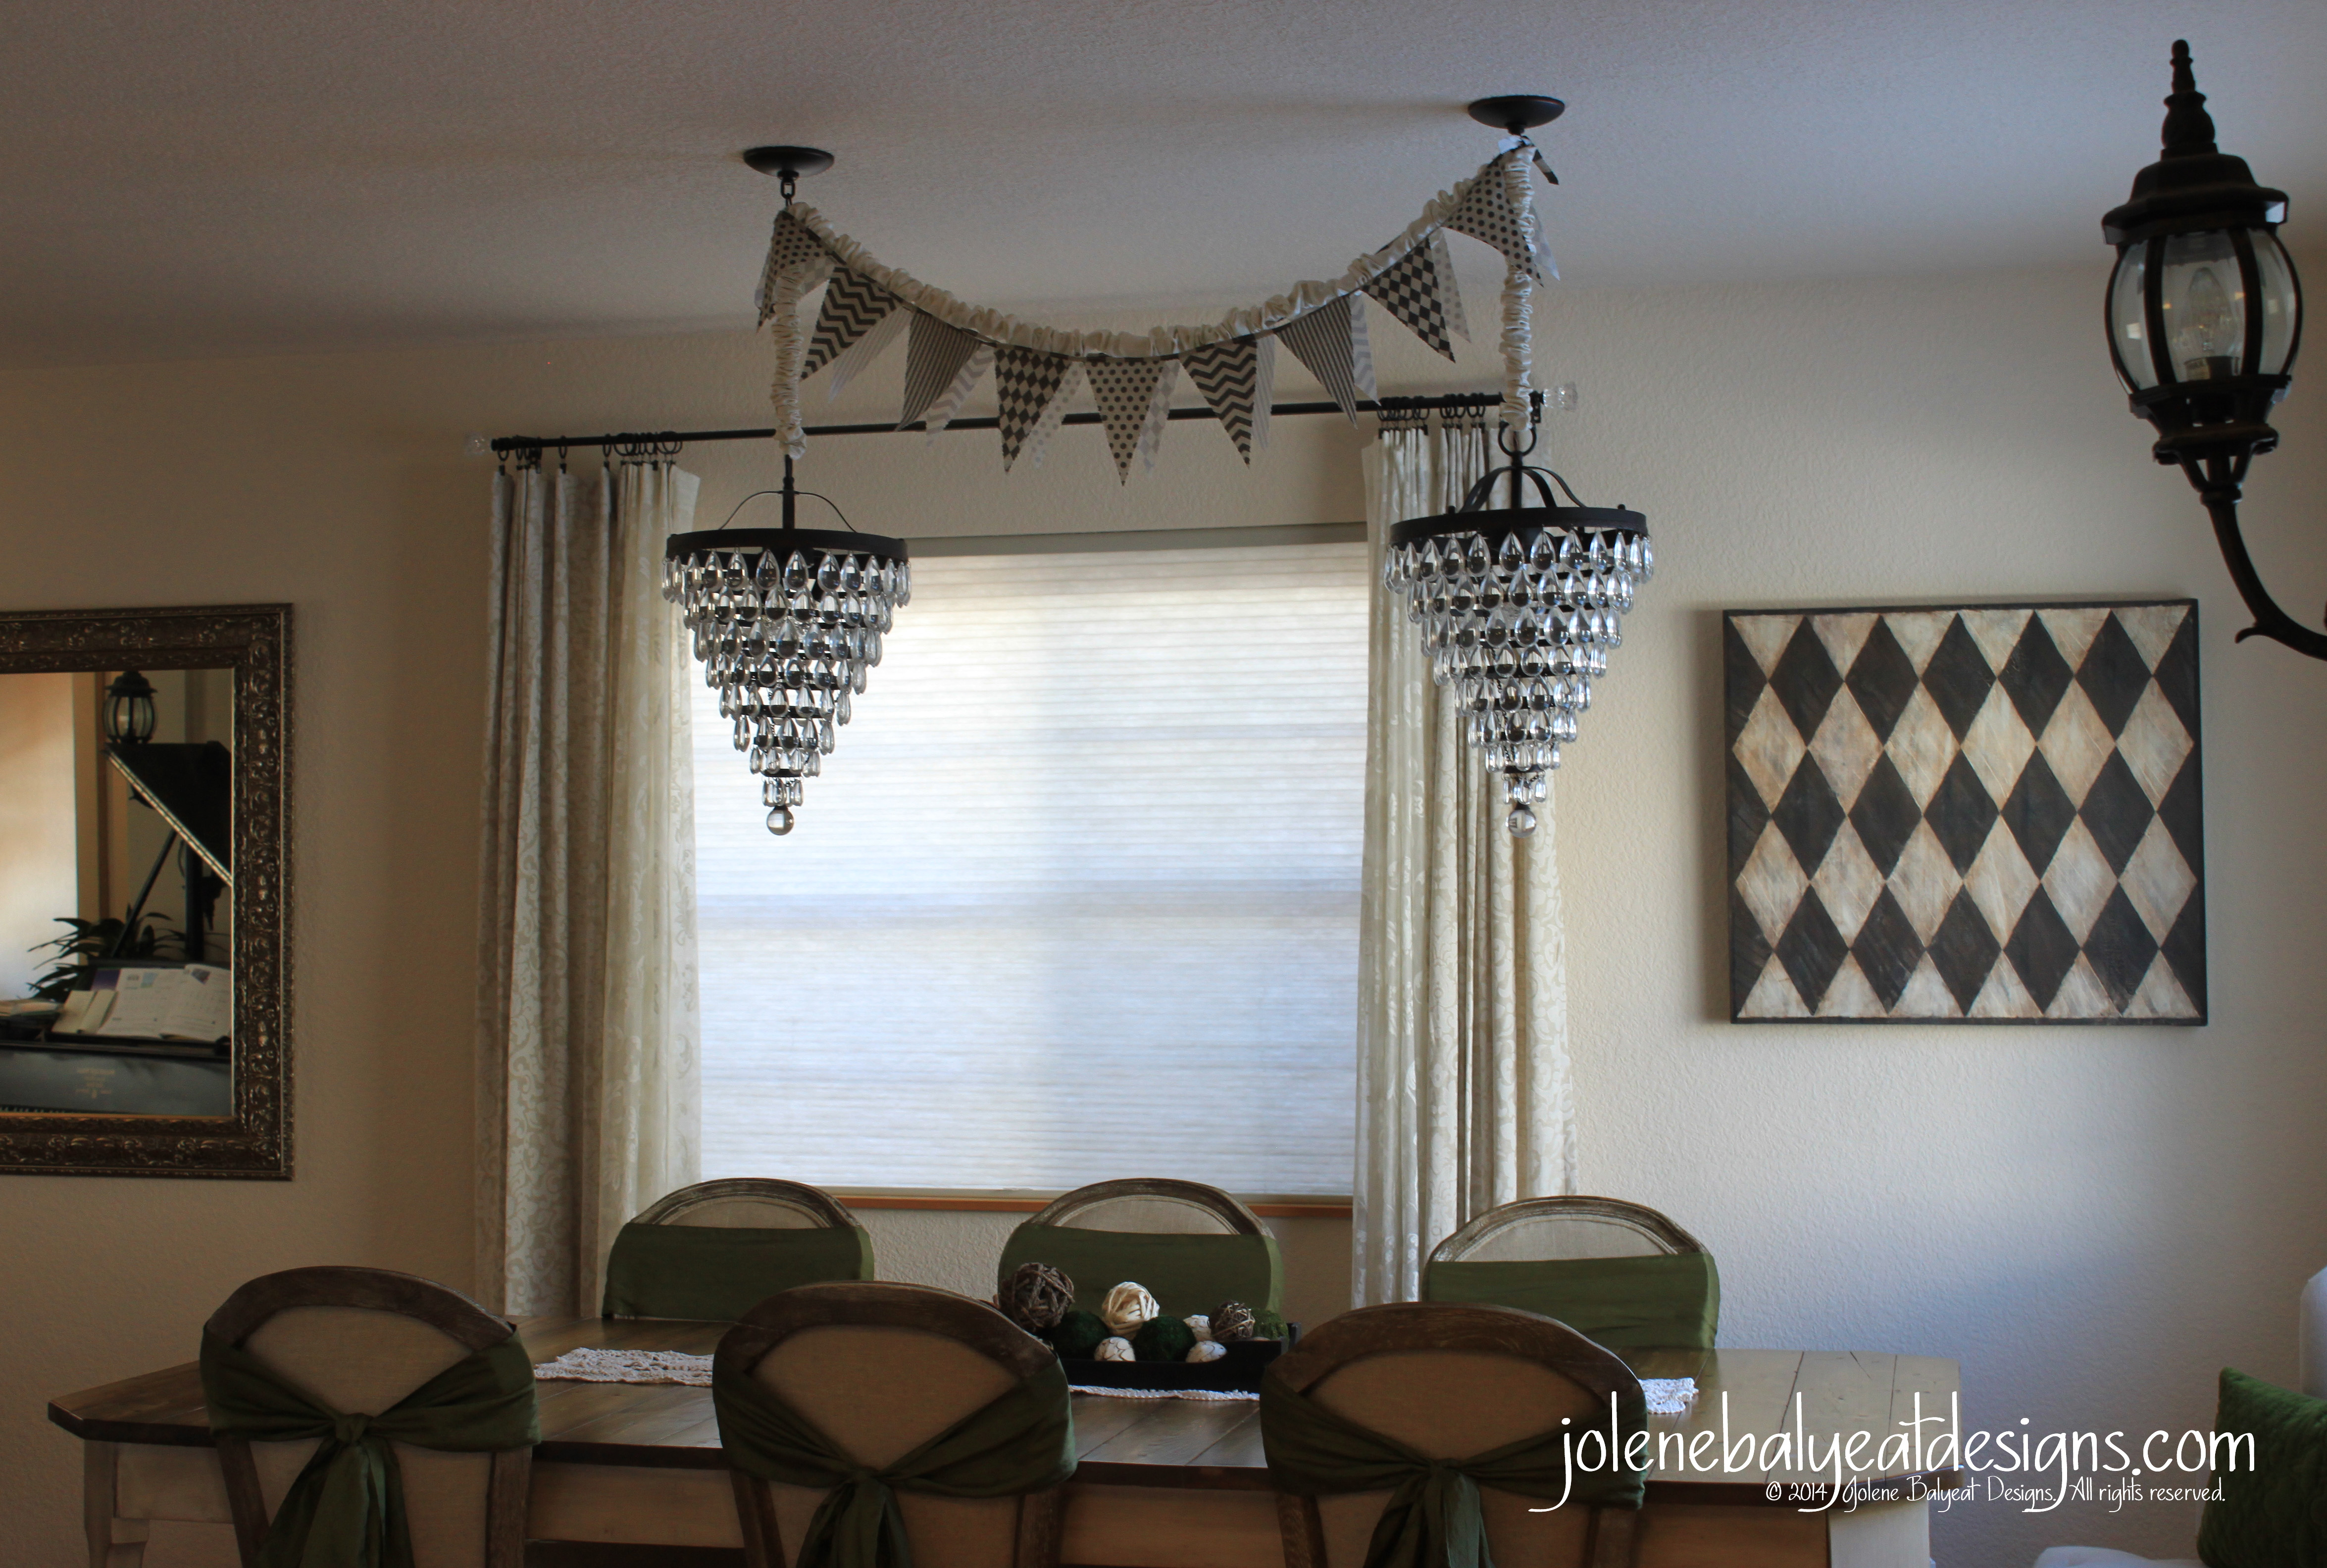
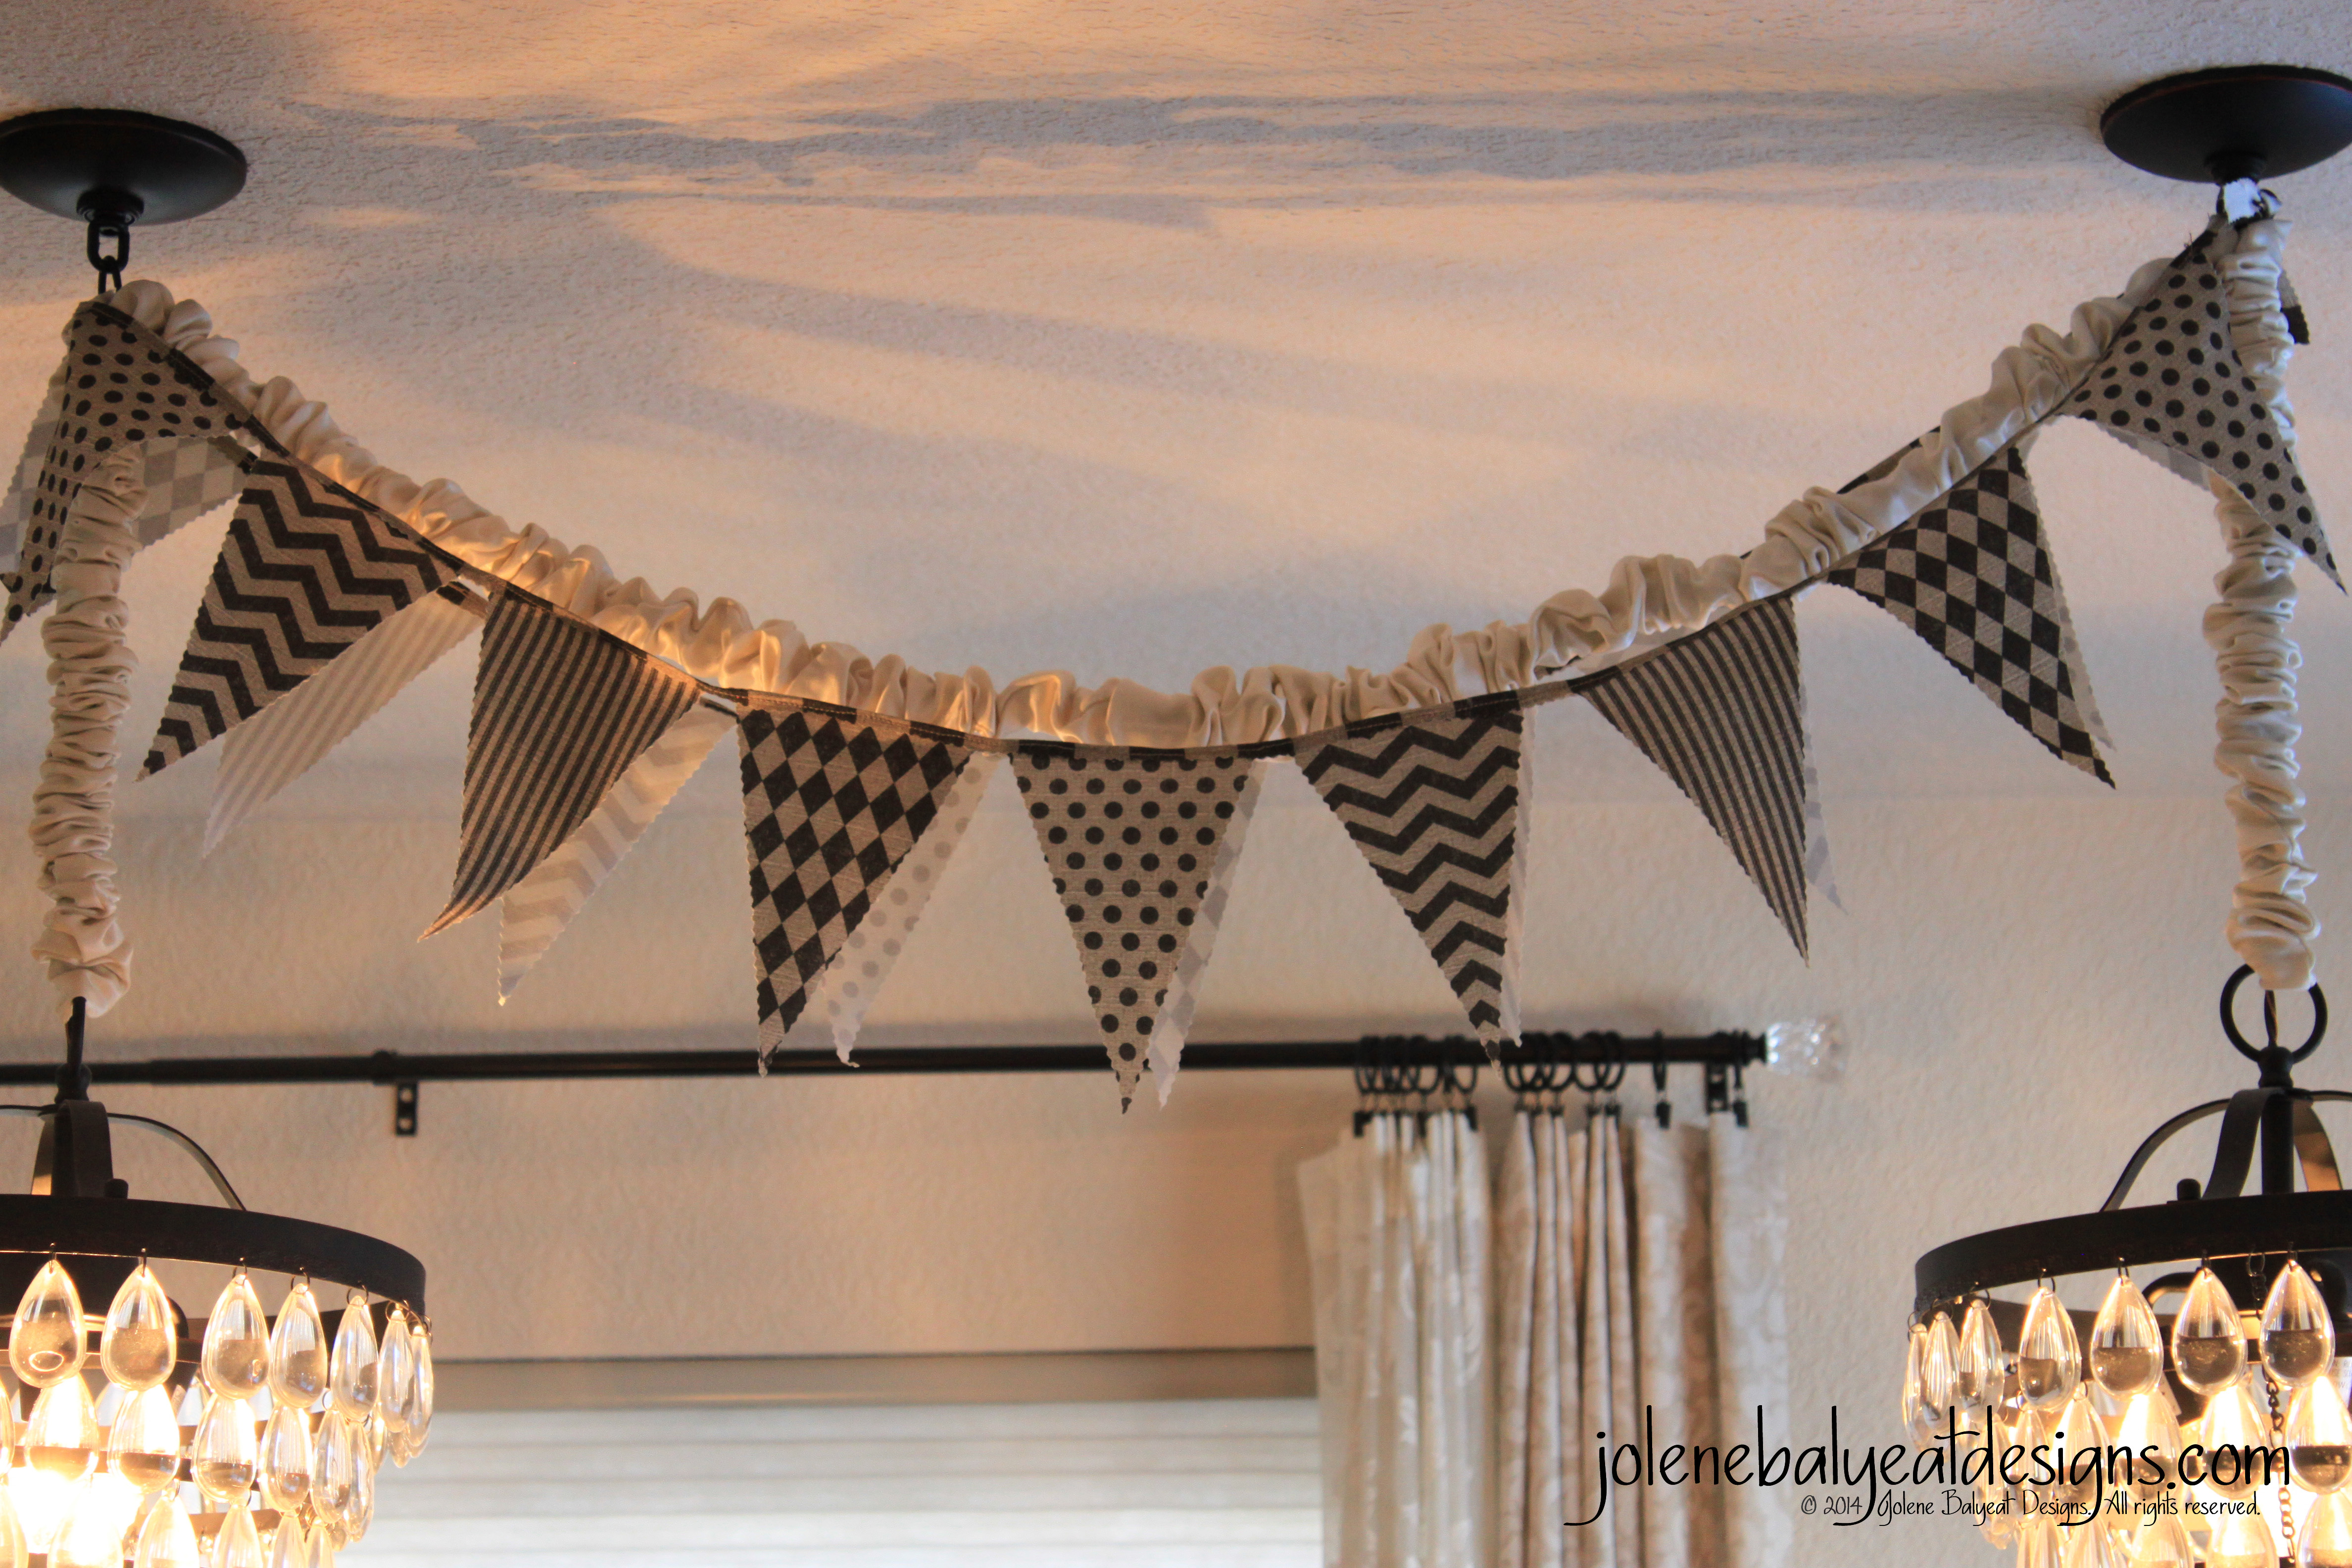
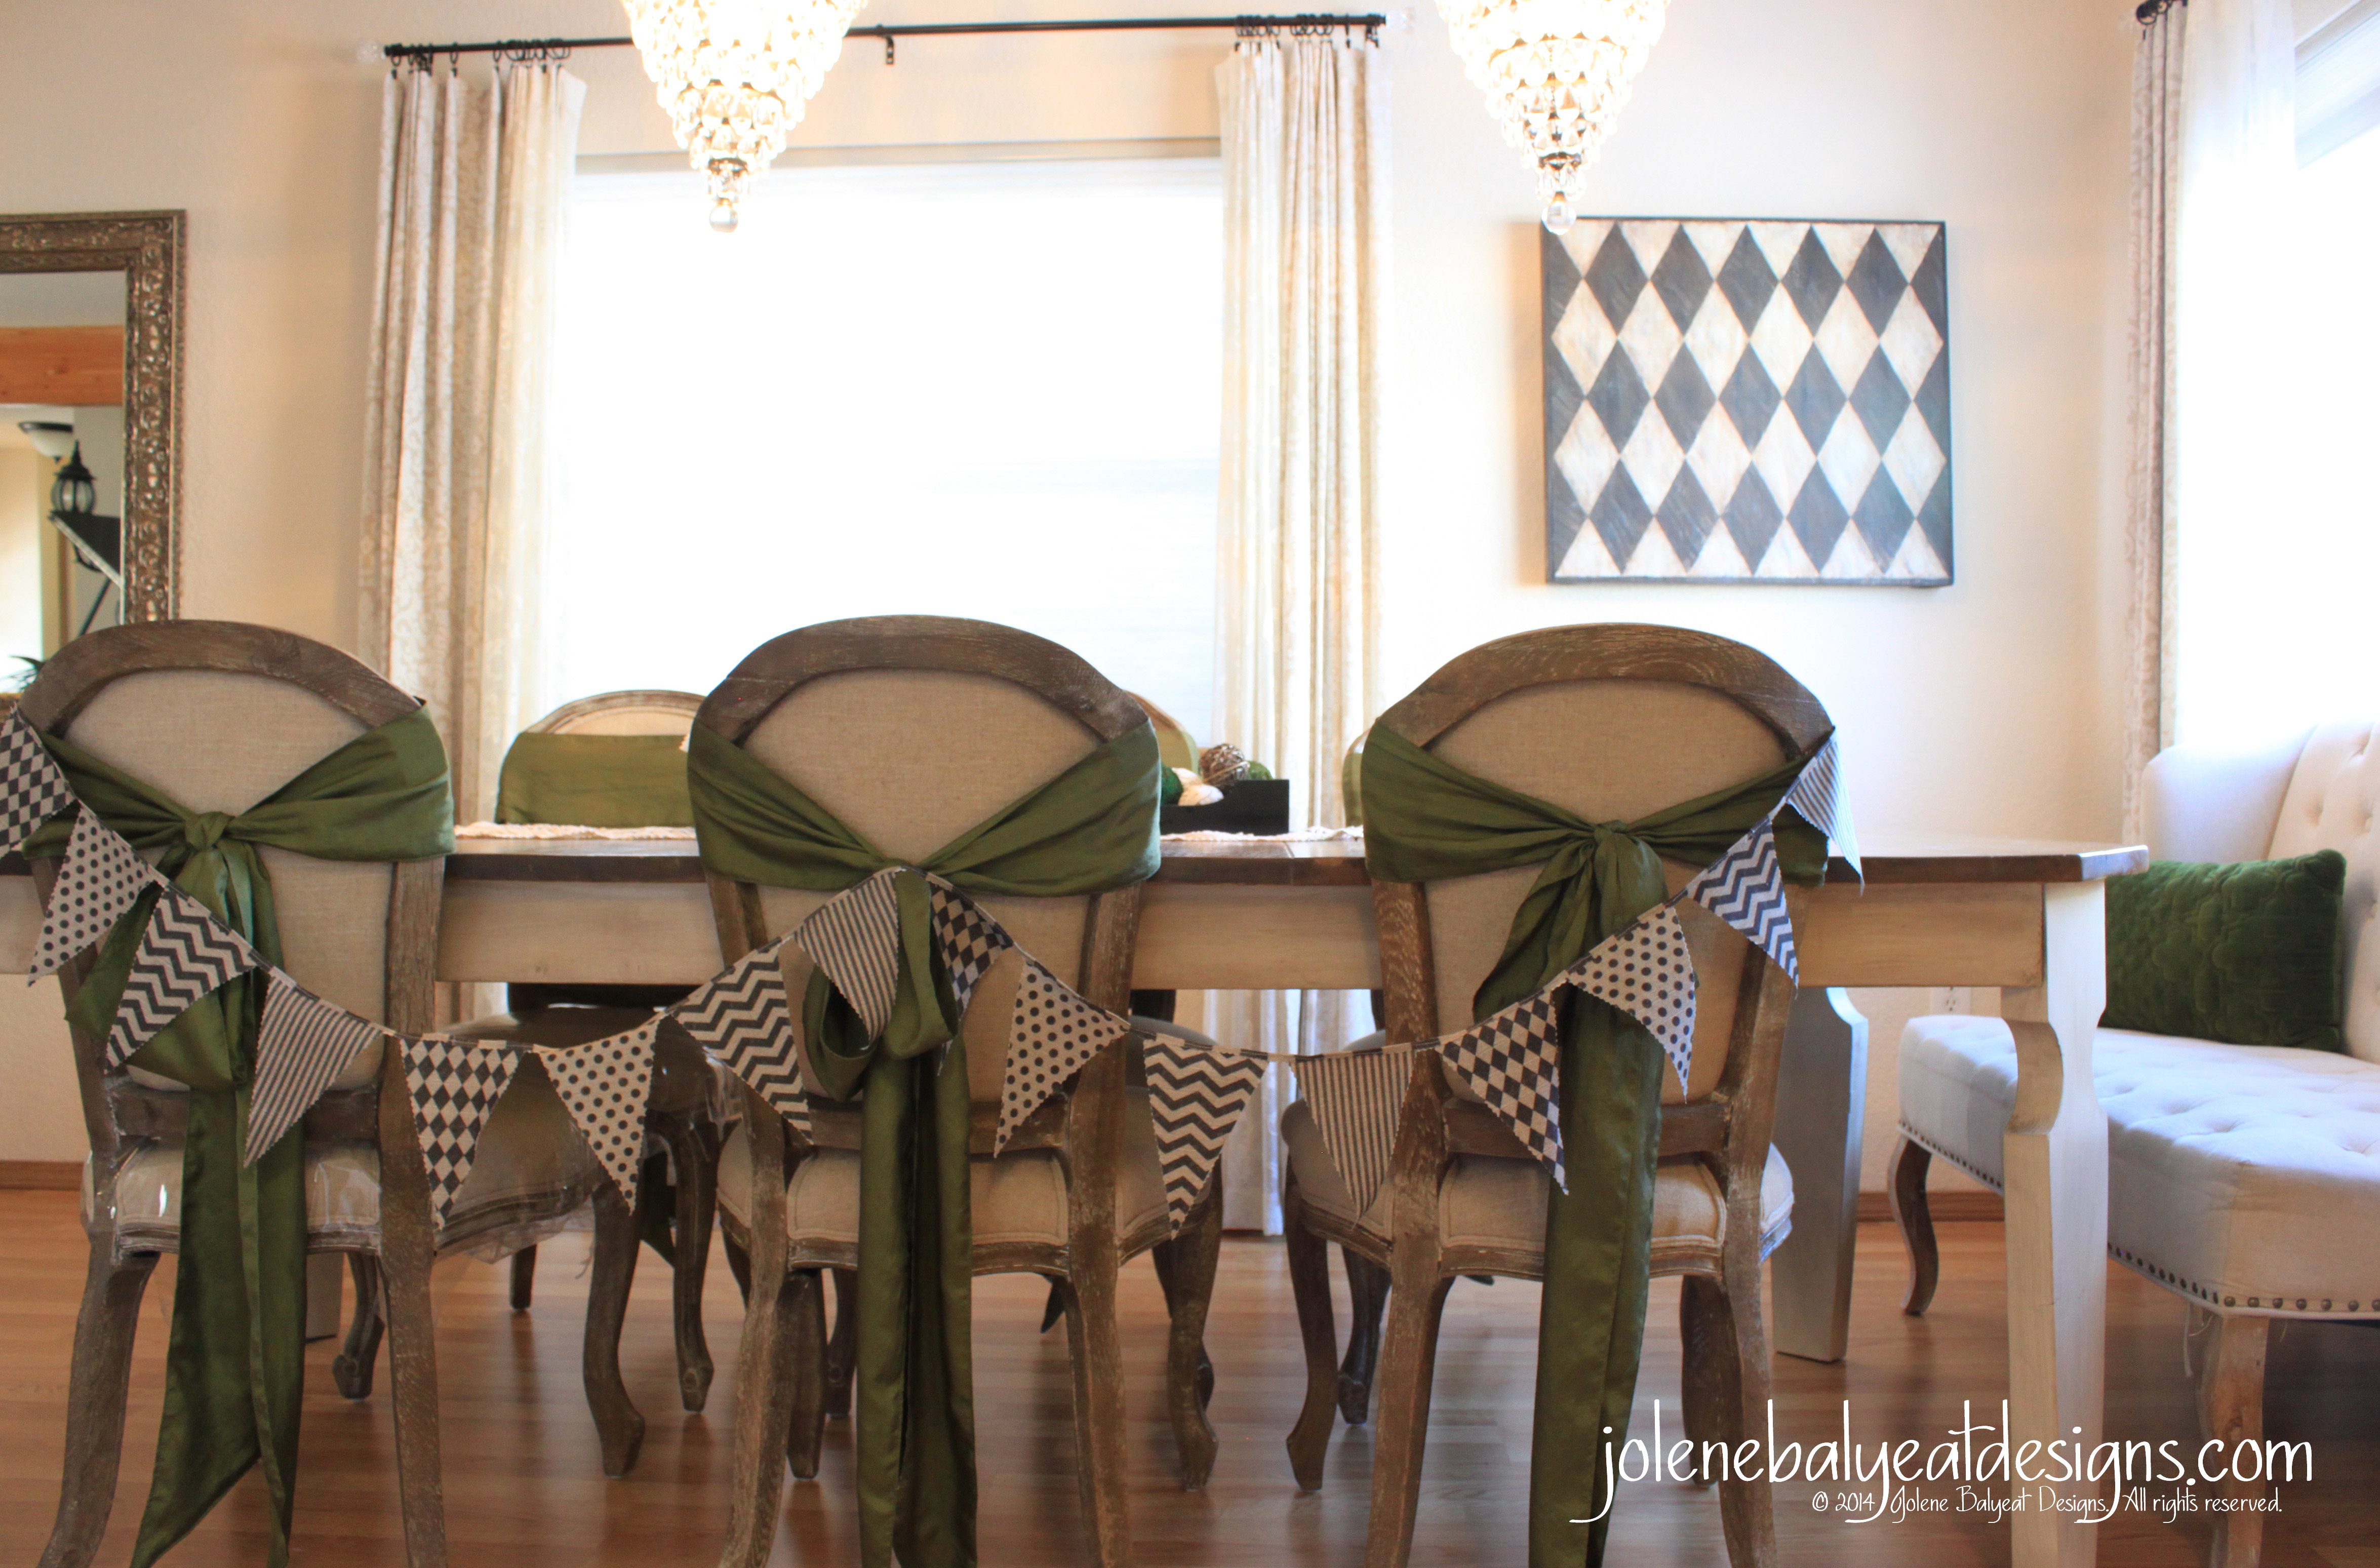
In anticipation of spring, and the season of weddings bound to follow soon after, here is an easy tutorial for some celebratory flag bunting! My excitement for this project is due in part to the foot of fresh snow covering the view outside my window…Come on Spring!
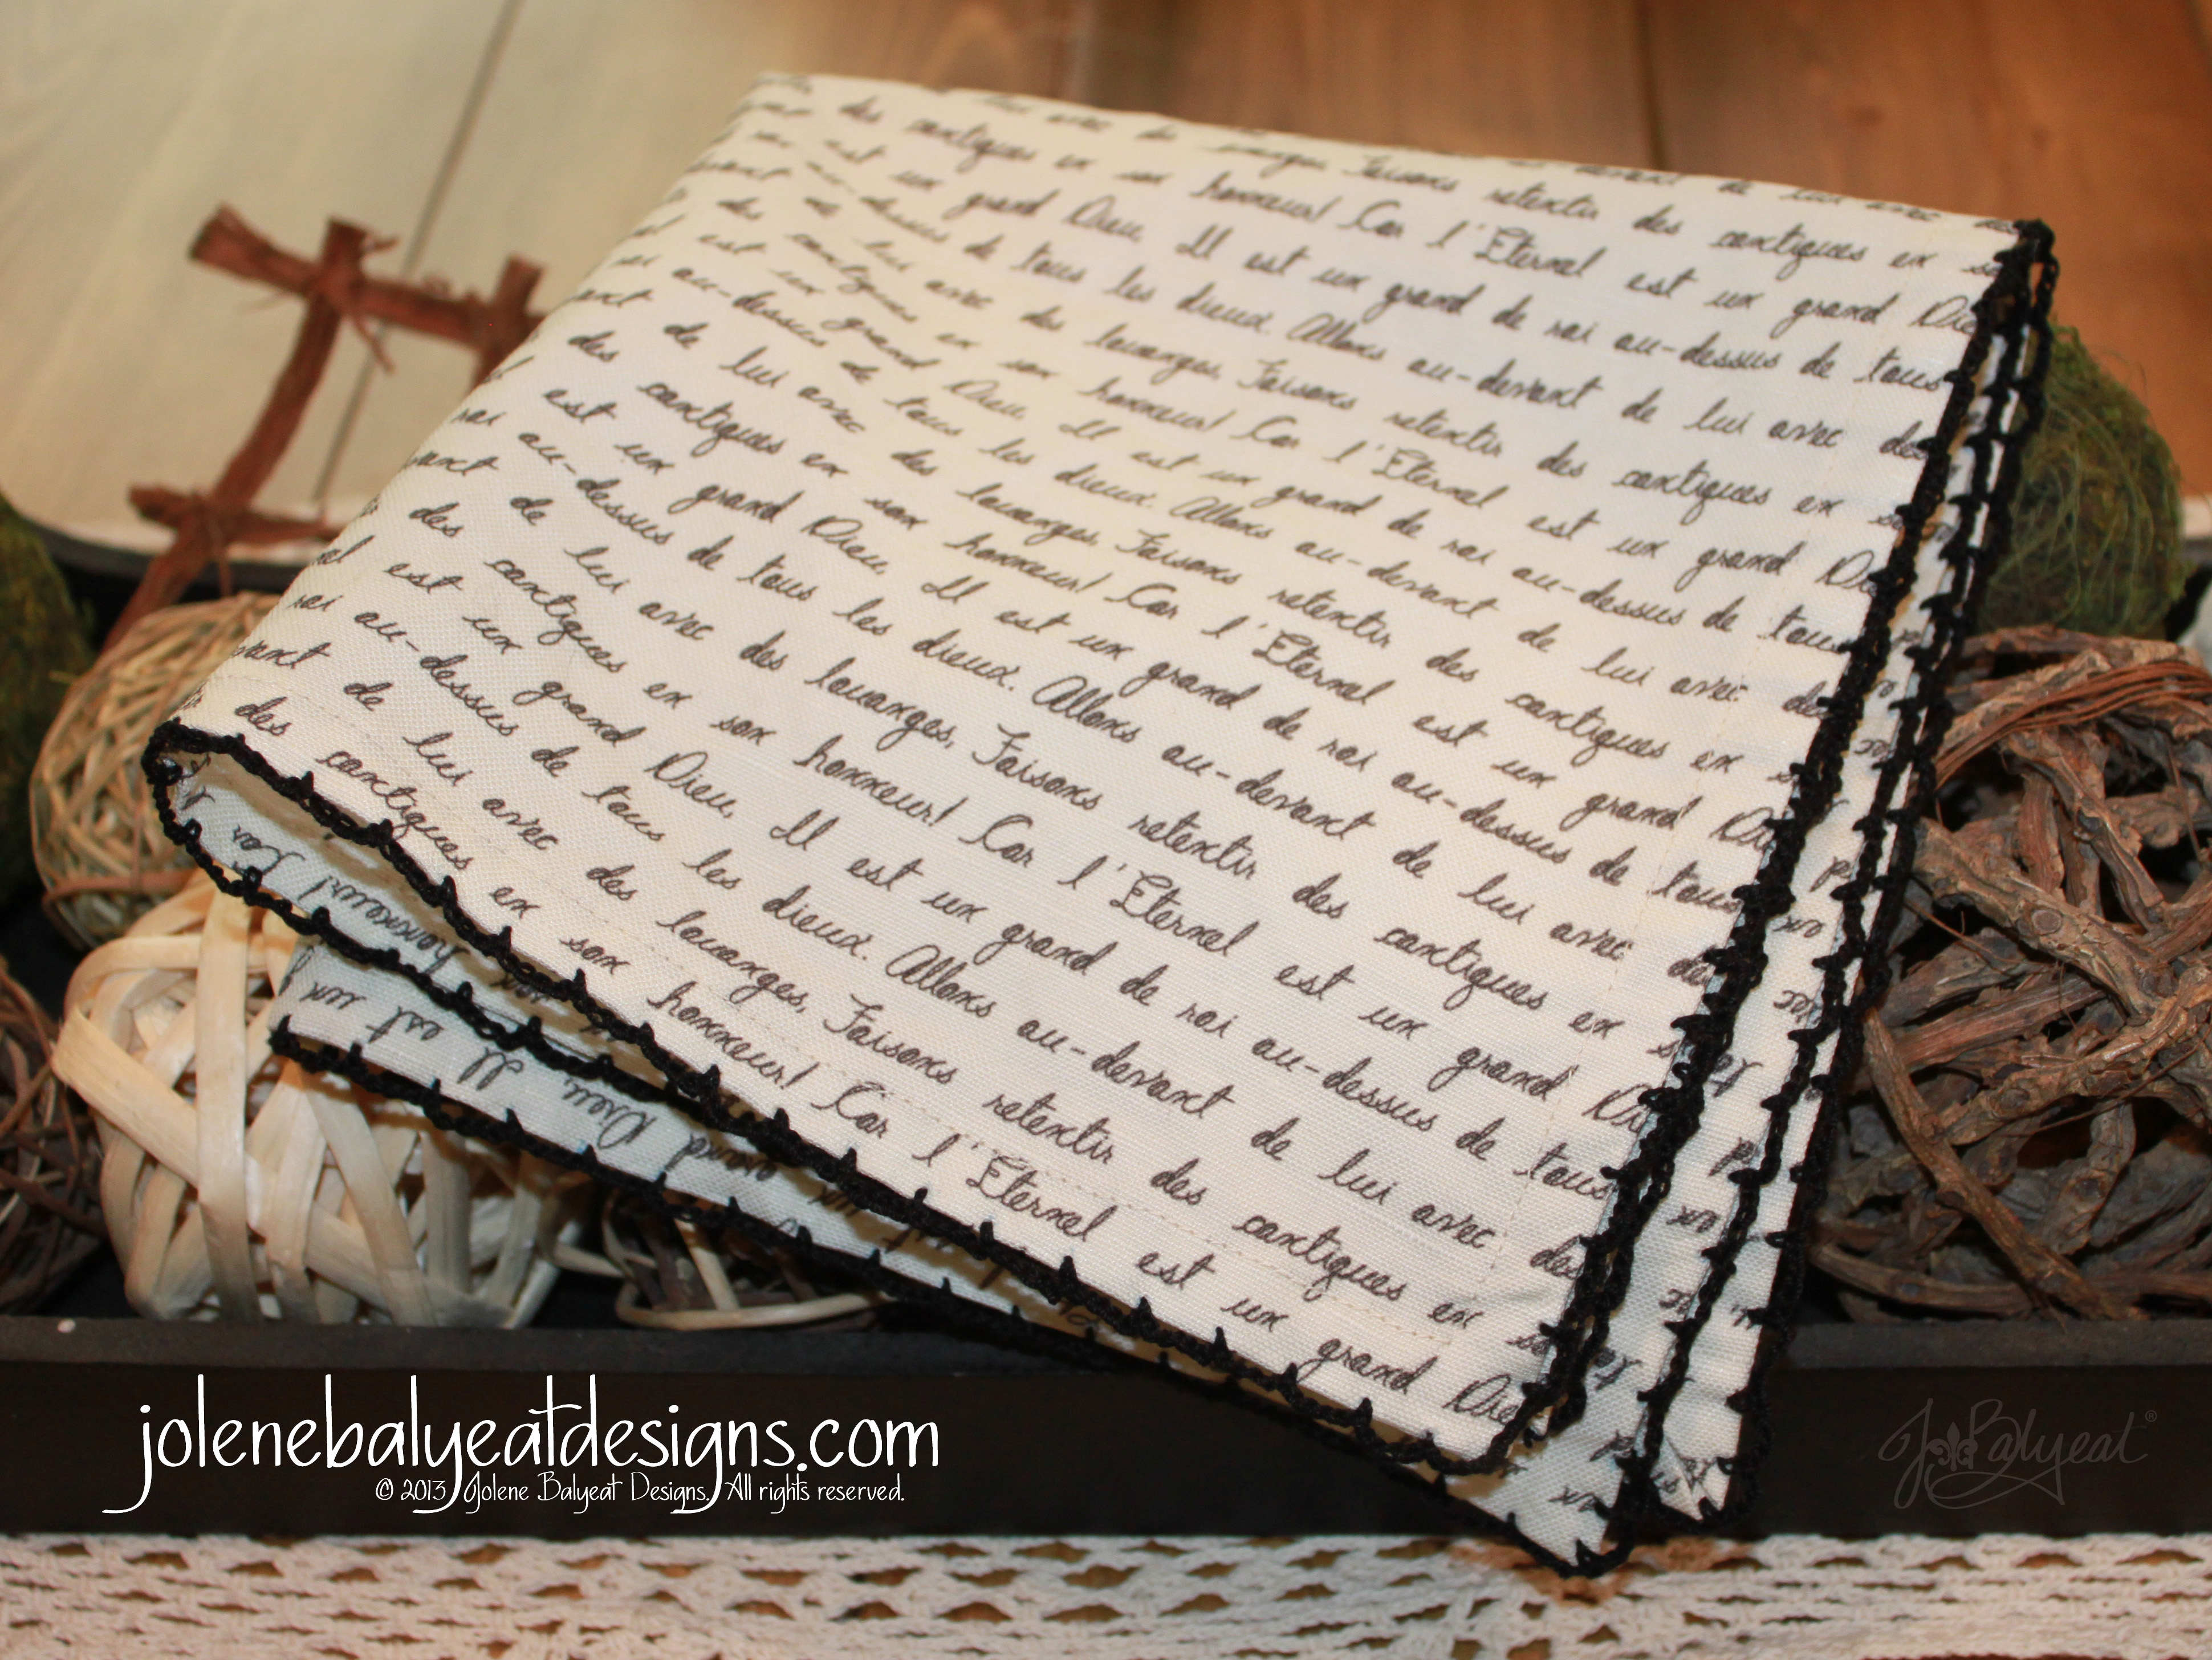
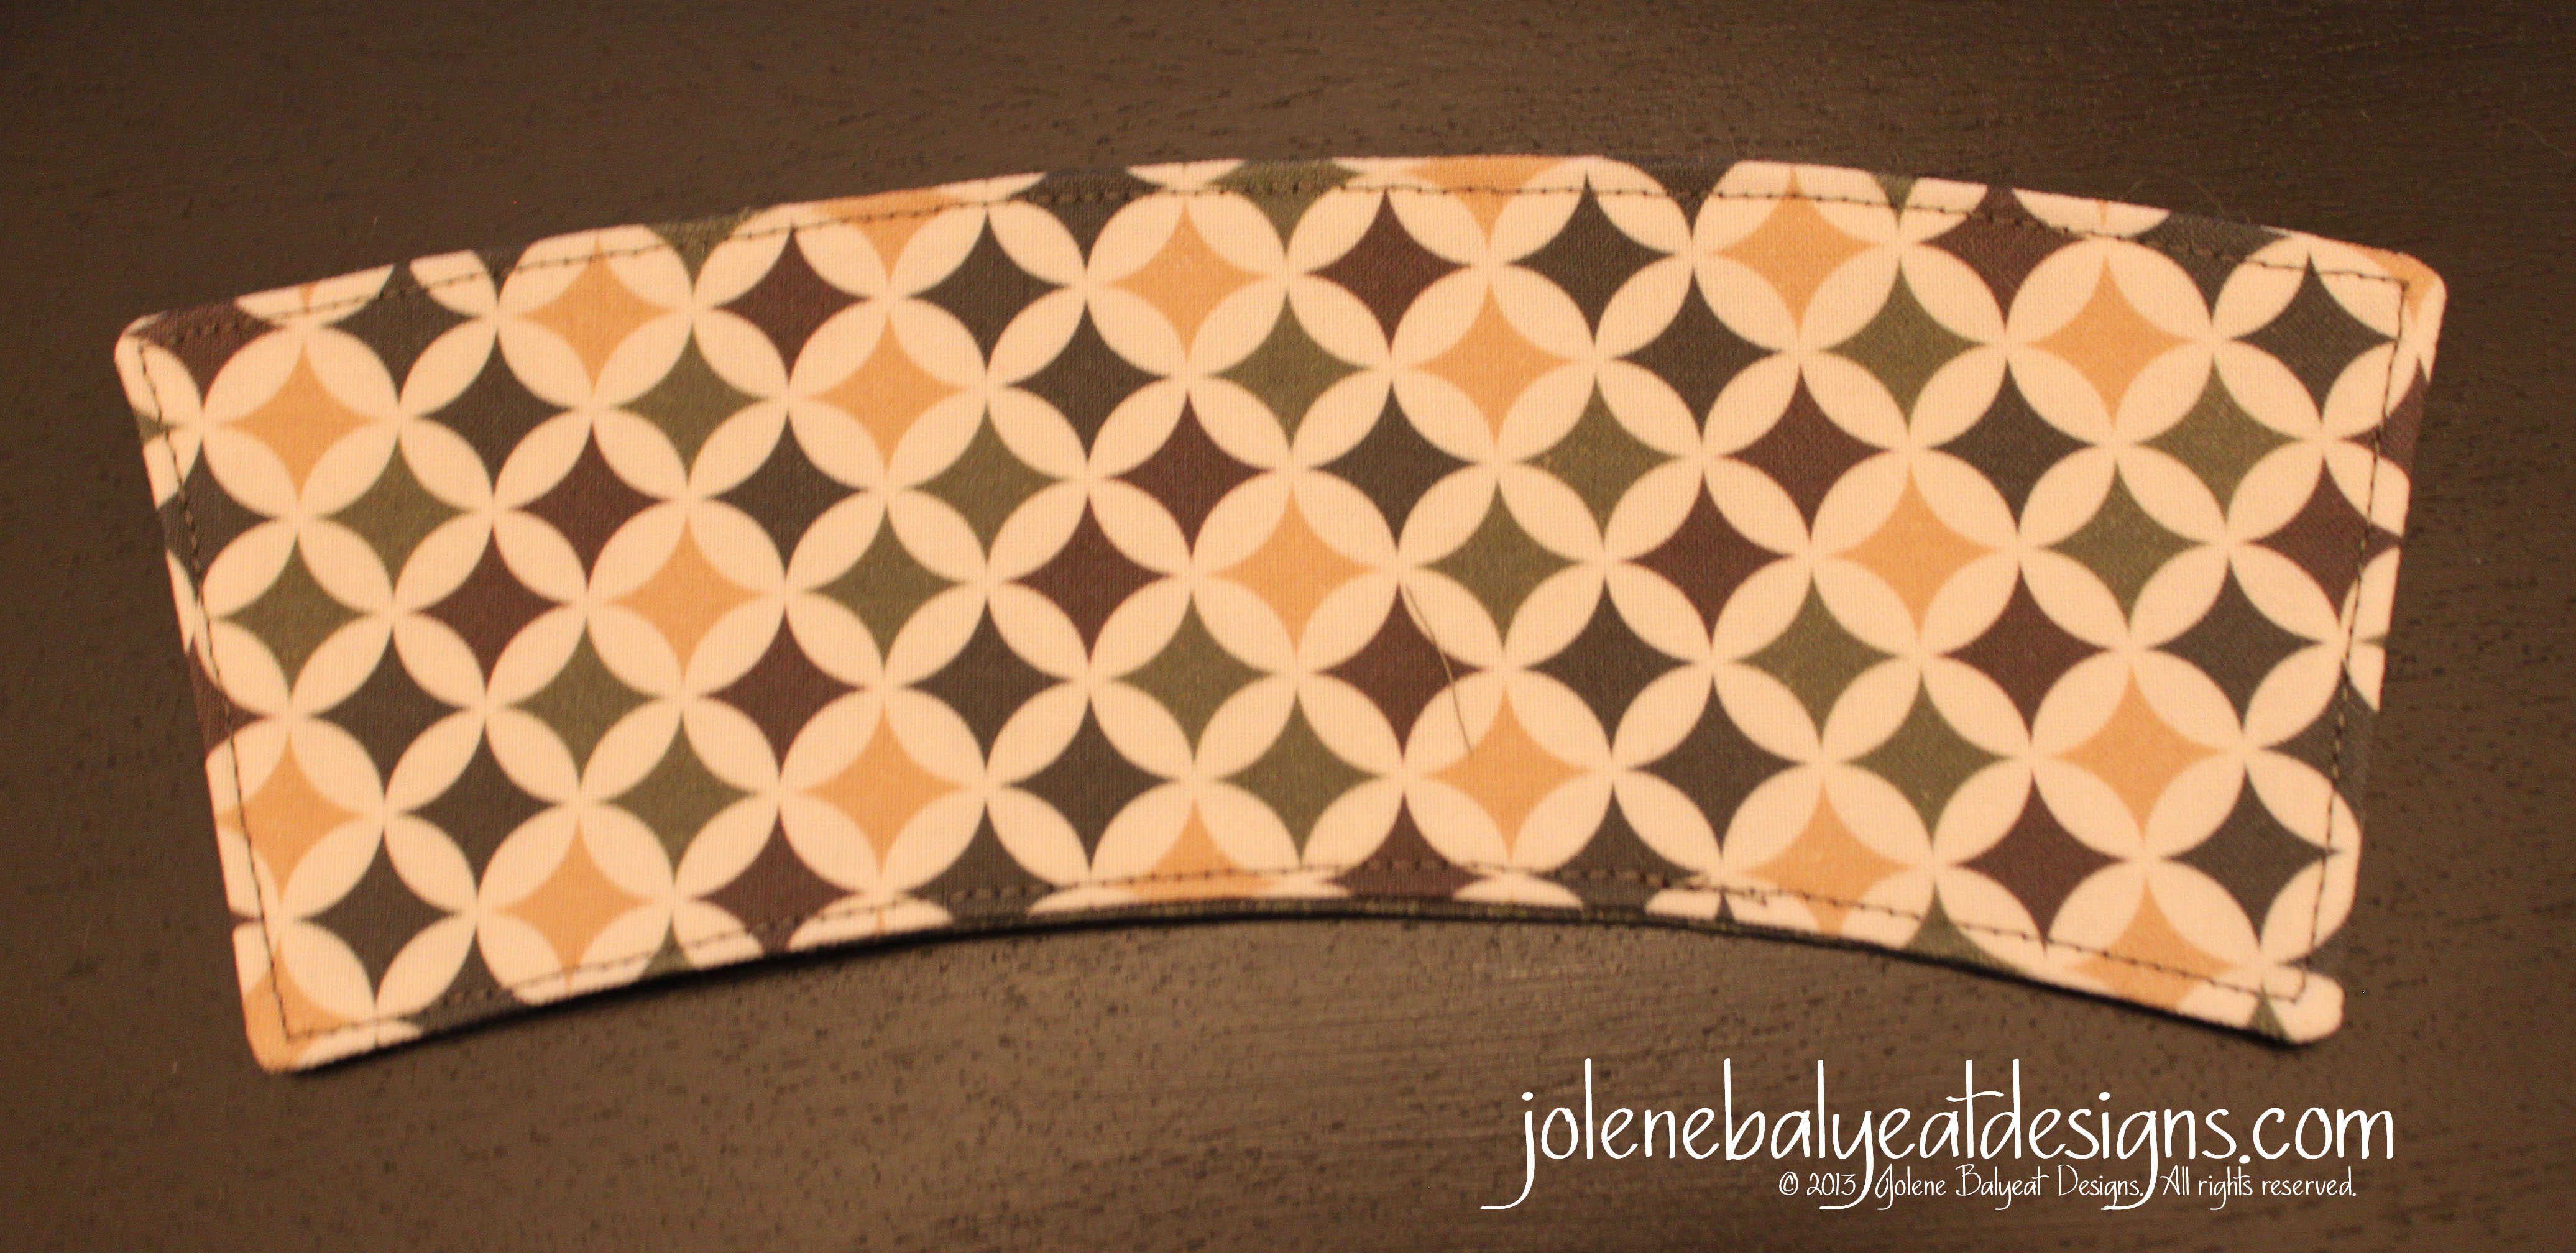
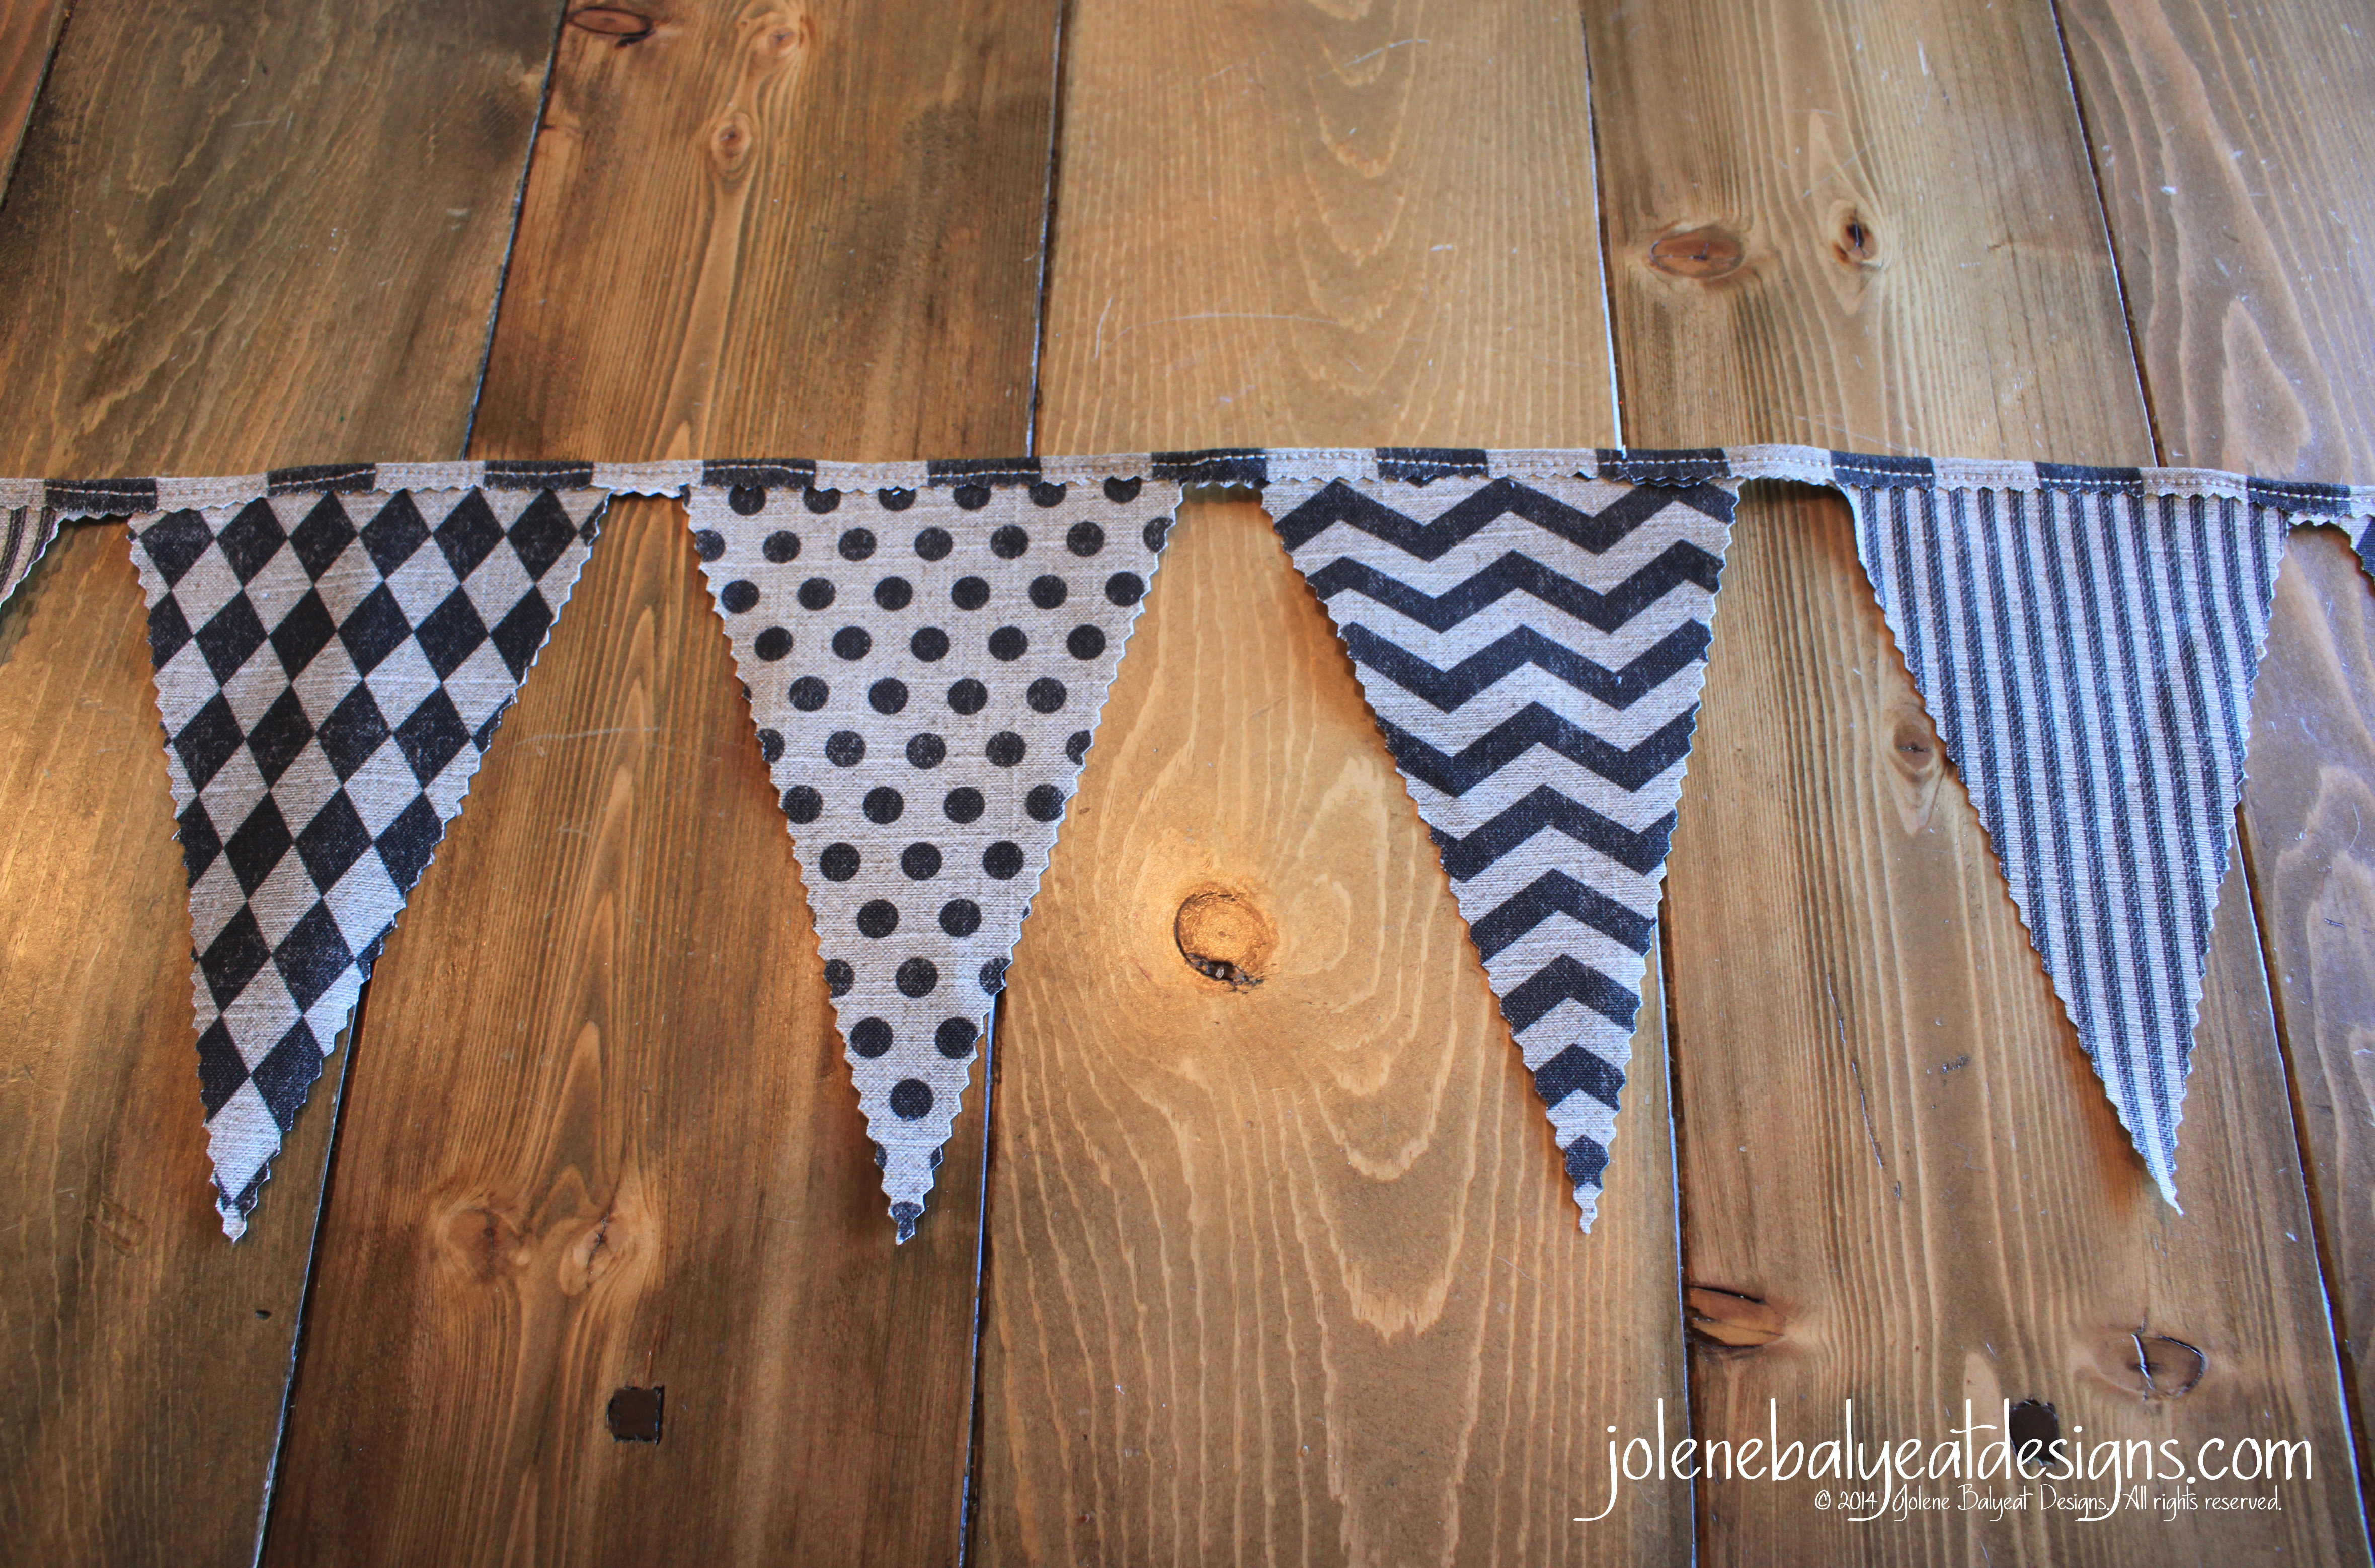
The fabric for this project is part of my new collection, Linen Looks, available soon on Spoonflower. The look of linen, without the scratch is something that is bound to be useful for many types of projects. This particular tutorial is a cut and sew project, perfect for a beginner! The coordinating designs are printed out on a fat quarter piece of material sized for the Linen-Cotton Canvas. For those wanting to do other projects with these fabric designs, the fabric is also available individually in yardage without the flag template.
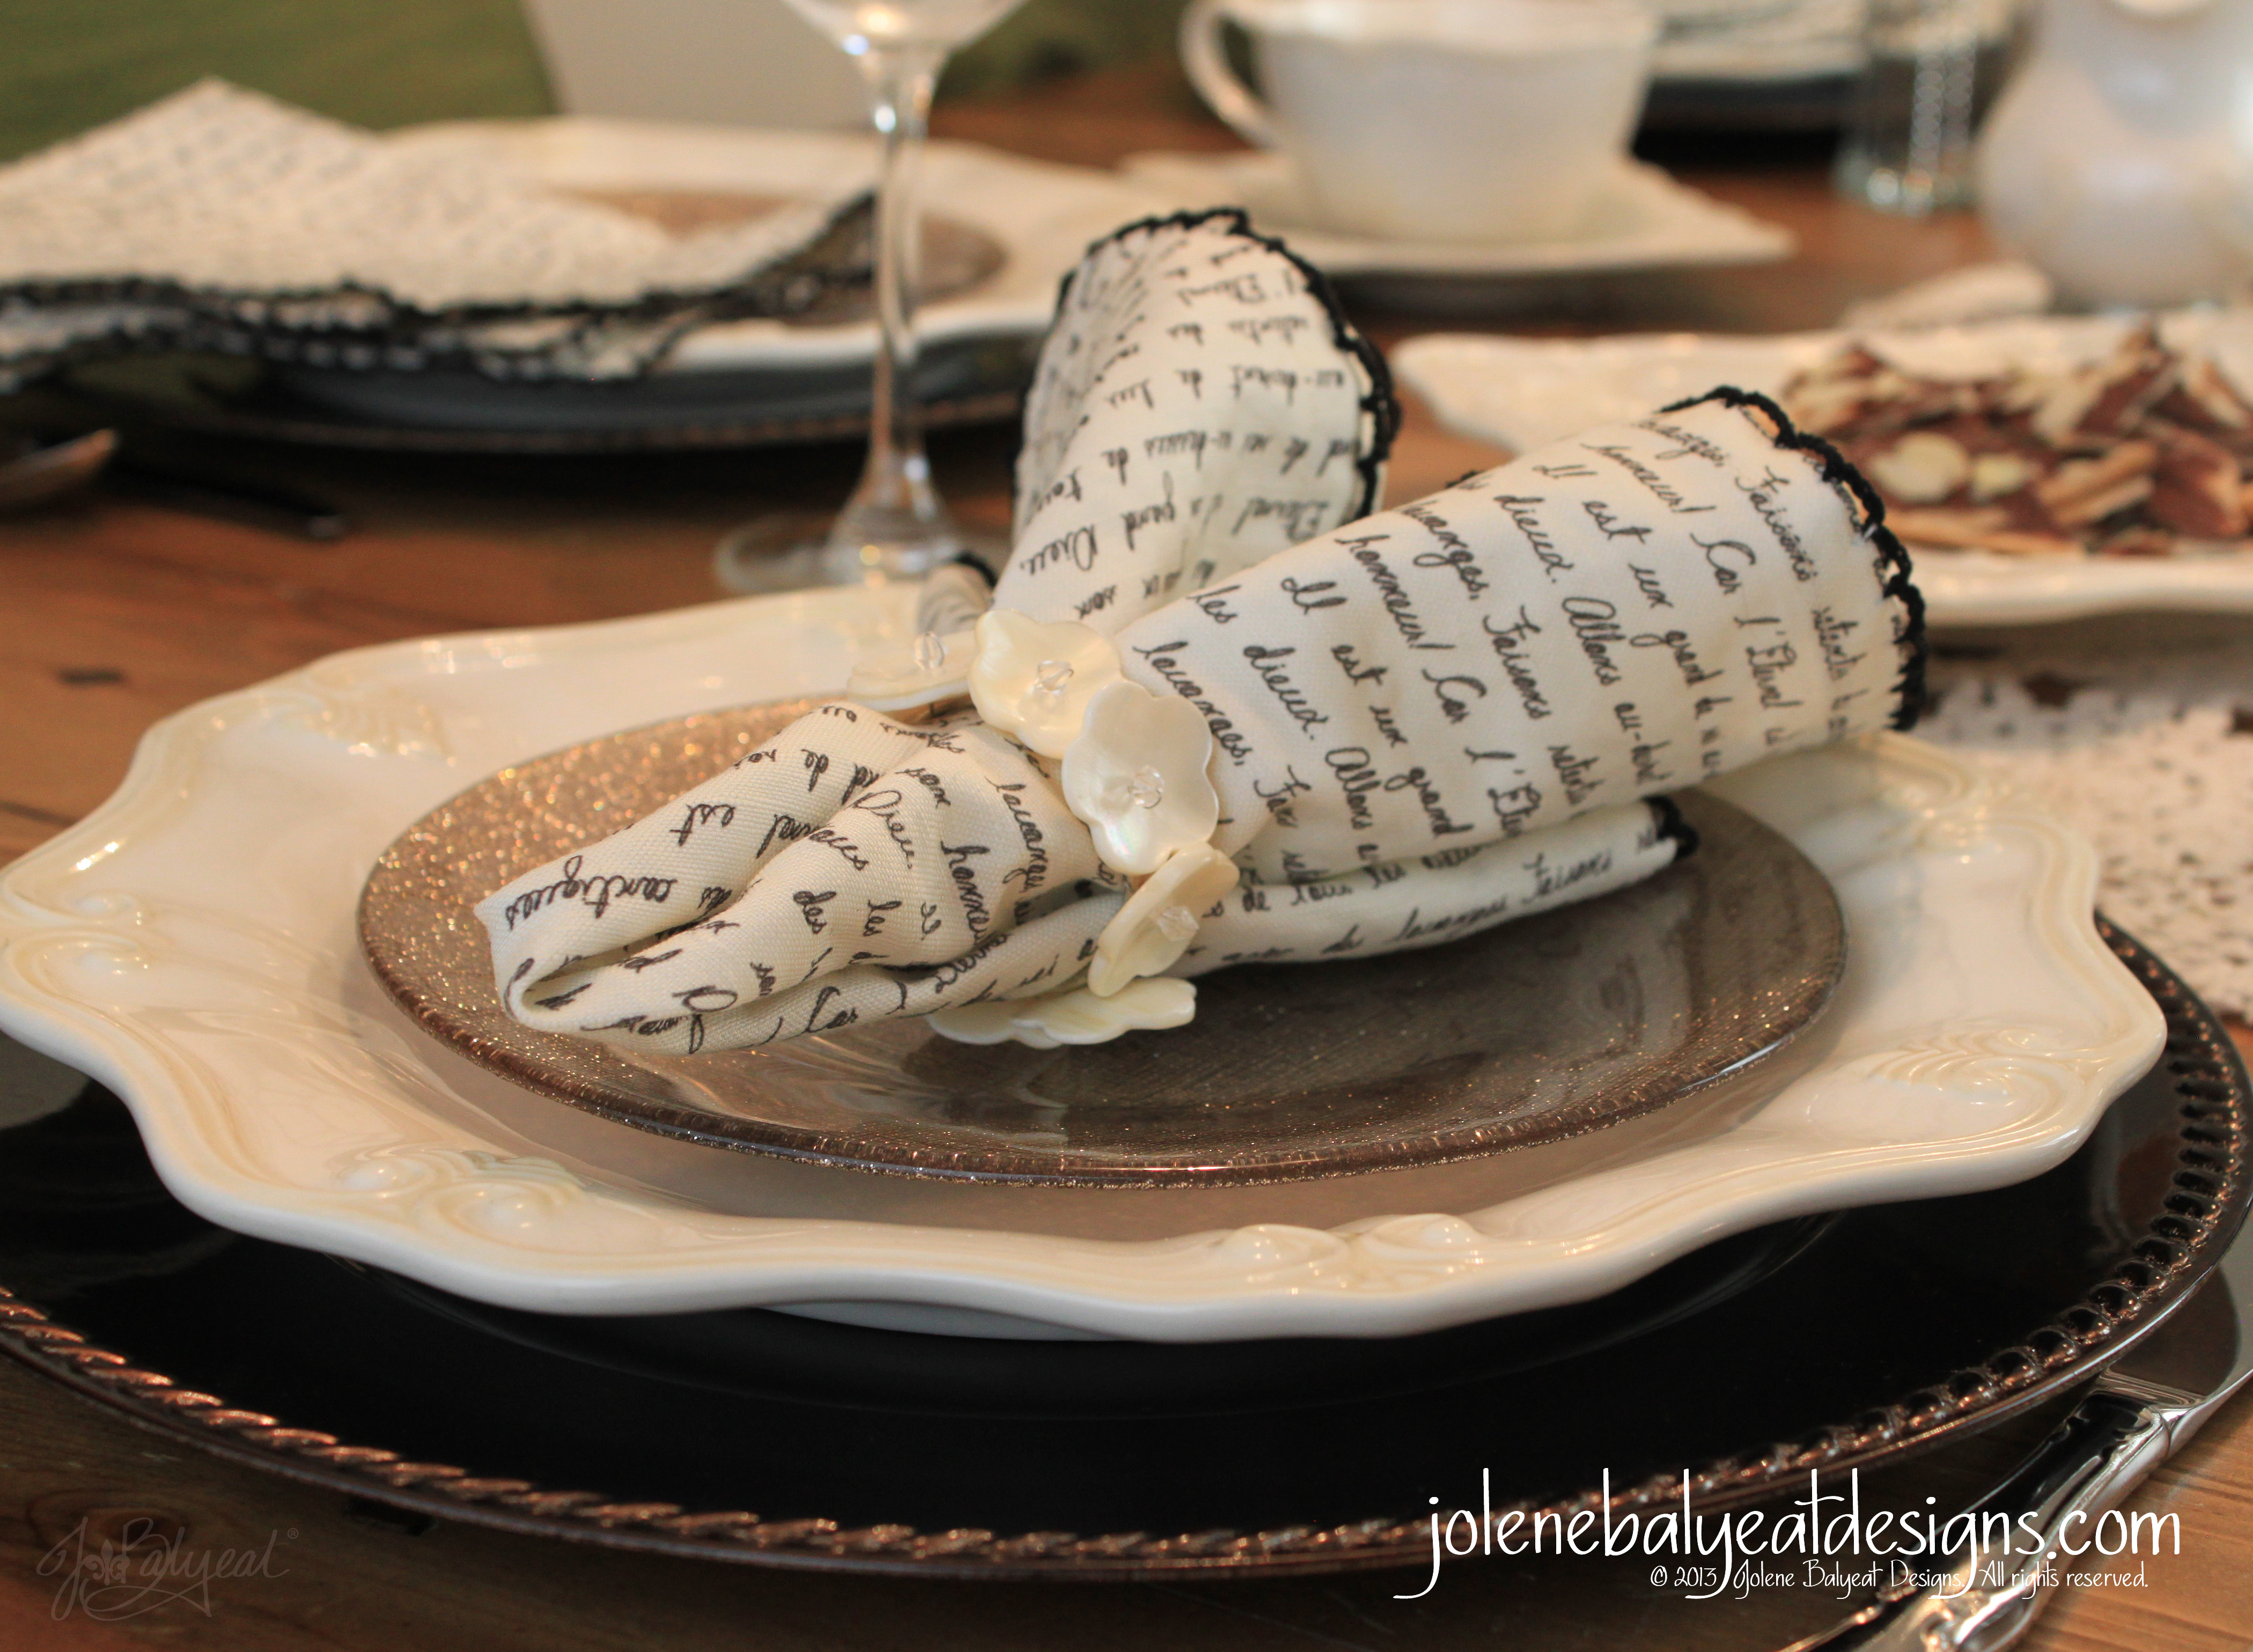
I love the textural look of the linen printed on the Linen-Cotton Canvas. The color is very close to natural linen when printed on this fabric. However, please note, that on Kona Cotton, the color is more like a burlap color than a linen color. This is important for one to know if they are creating a themed event. If trying to coordinate projects utilizing a printed fabric collection, be sure to order the same base fabric if you need things to match perfectly. Otherwise, order test swatches to make sure you can live with the color variation that results from printing on different fabrics! (In the link above, the piece with the blue writing is printed on Kona Cotton, and the other is printed on the Linen Cotton Canvas. Although the Linen Cotton Canvas isn’t quite as yellow as portrayed in the picture, the photo serves to illustrate the differences visible in natural light.)
Supplies needed to complete this project:
- Scissors or olfa cutter
- Pinking Shears
- Ruler
- Cutting mat
- Iron (optional)
- Thread (I used a heavy duty coat and button thread because I had it on hand, and because it seems extra durable…additionally, it matched quite well!)
- 1 fat quarter of Linen Bunting Flag cut and sew fabric on the linen cotton canvas available from Spoonflower
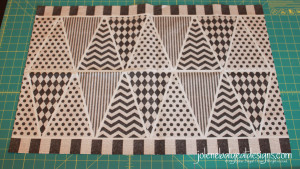
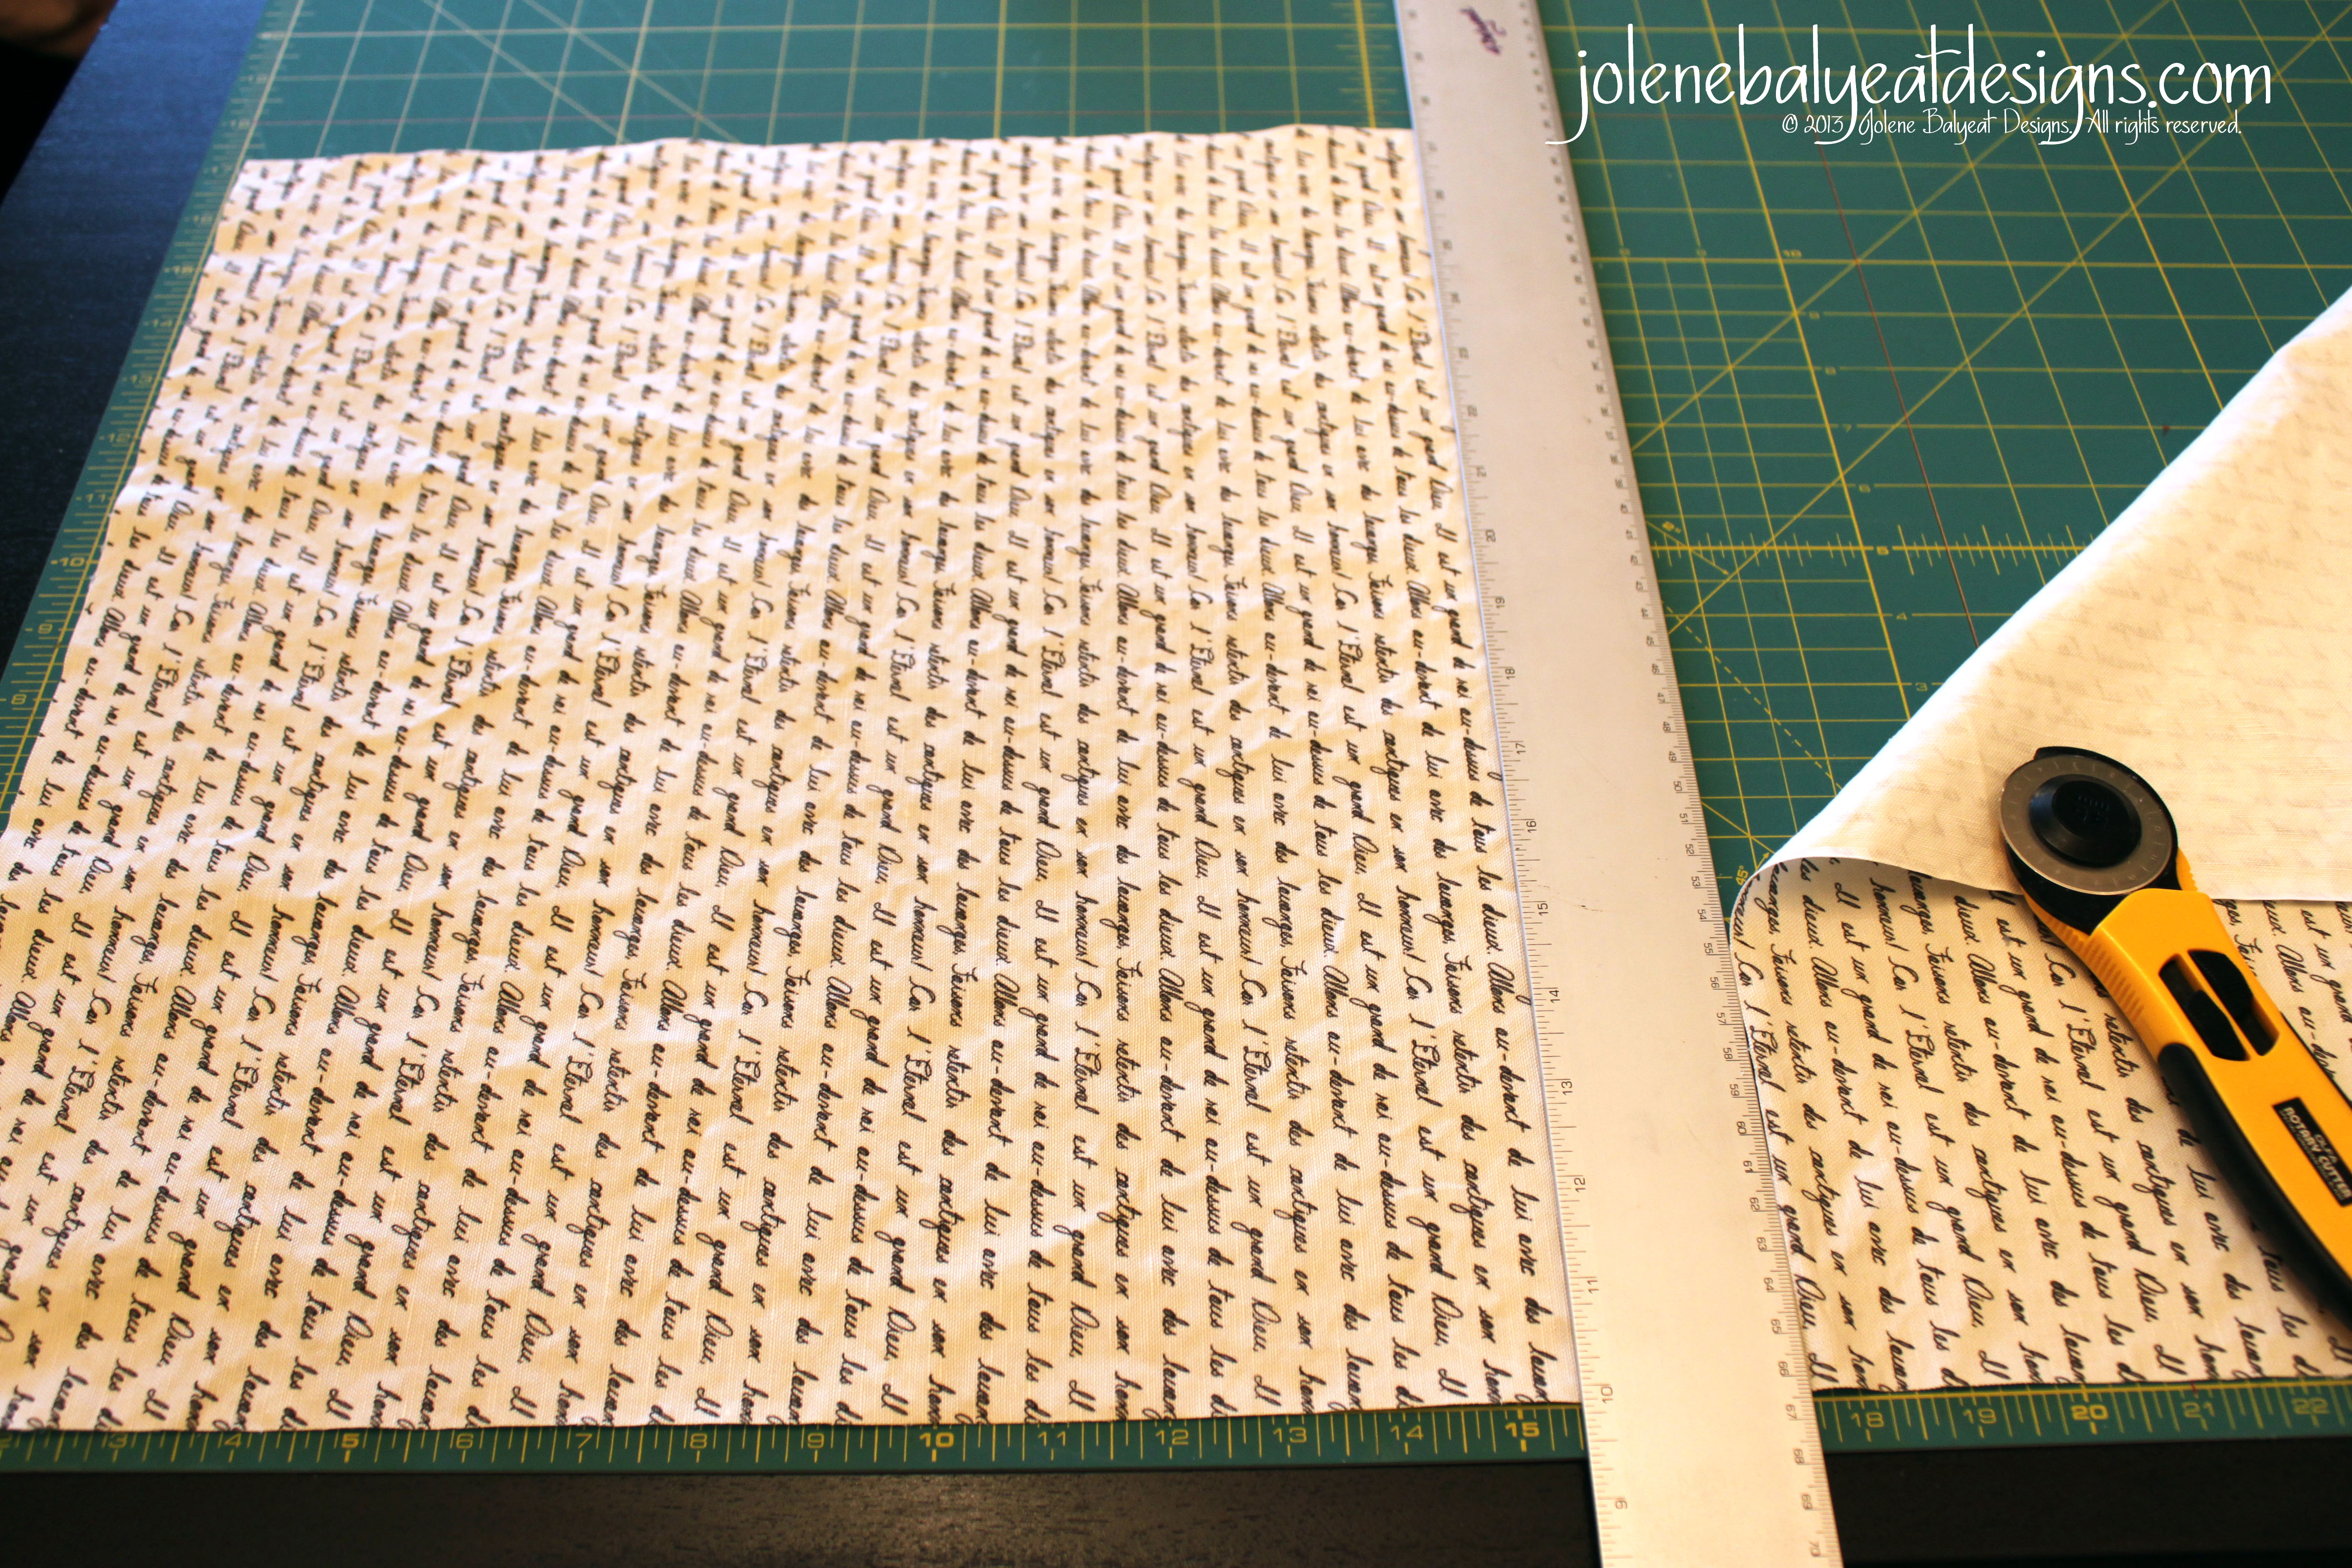
One fat quarter makes approximately 90″ of single sided bunting or 40″ of double sided bunting. If you require more length, you can order more yardage of course, but because I sized this specifically for the dimensions of a fat quarter on the Linen Cotton Canvas, there is a line where the piece repeats. Please see this photo to see what I mean.
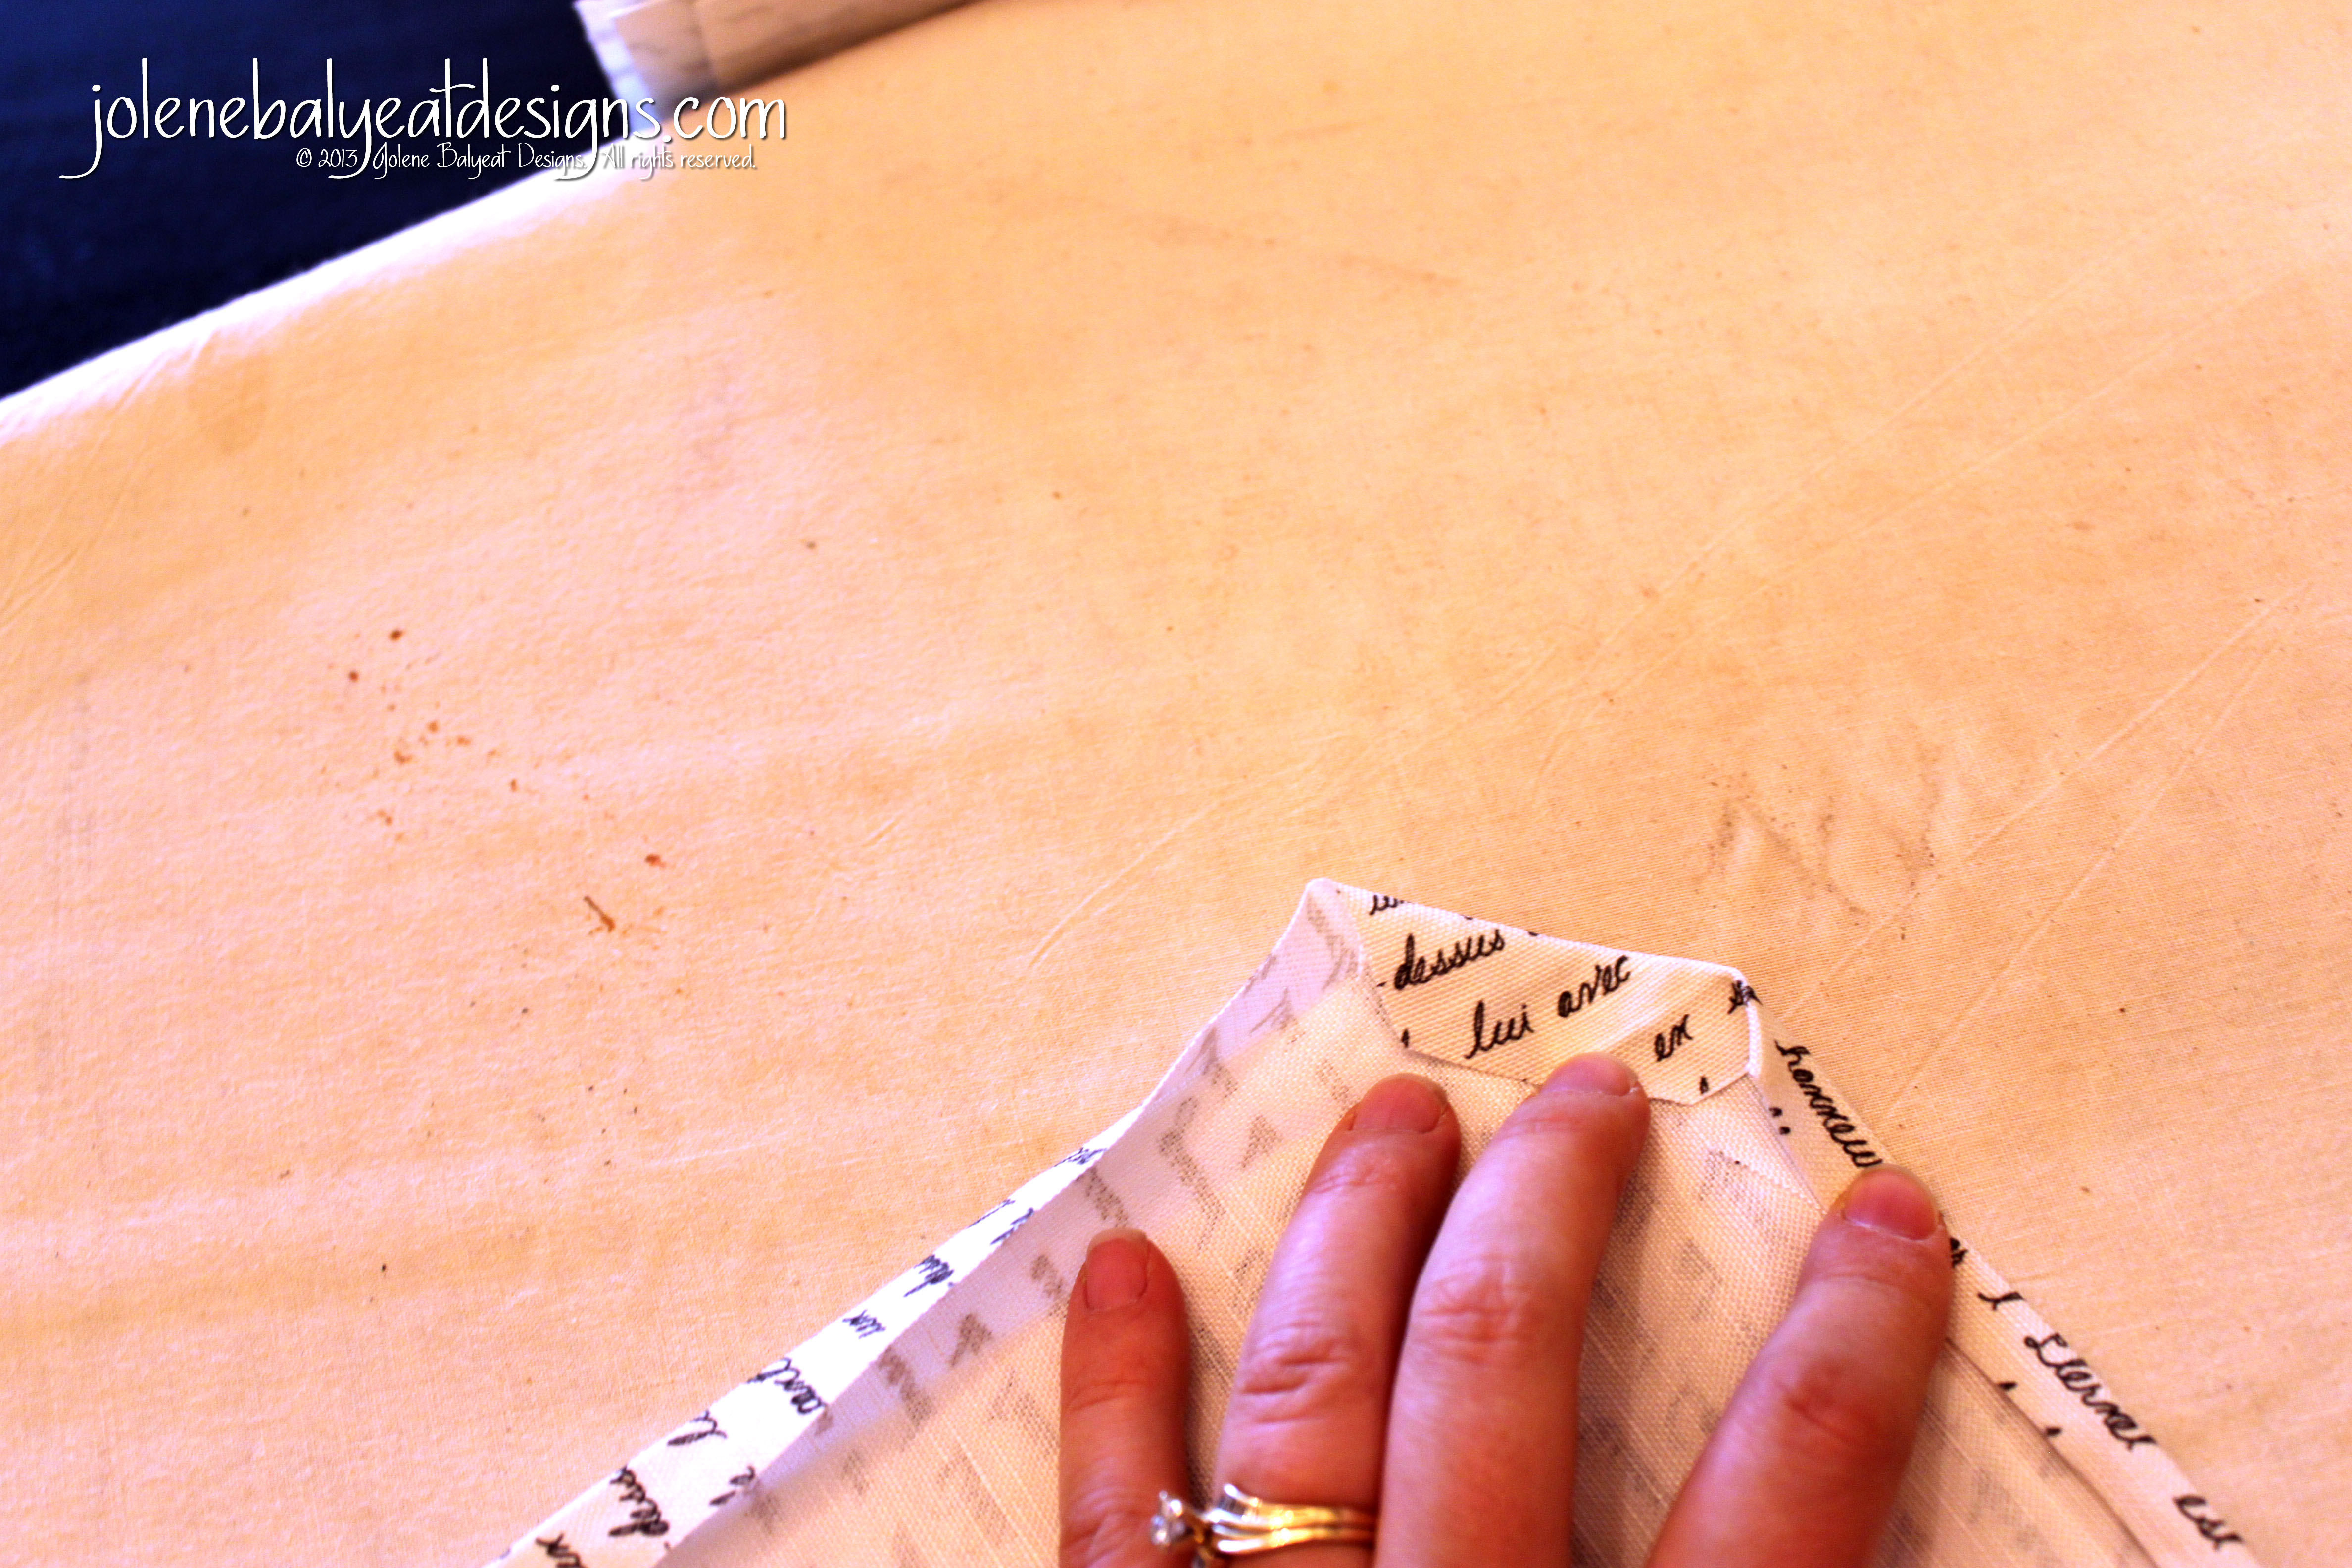
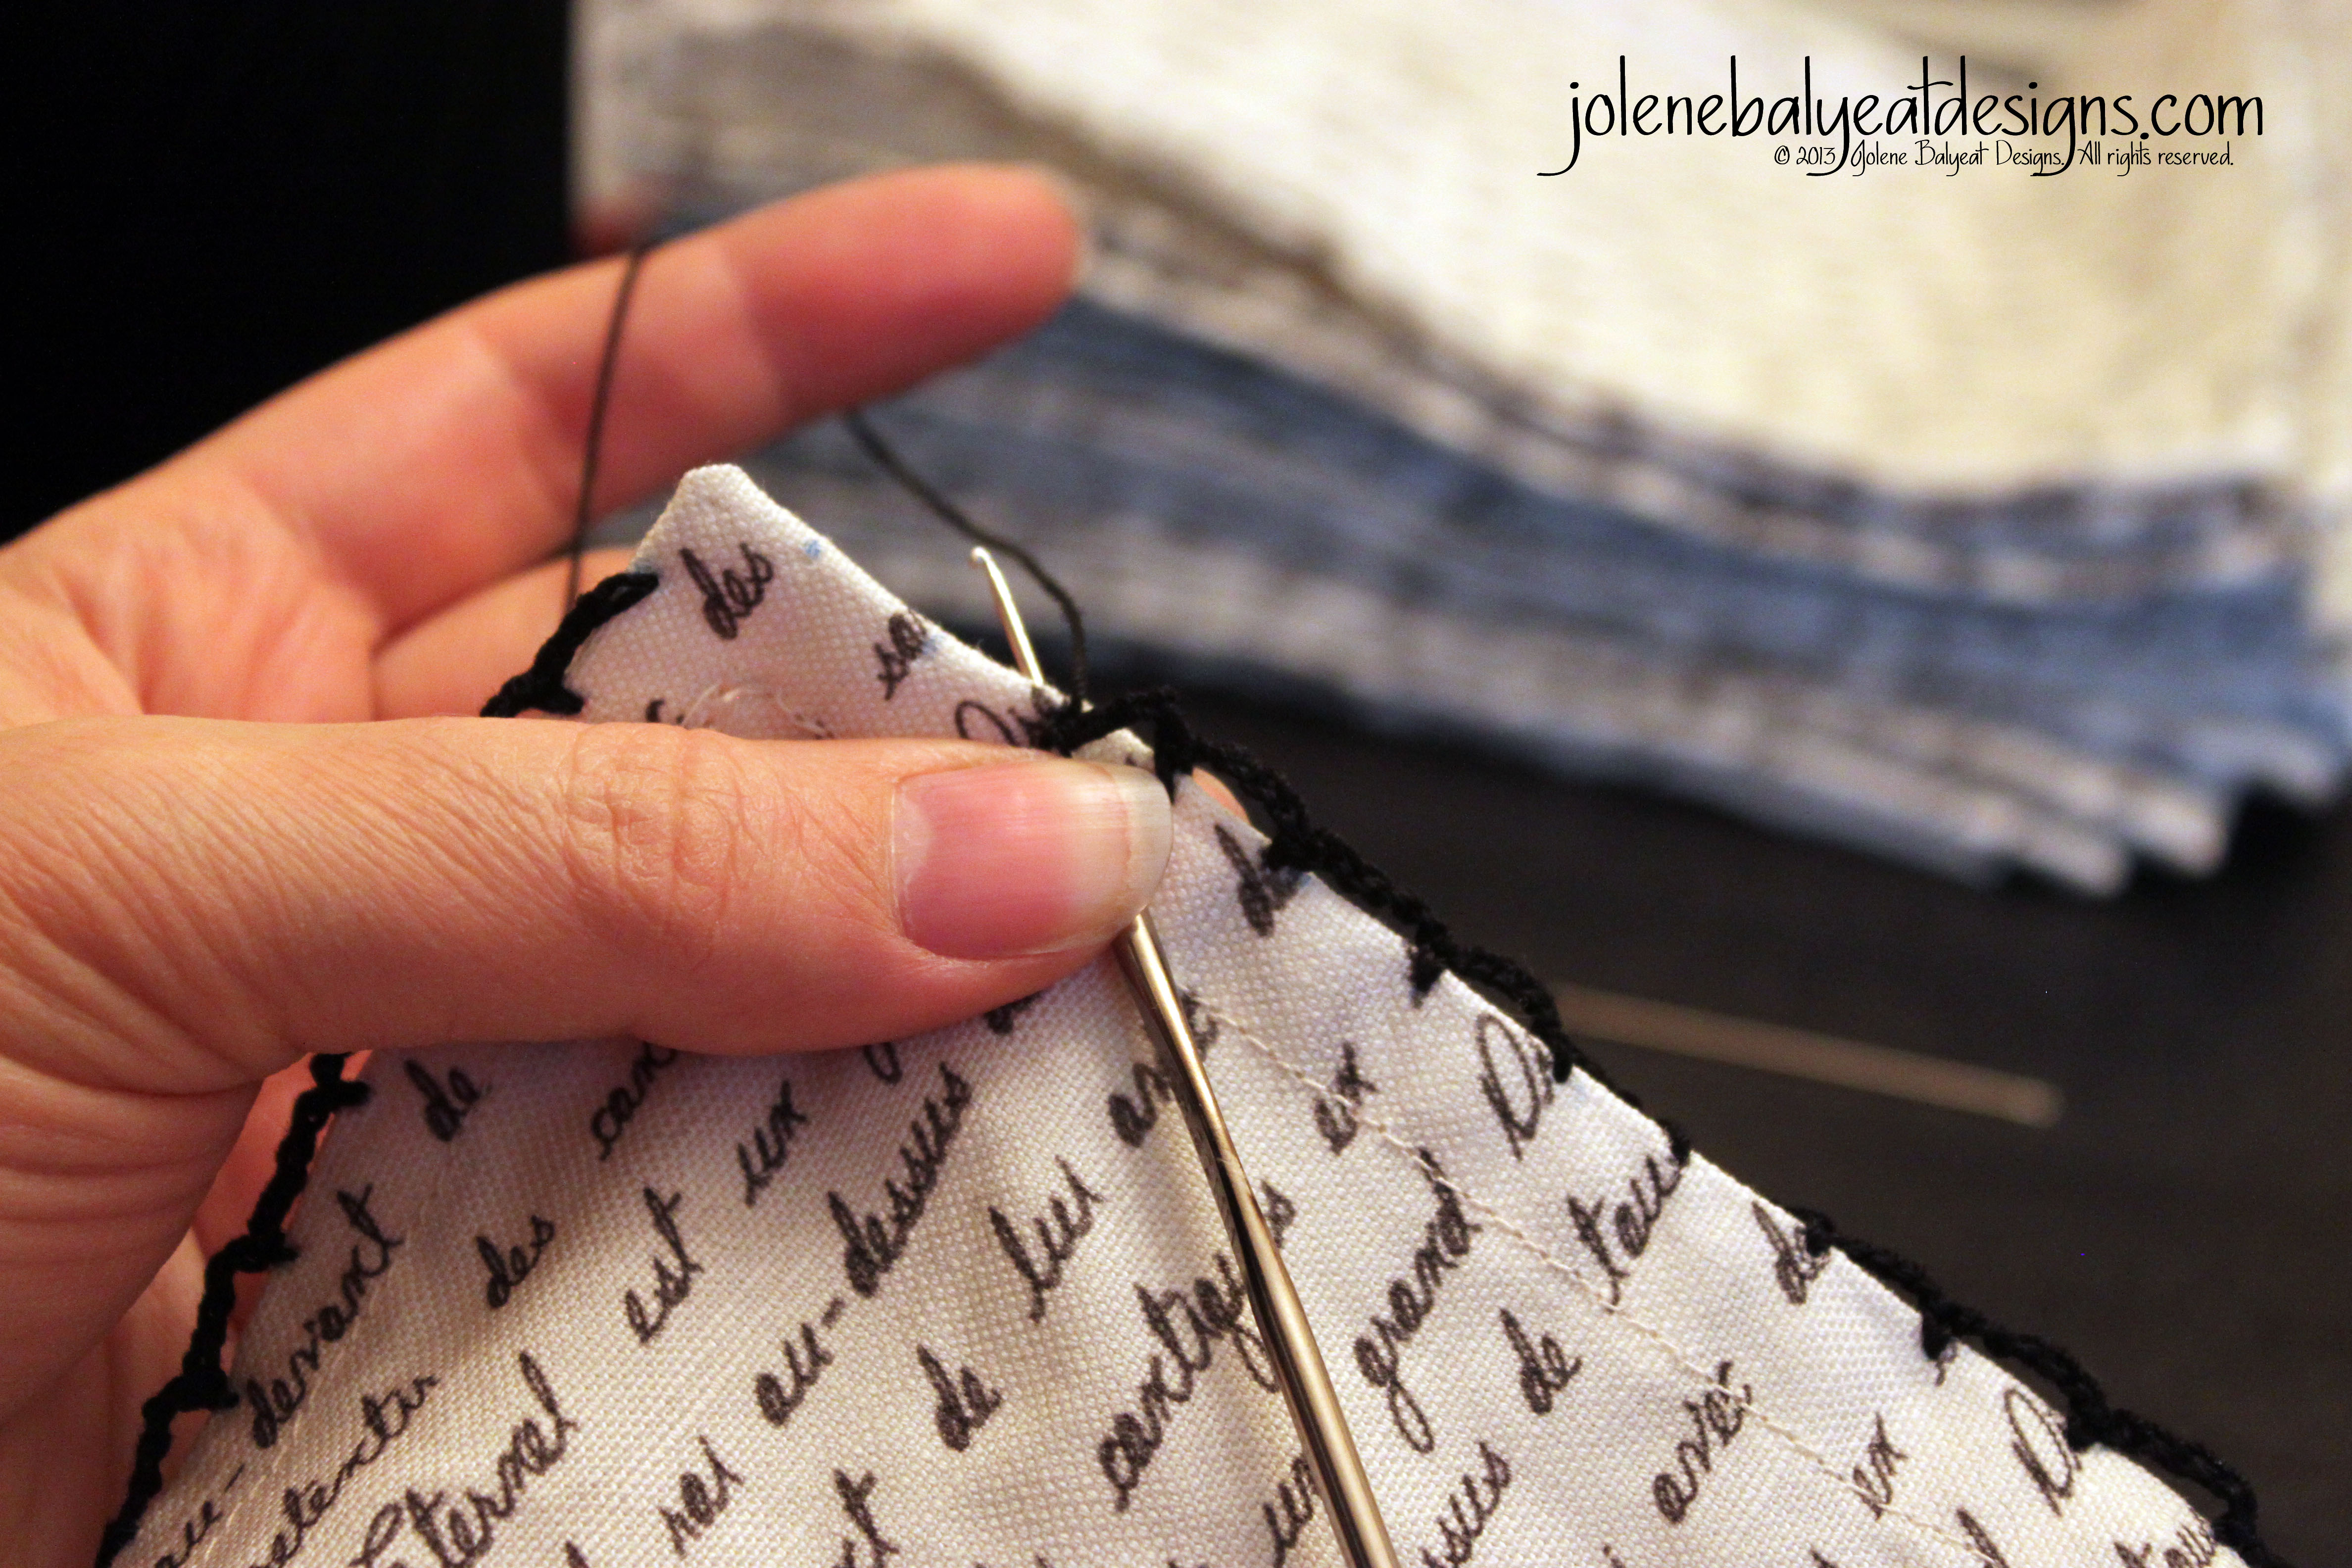
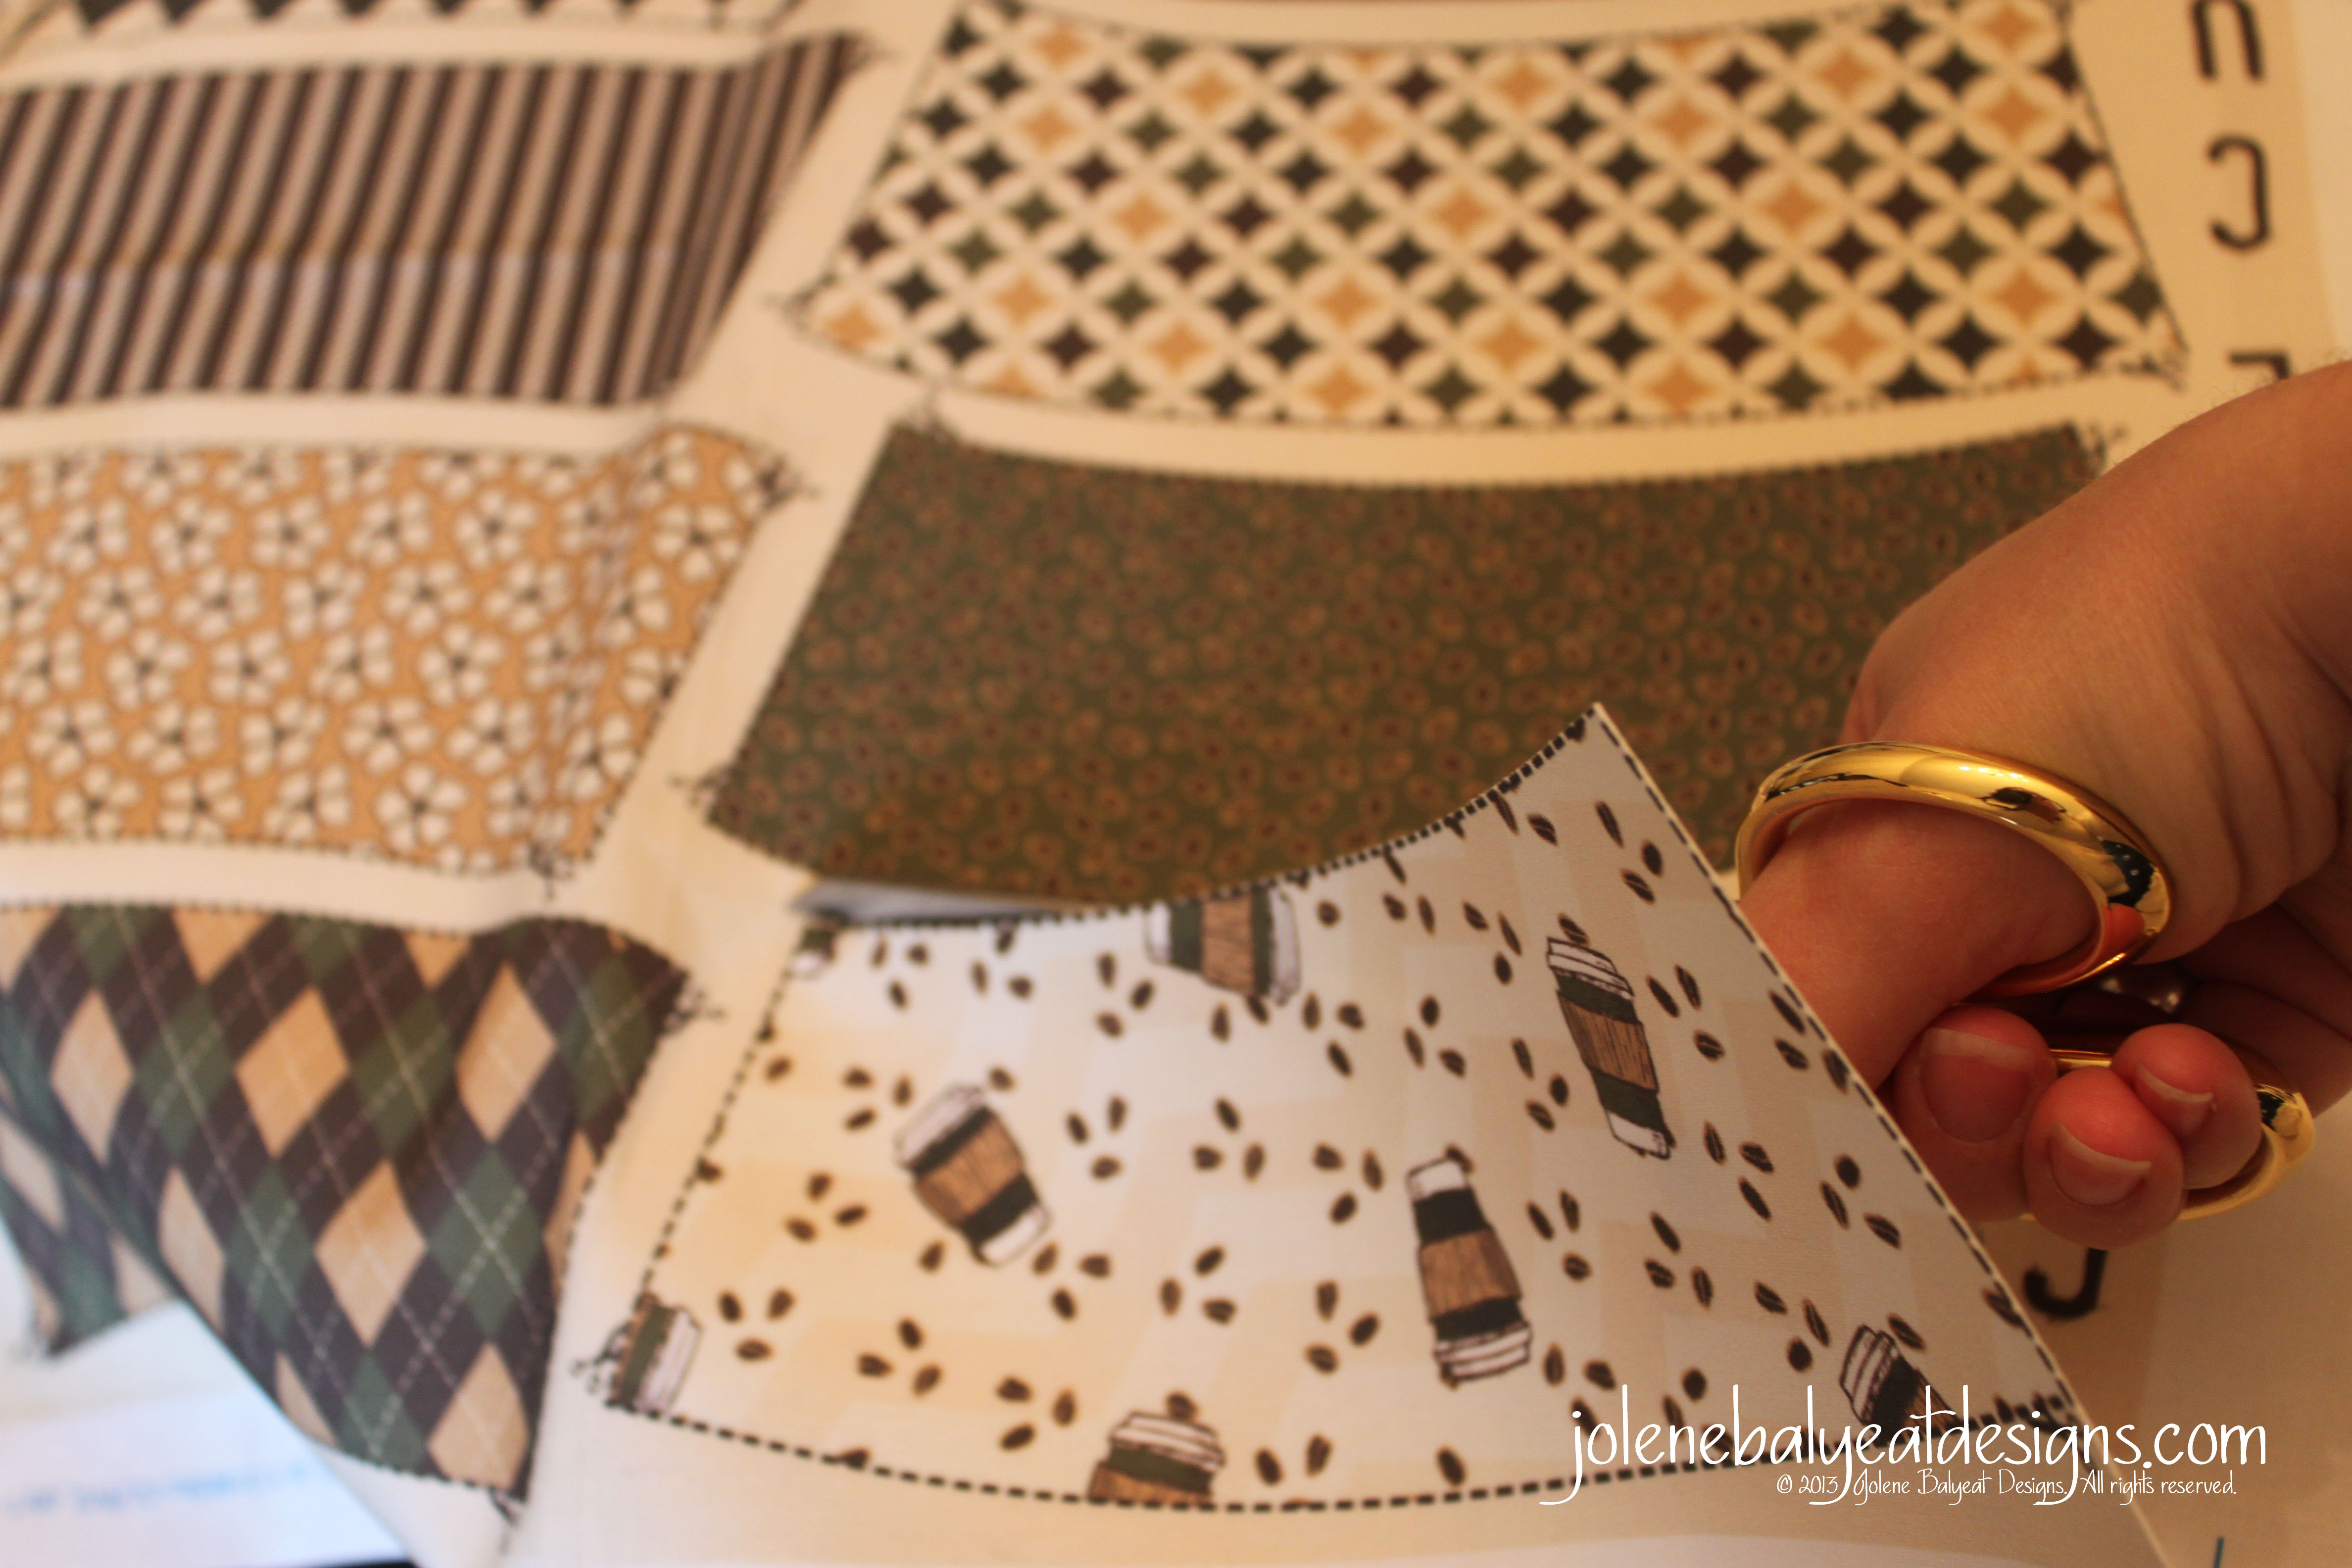
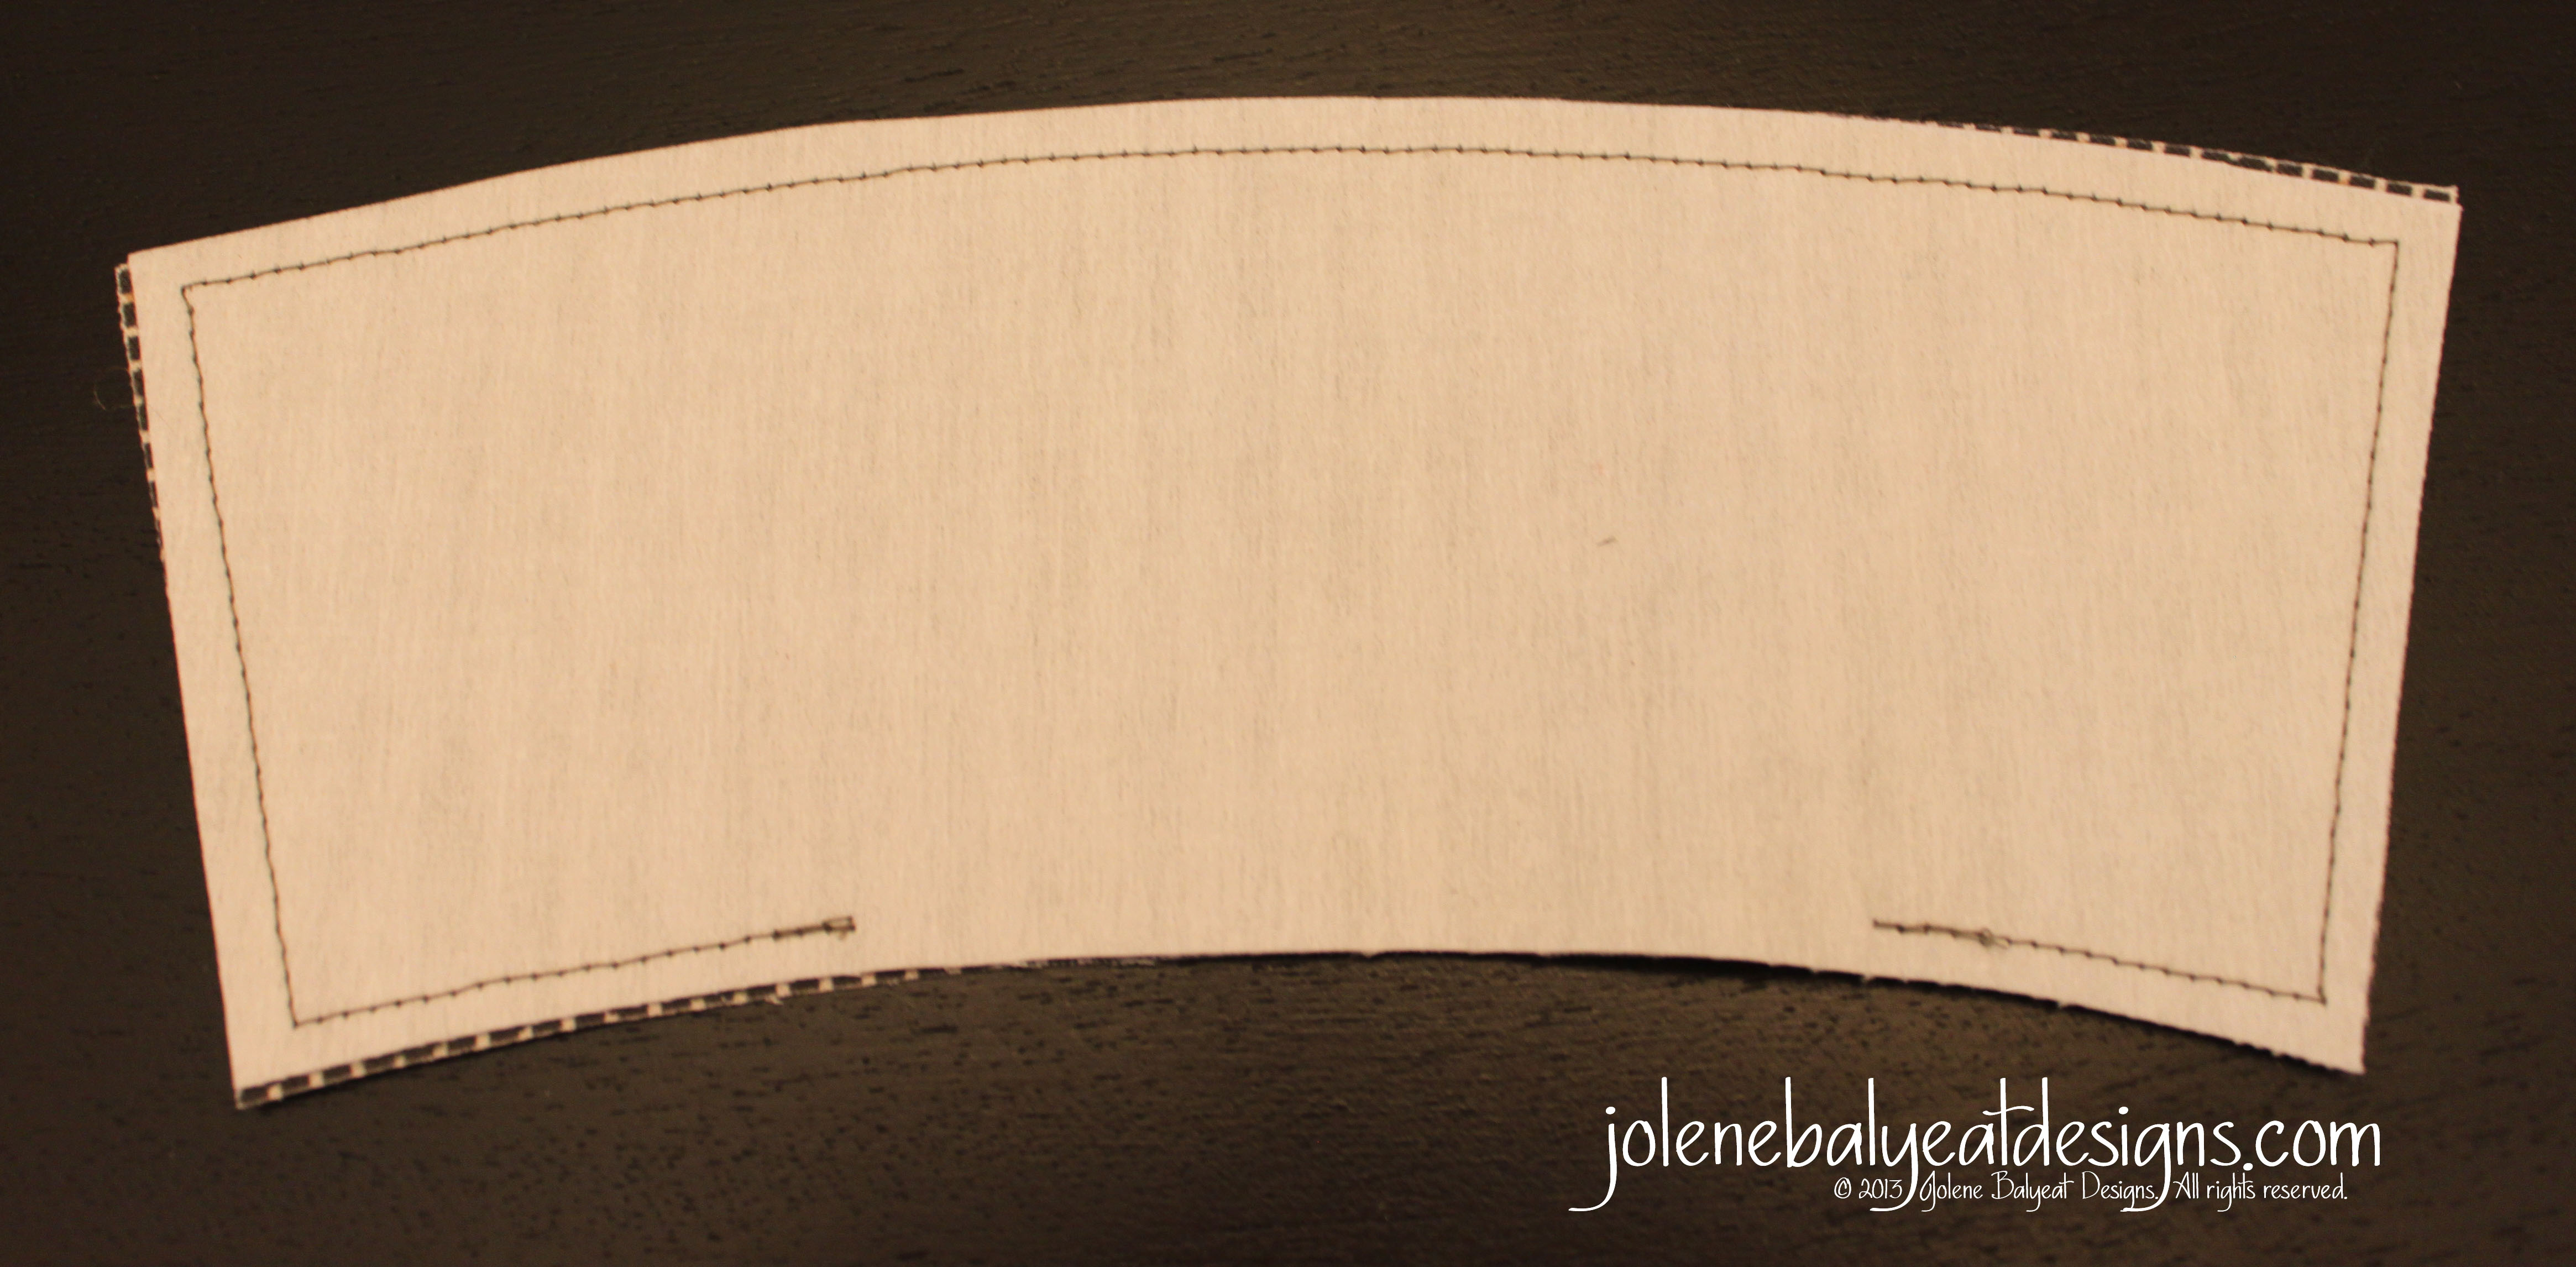
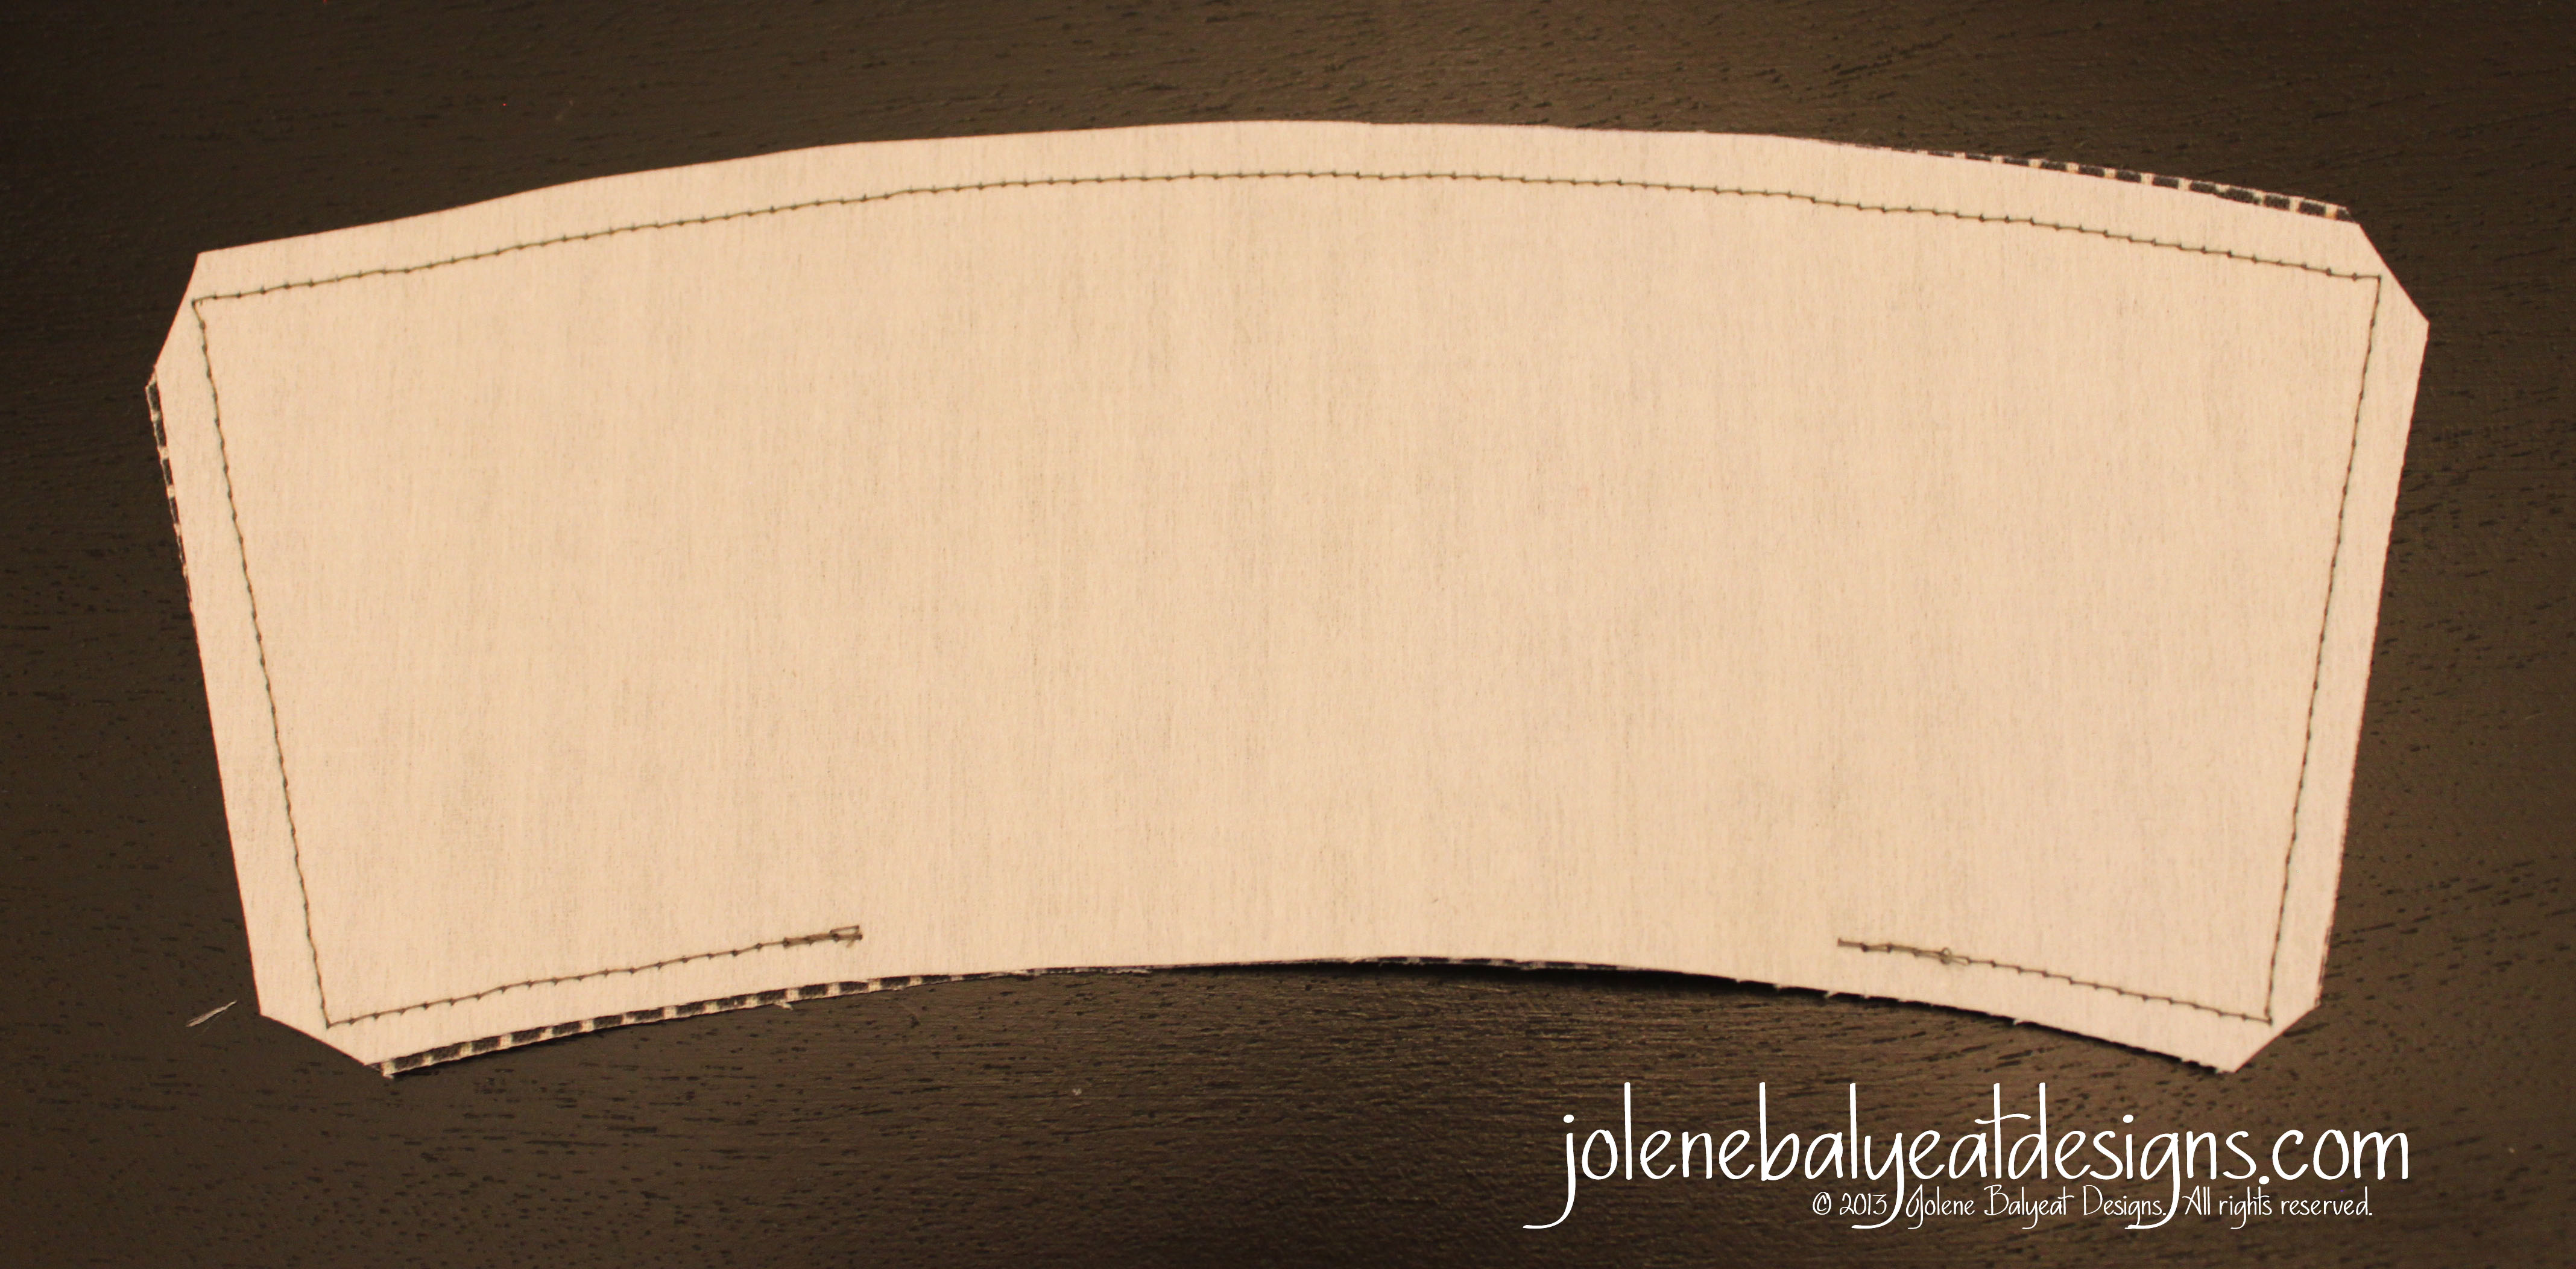
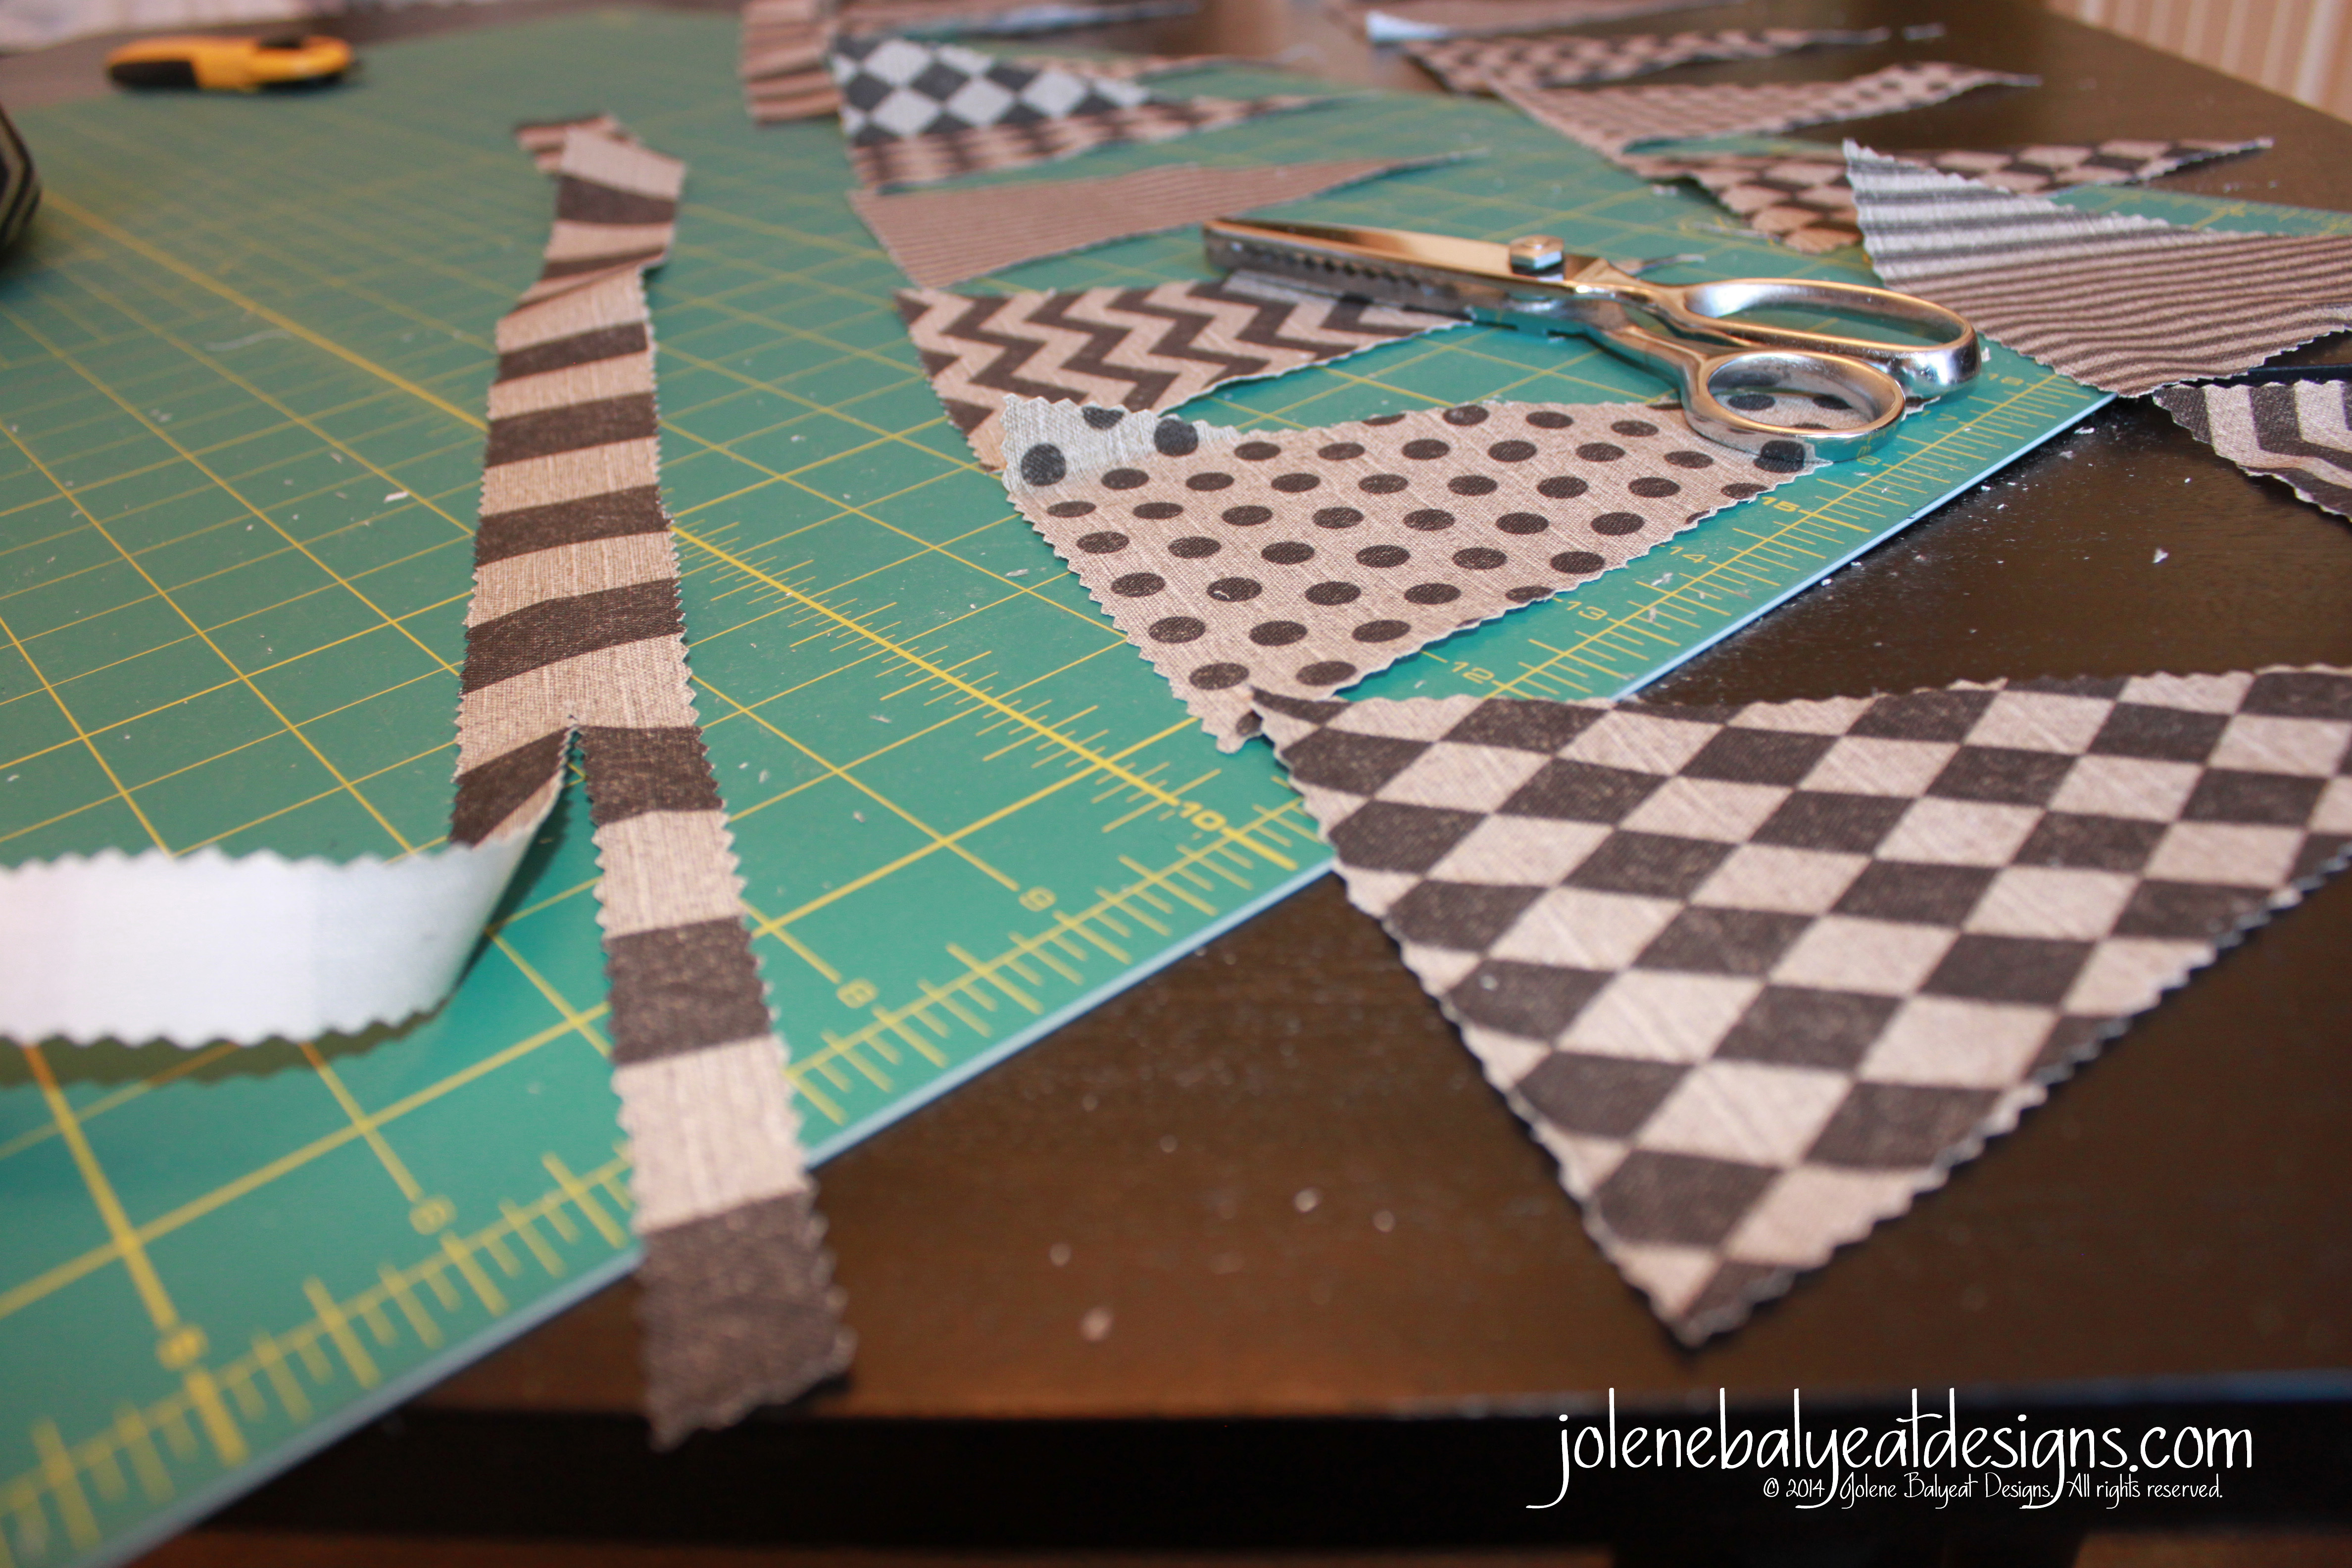
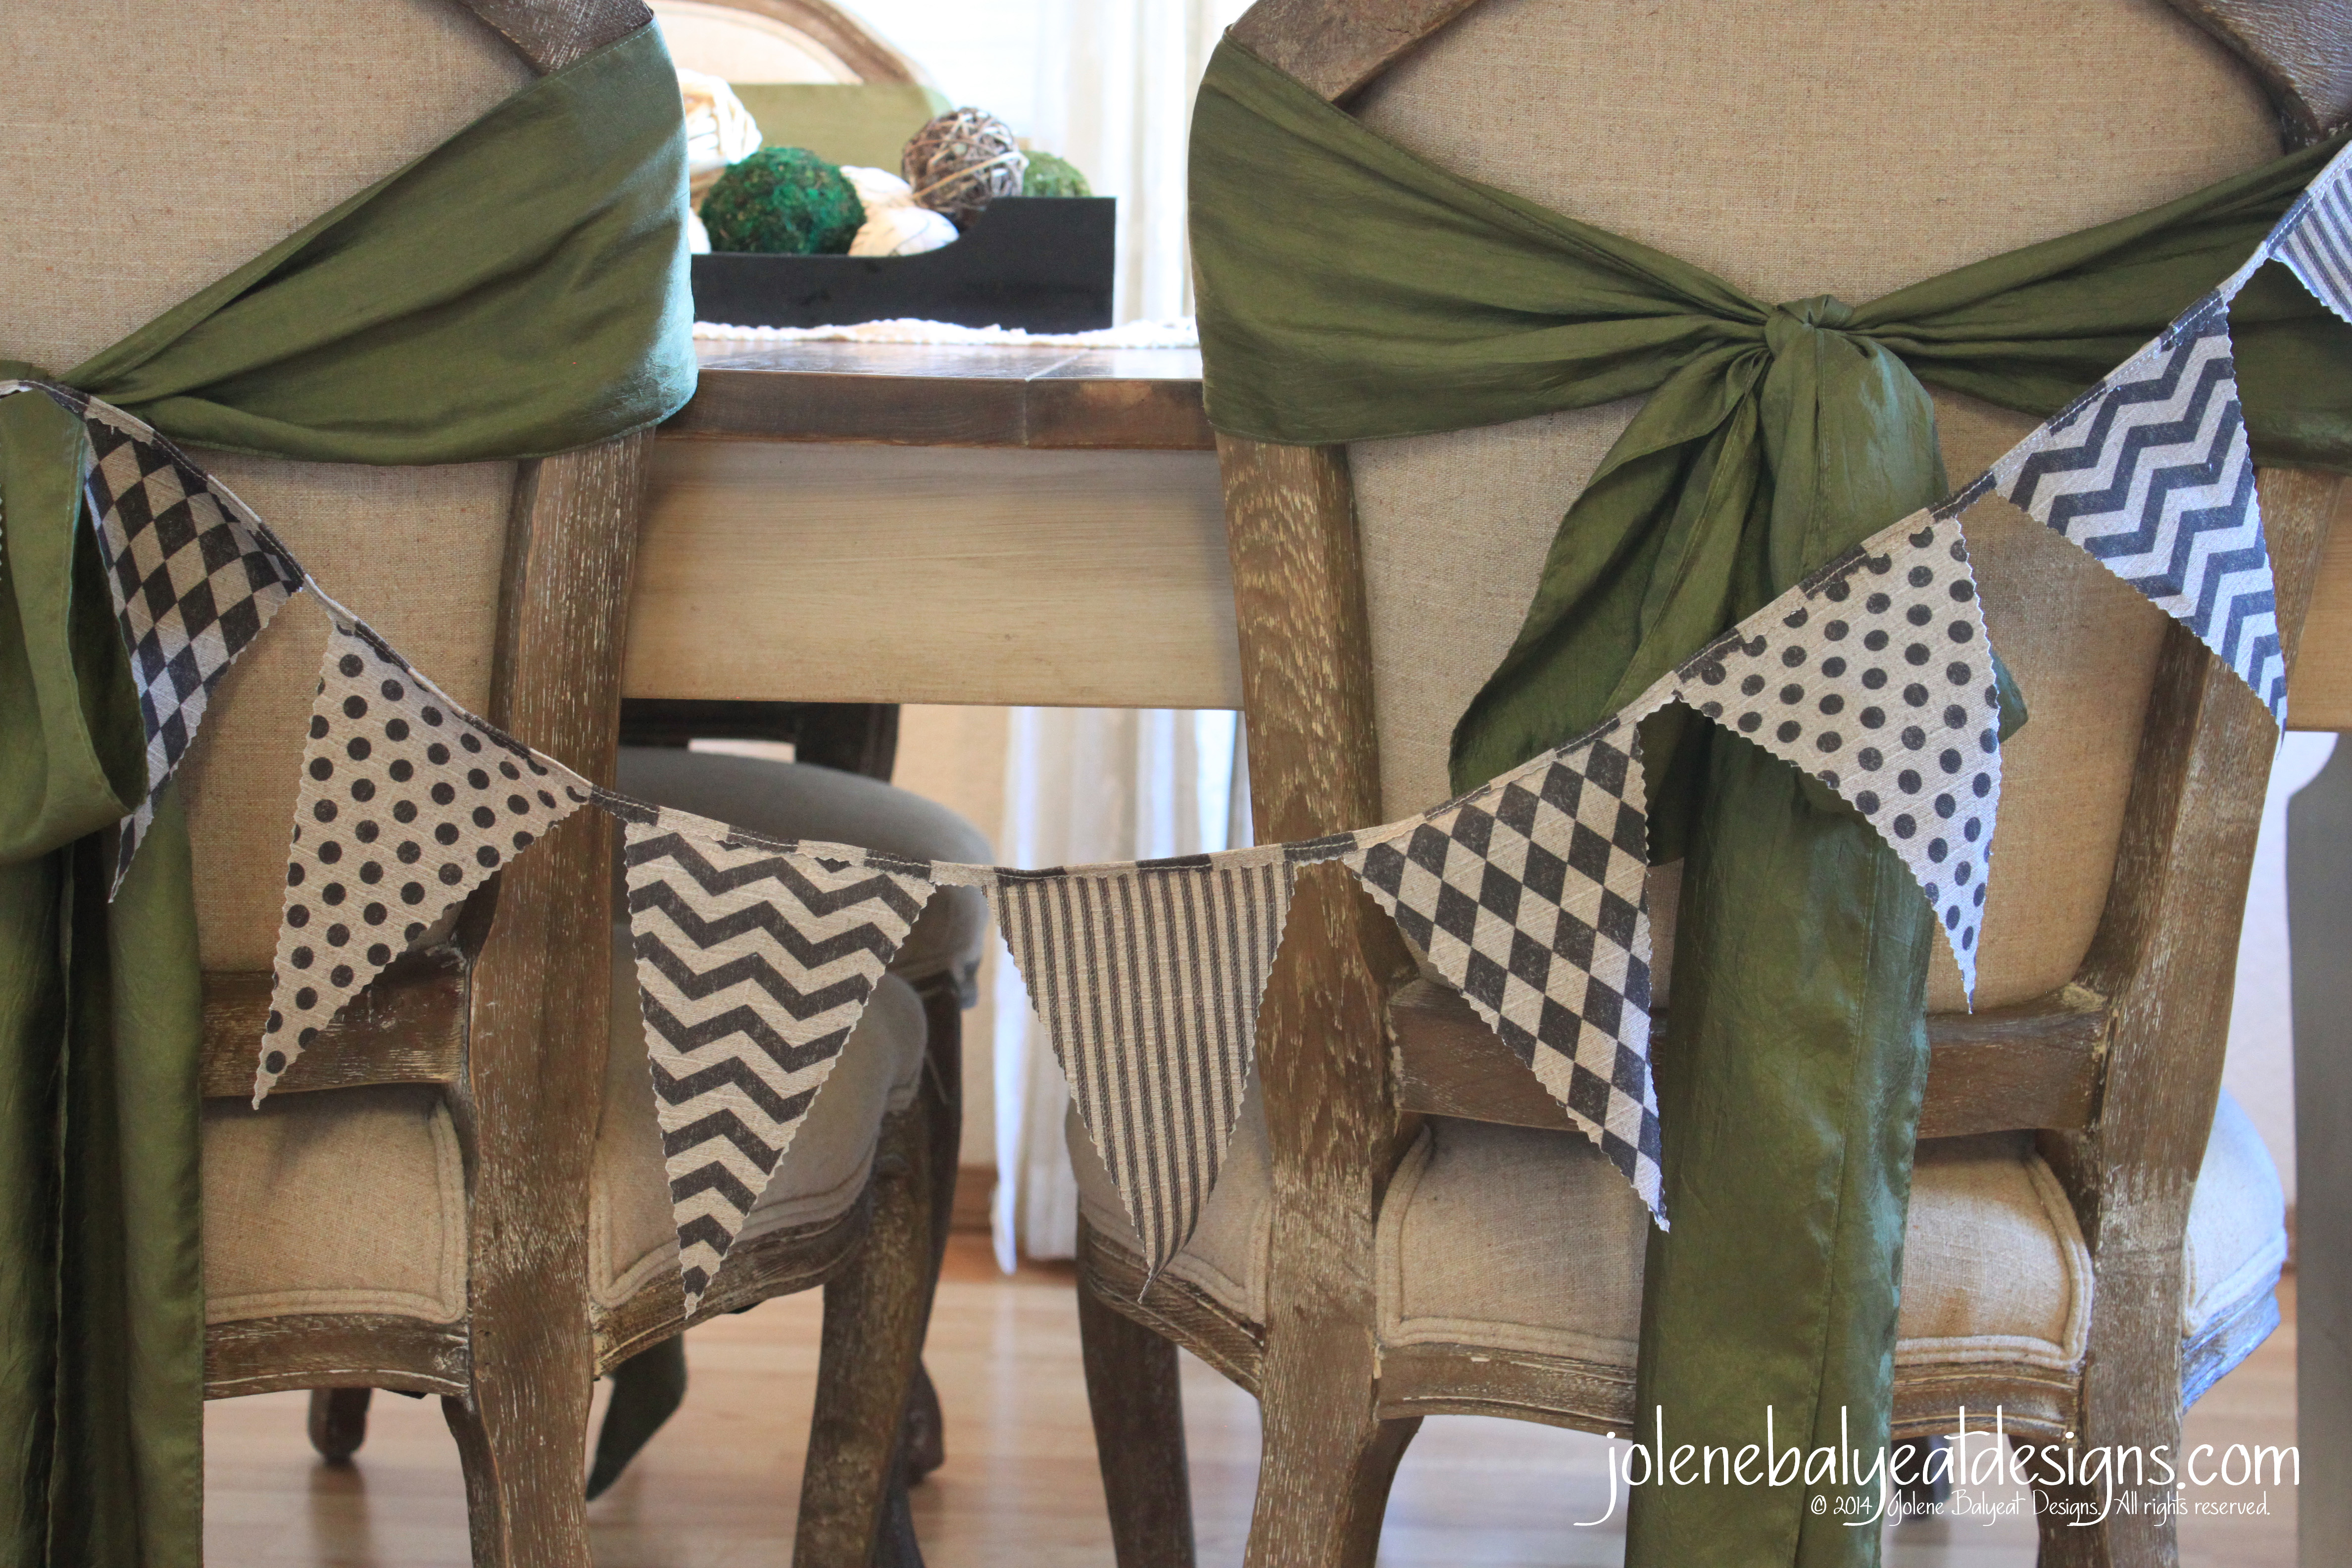
1. Cut out the flags and border strip with pinking shears.
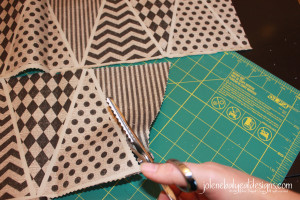
2. Lay out the pieces in an alternating pattern.
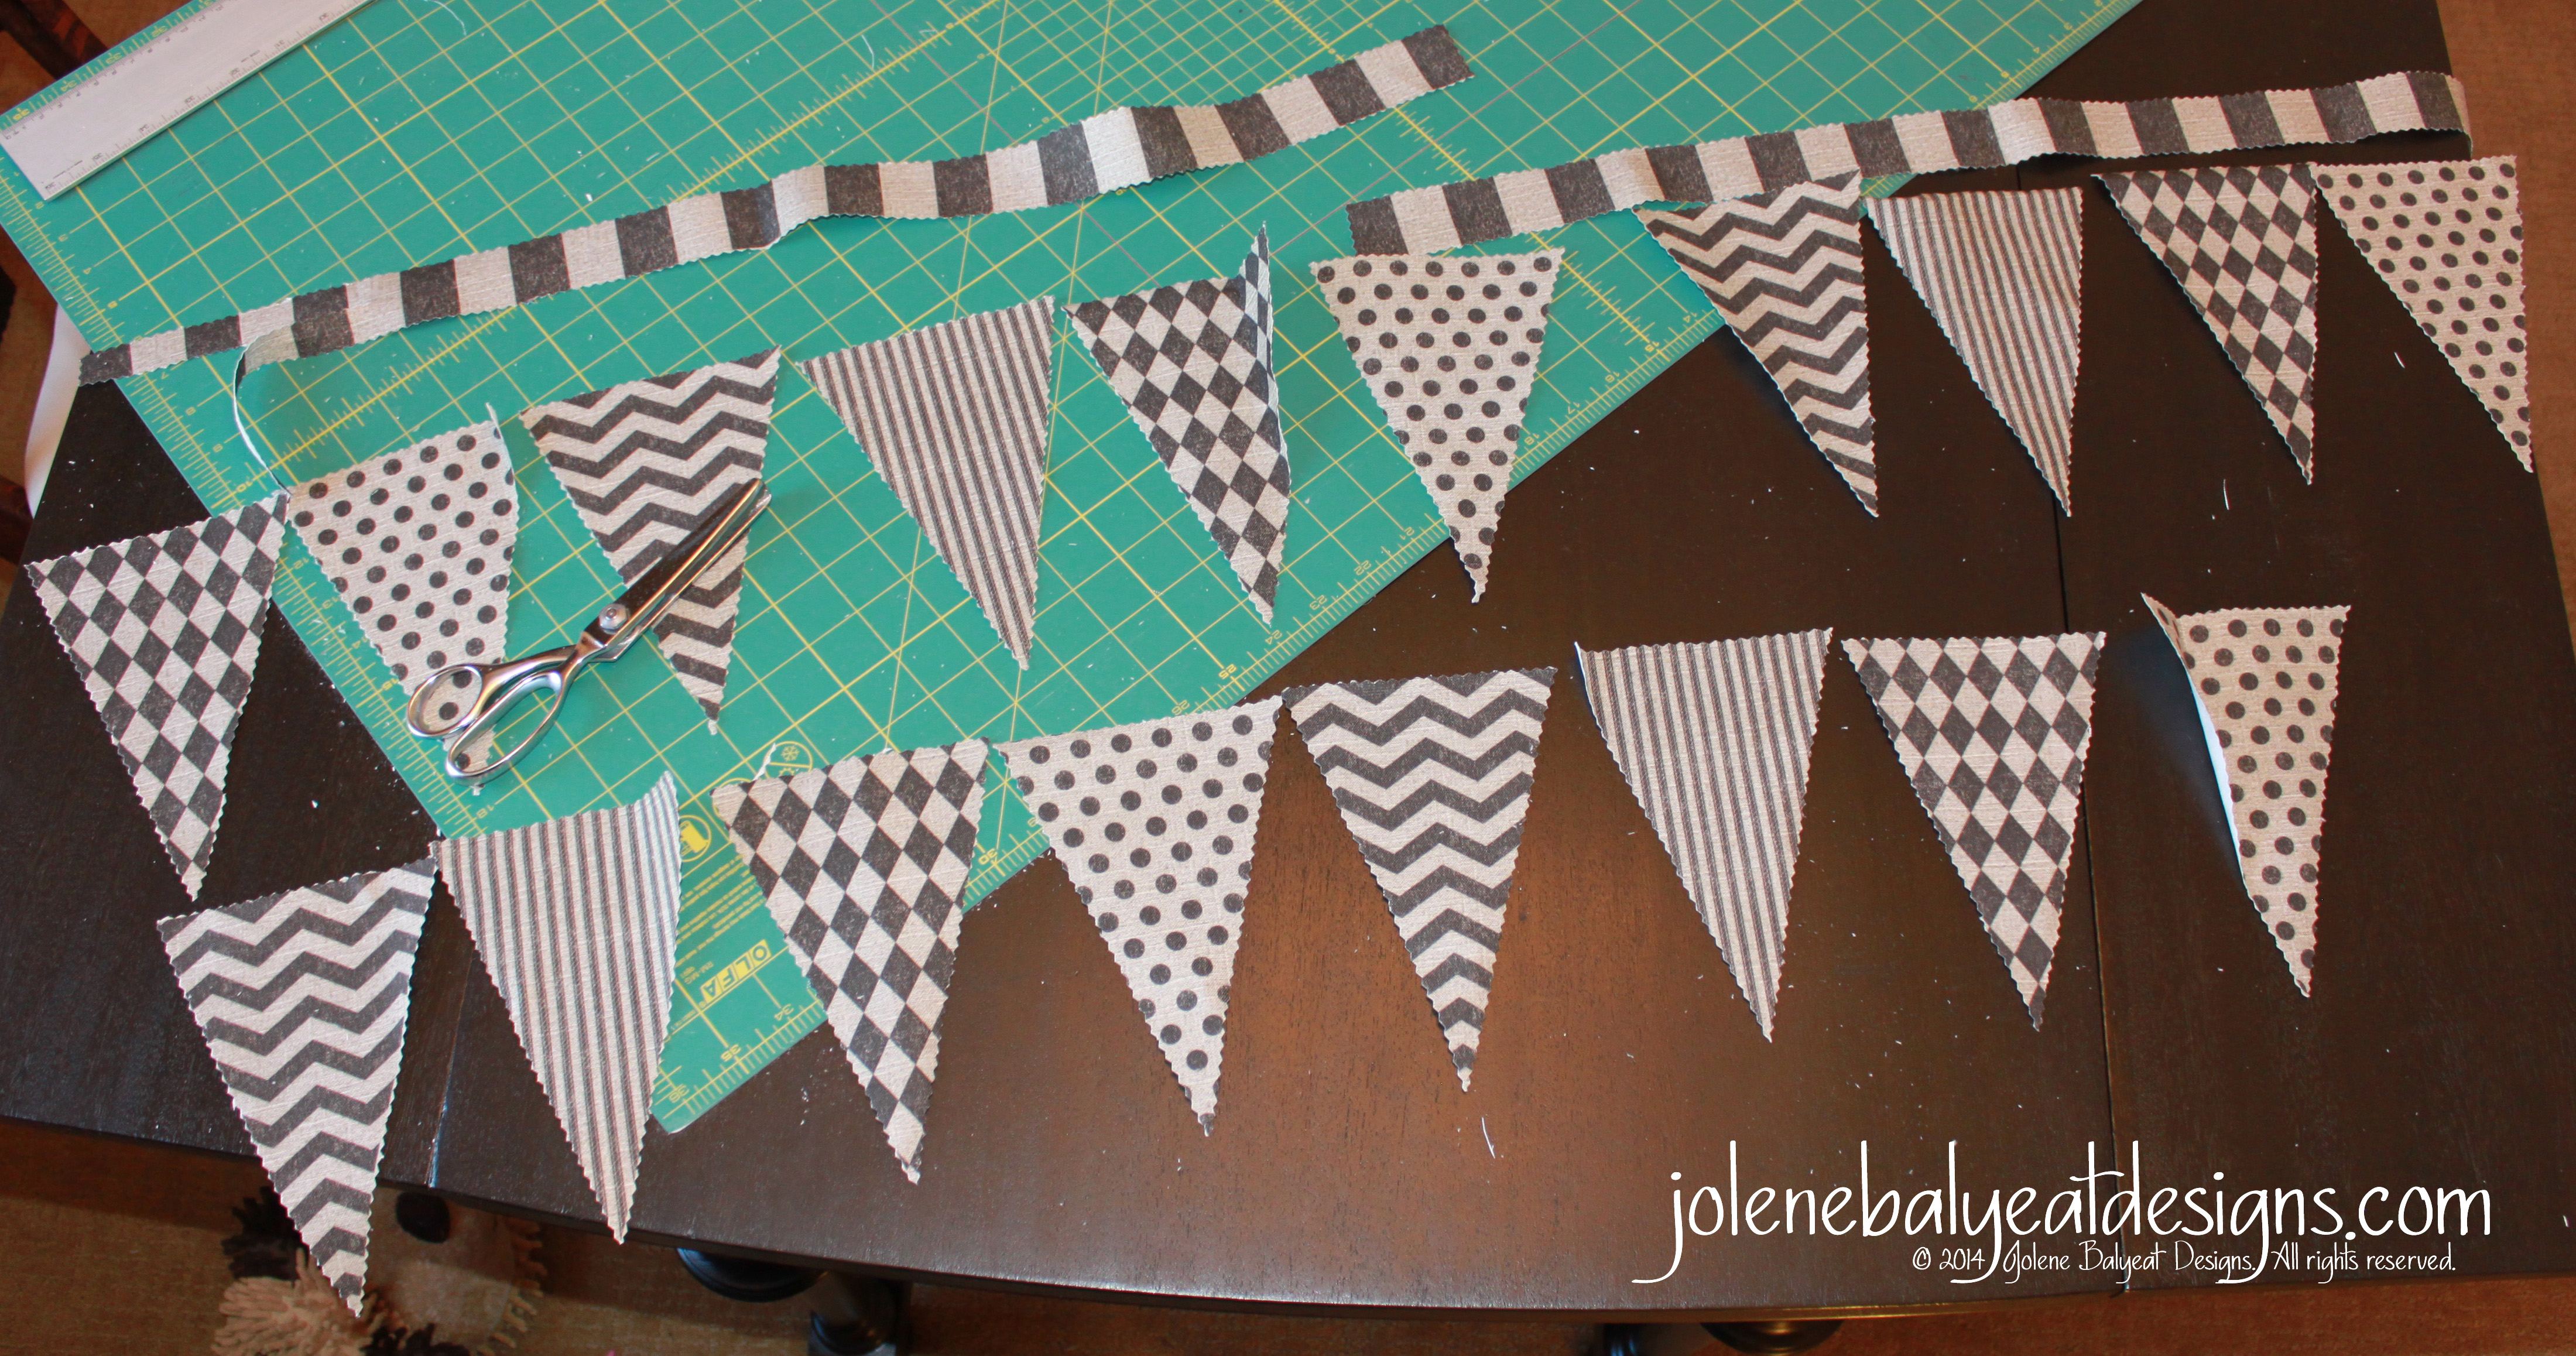
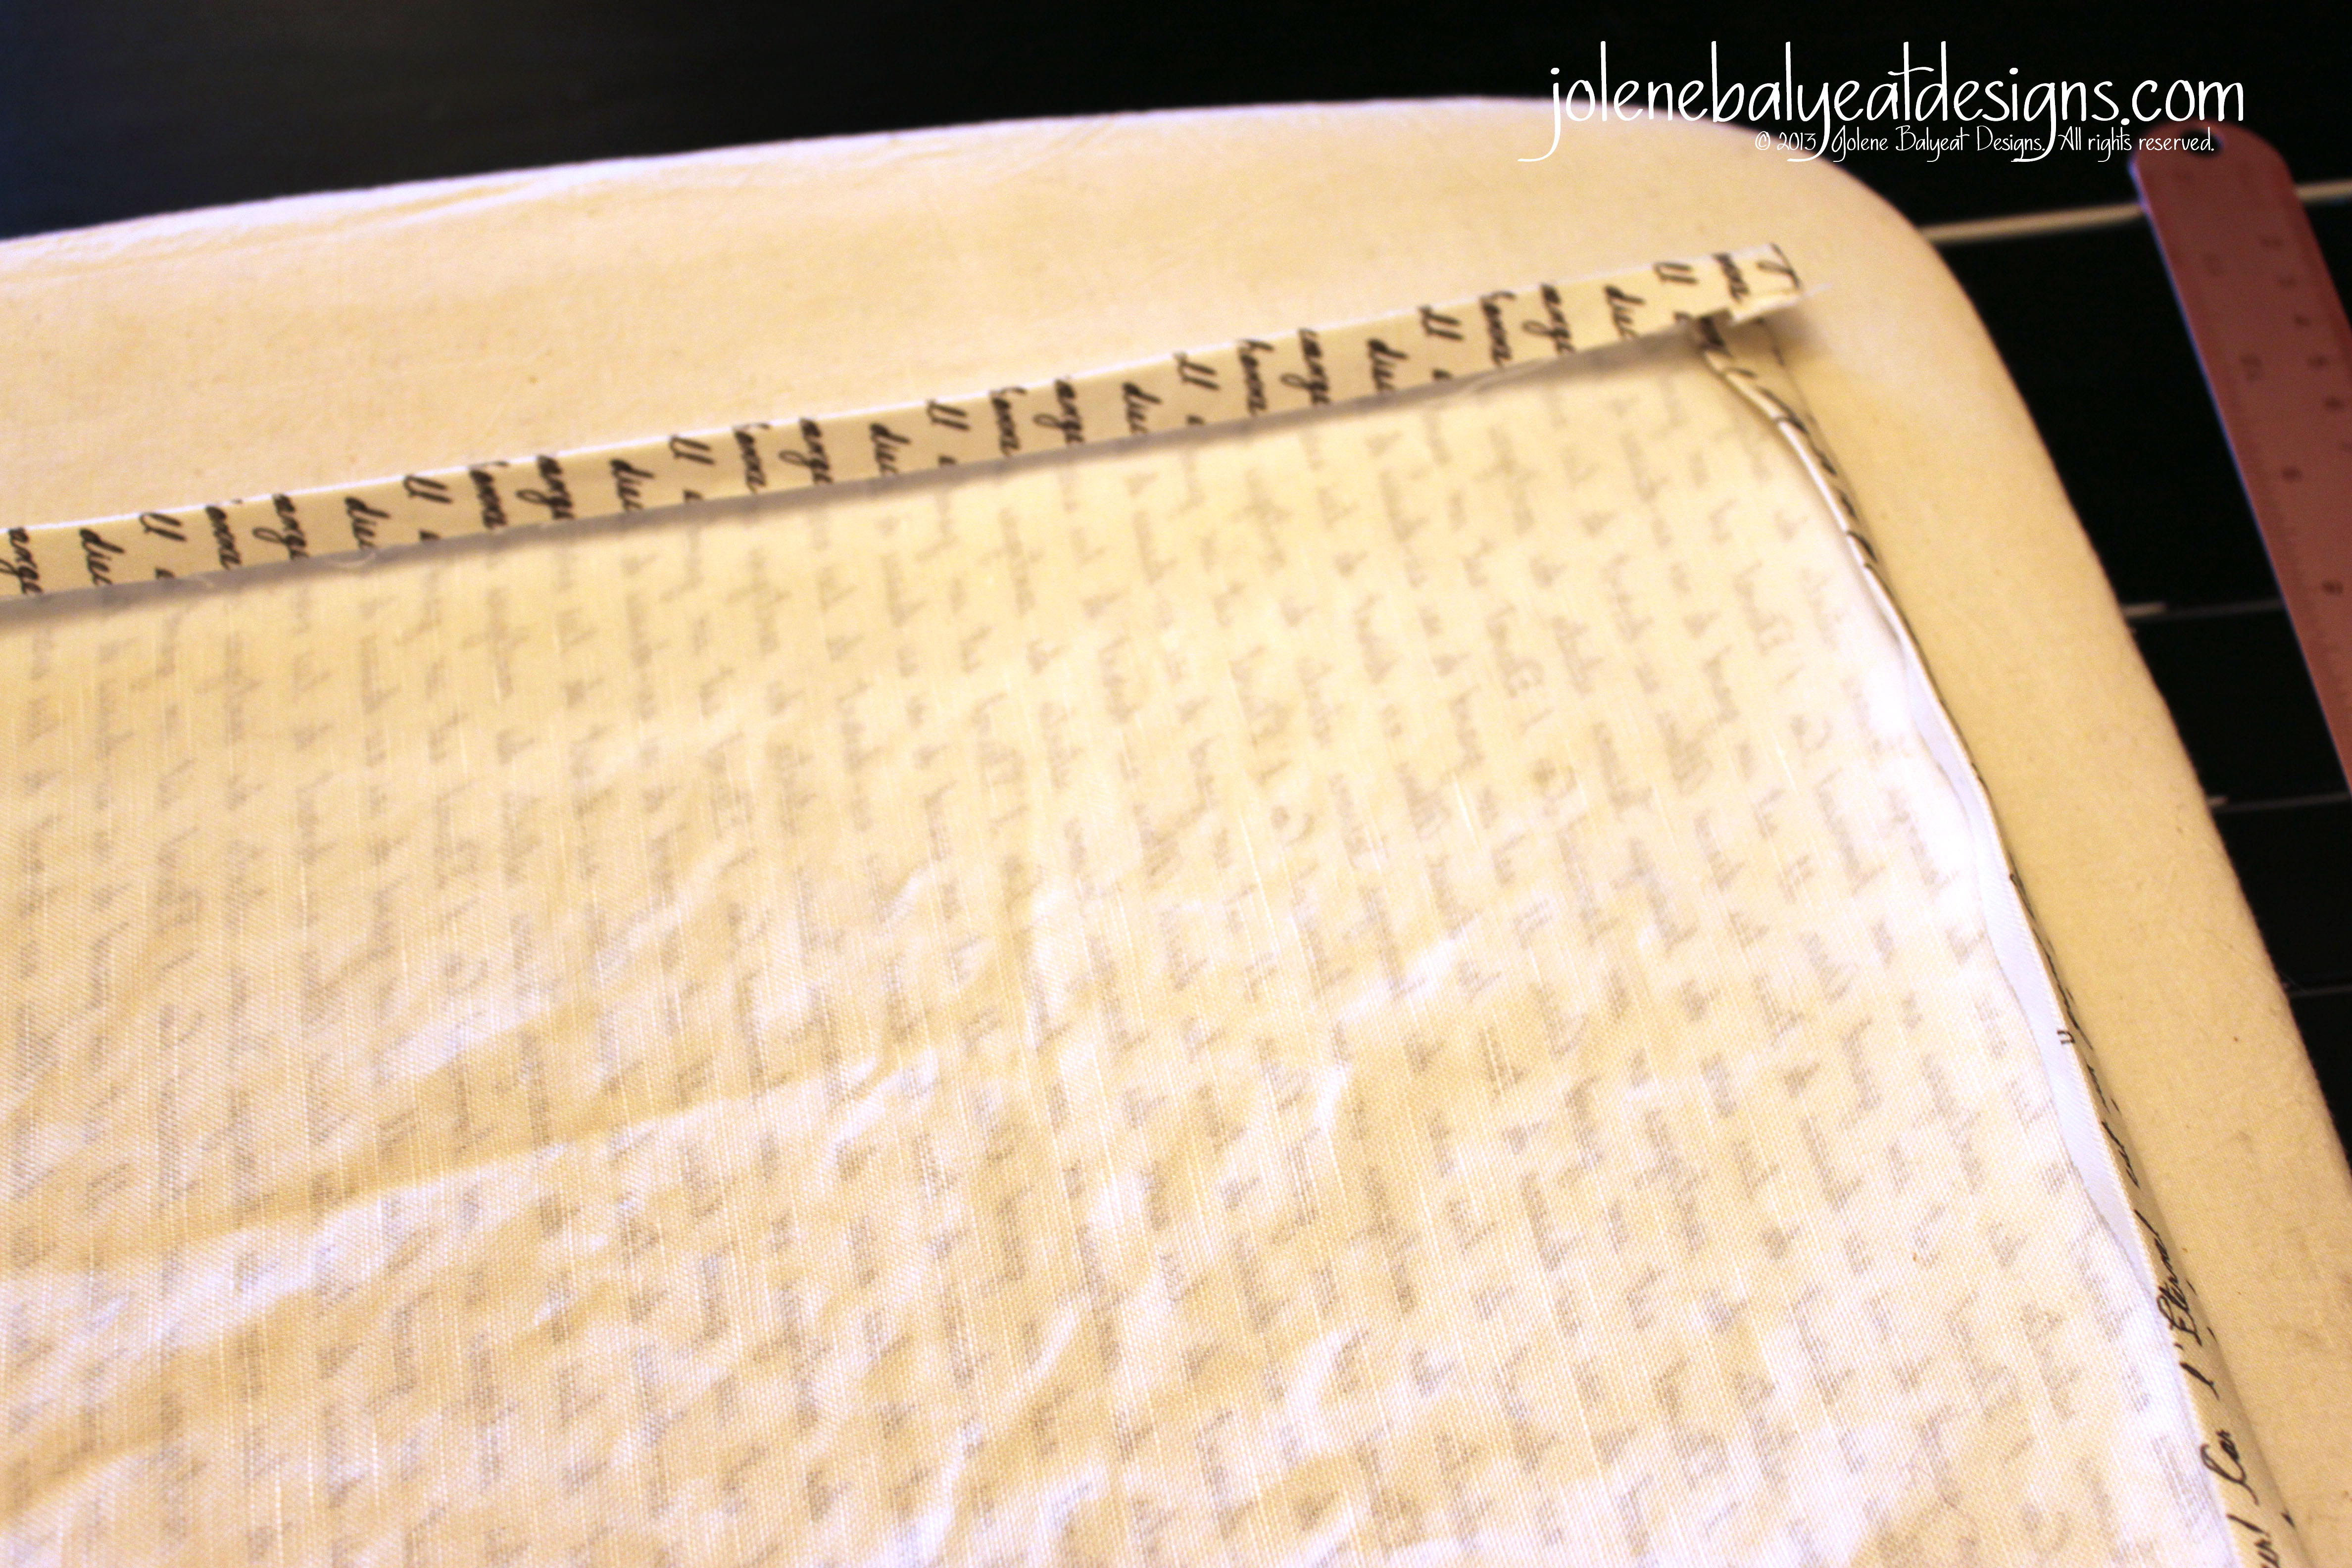
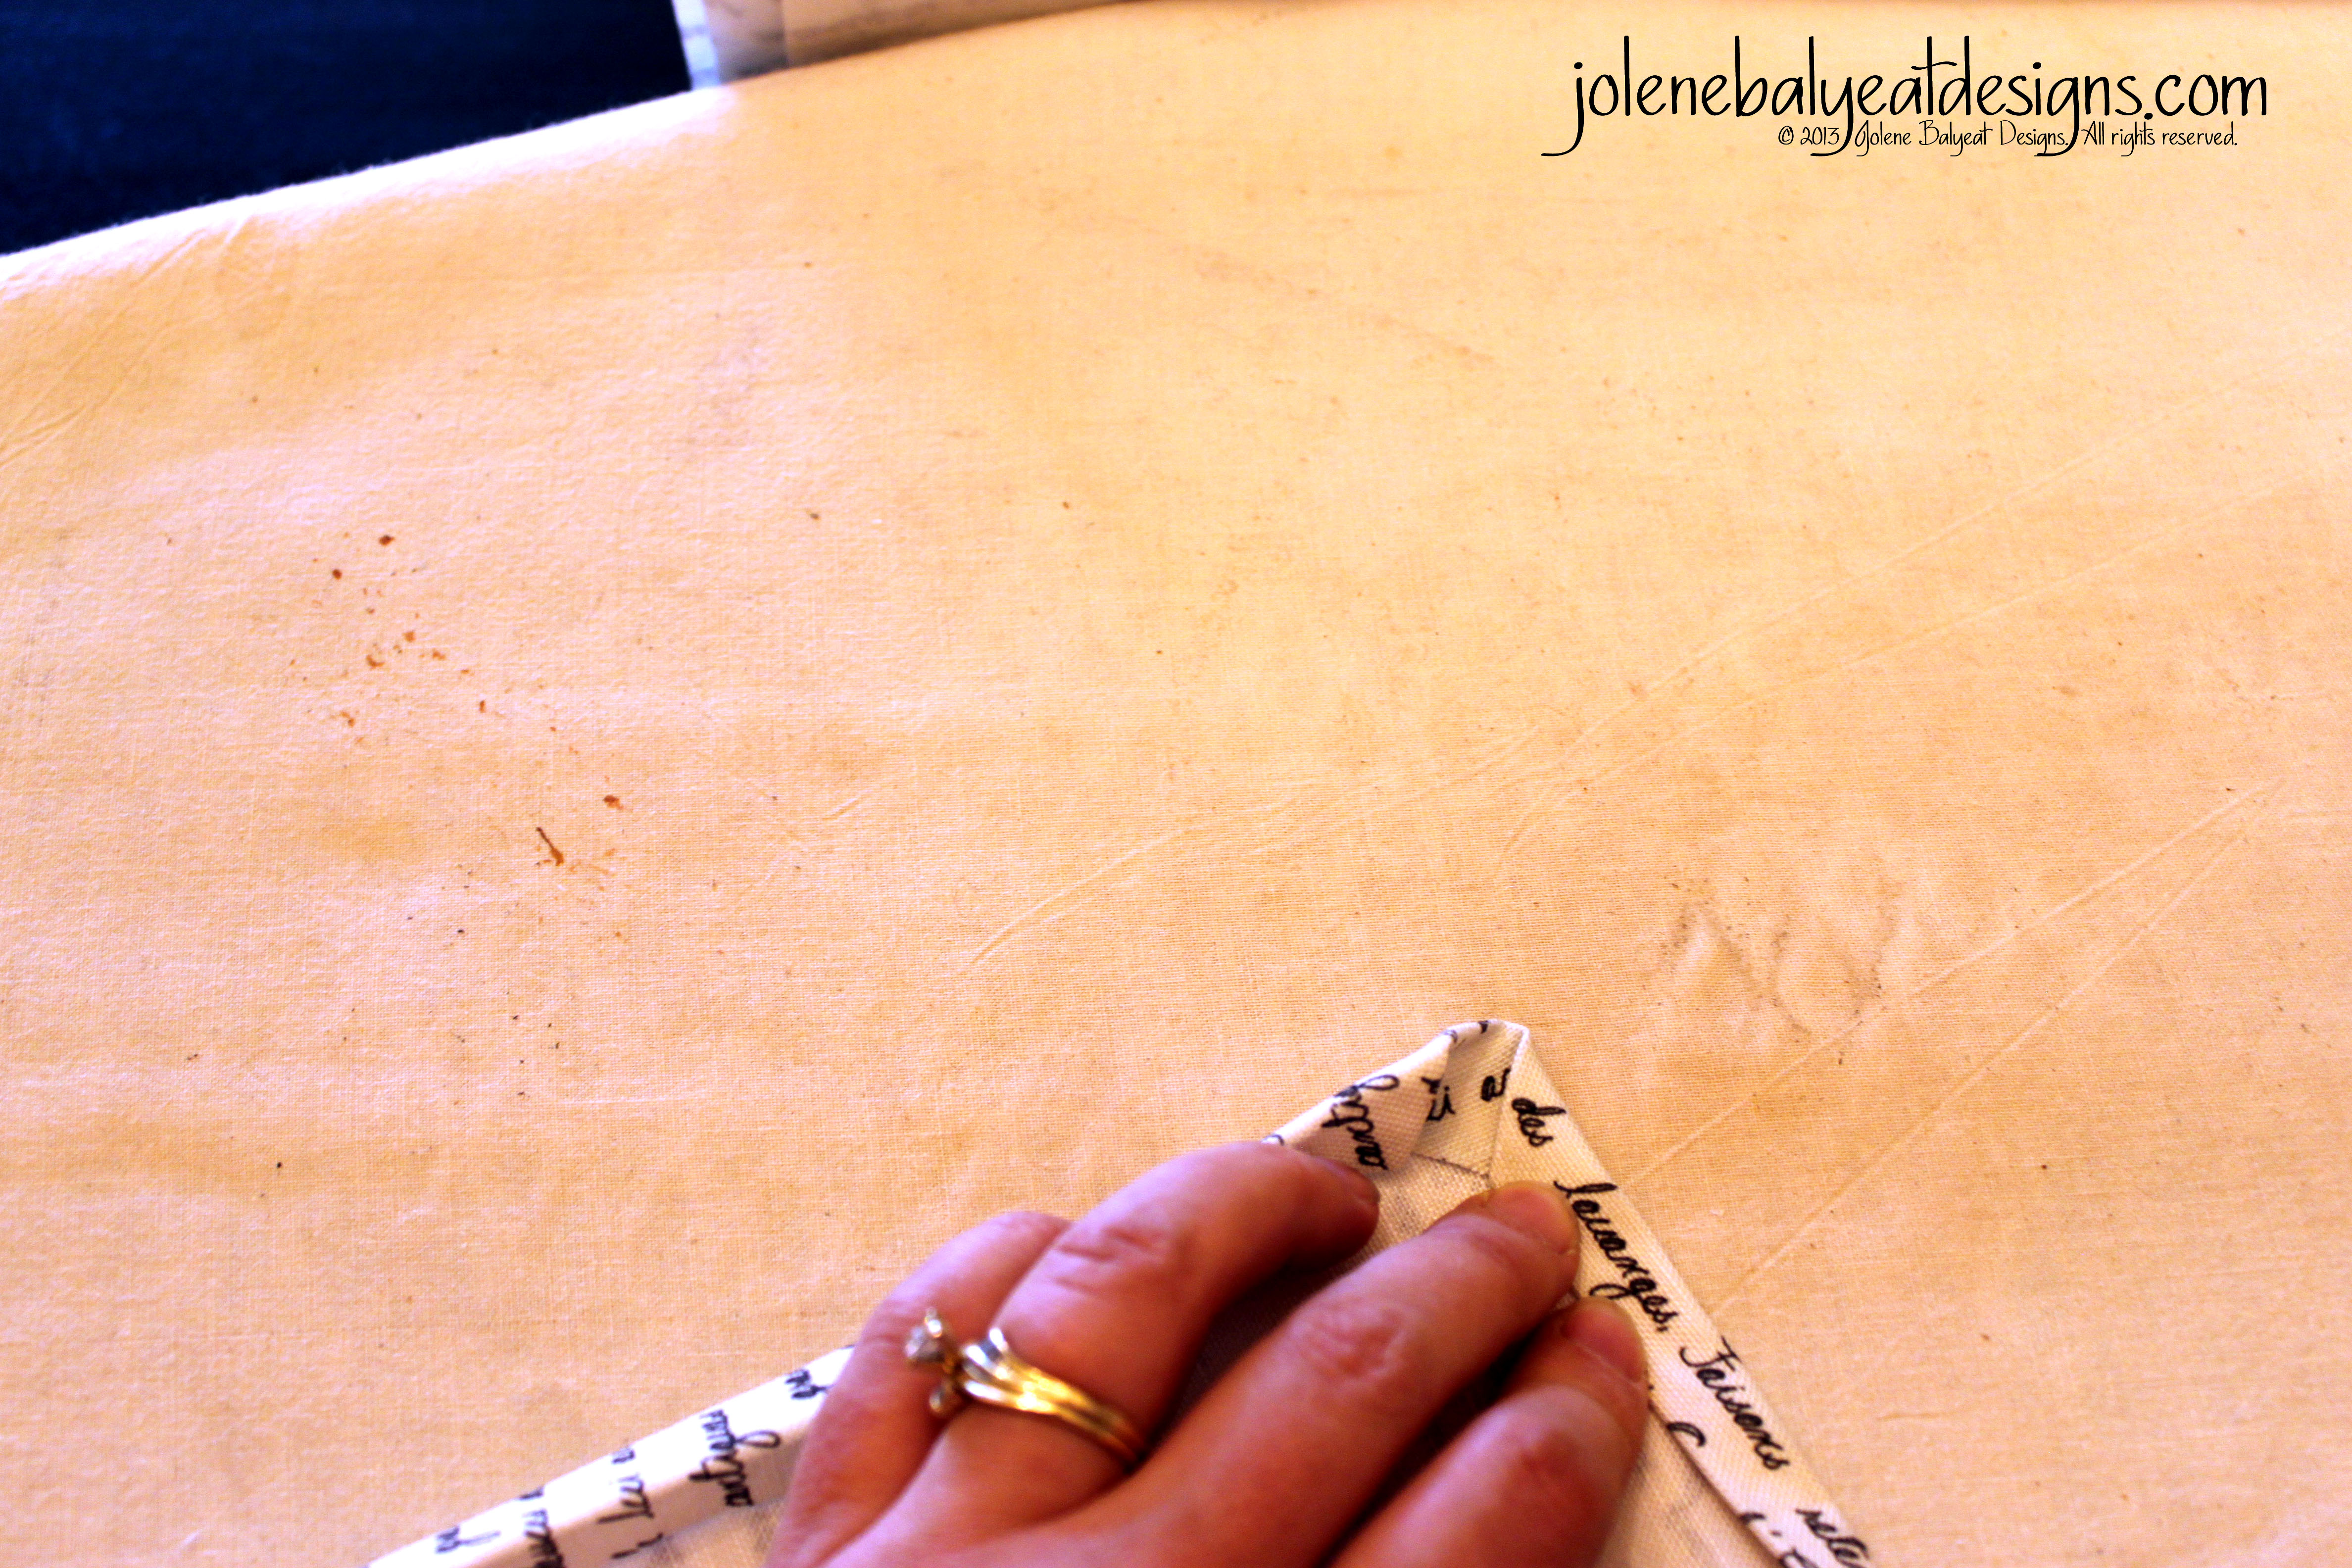
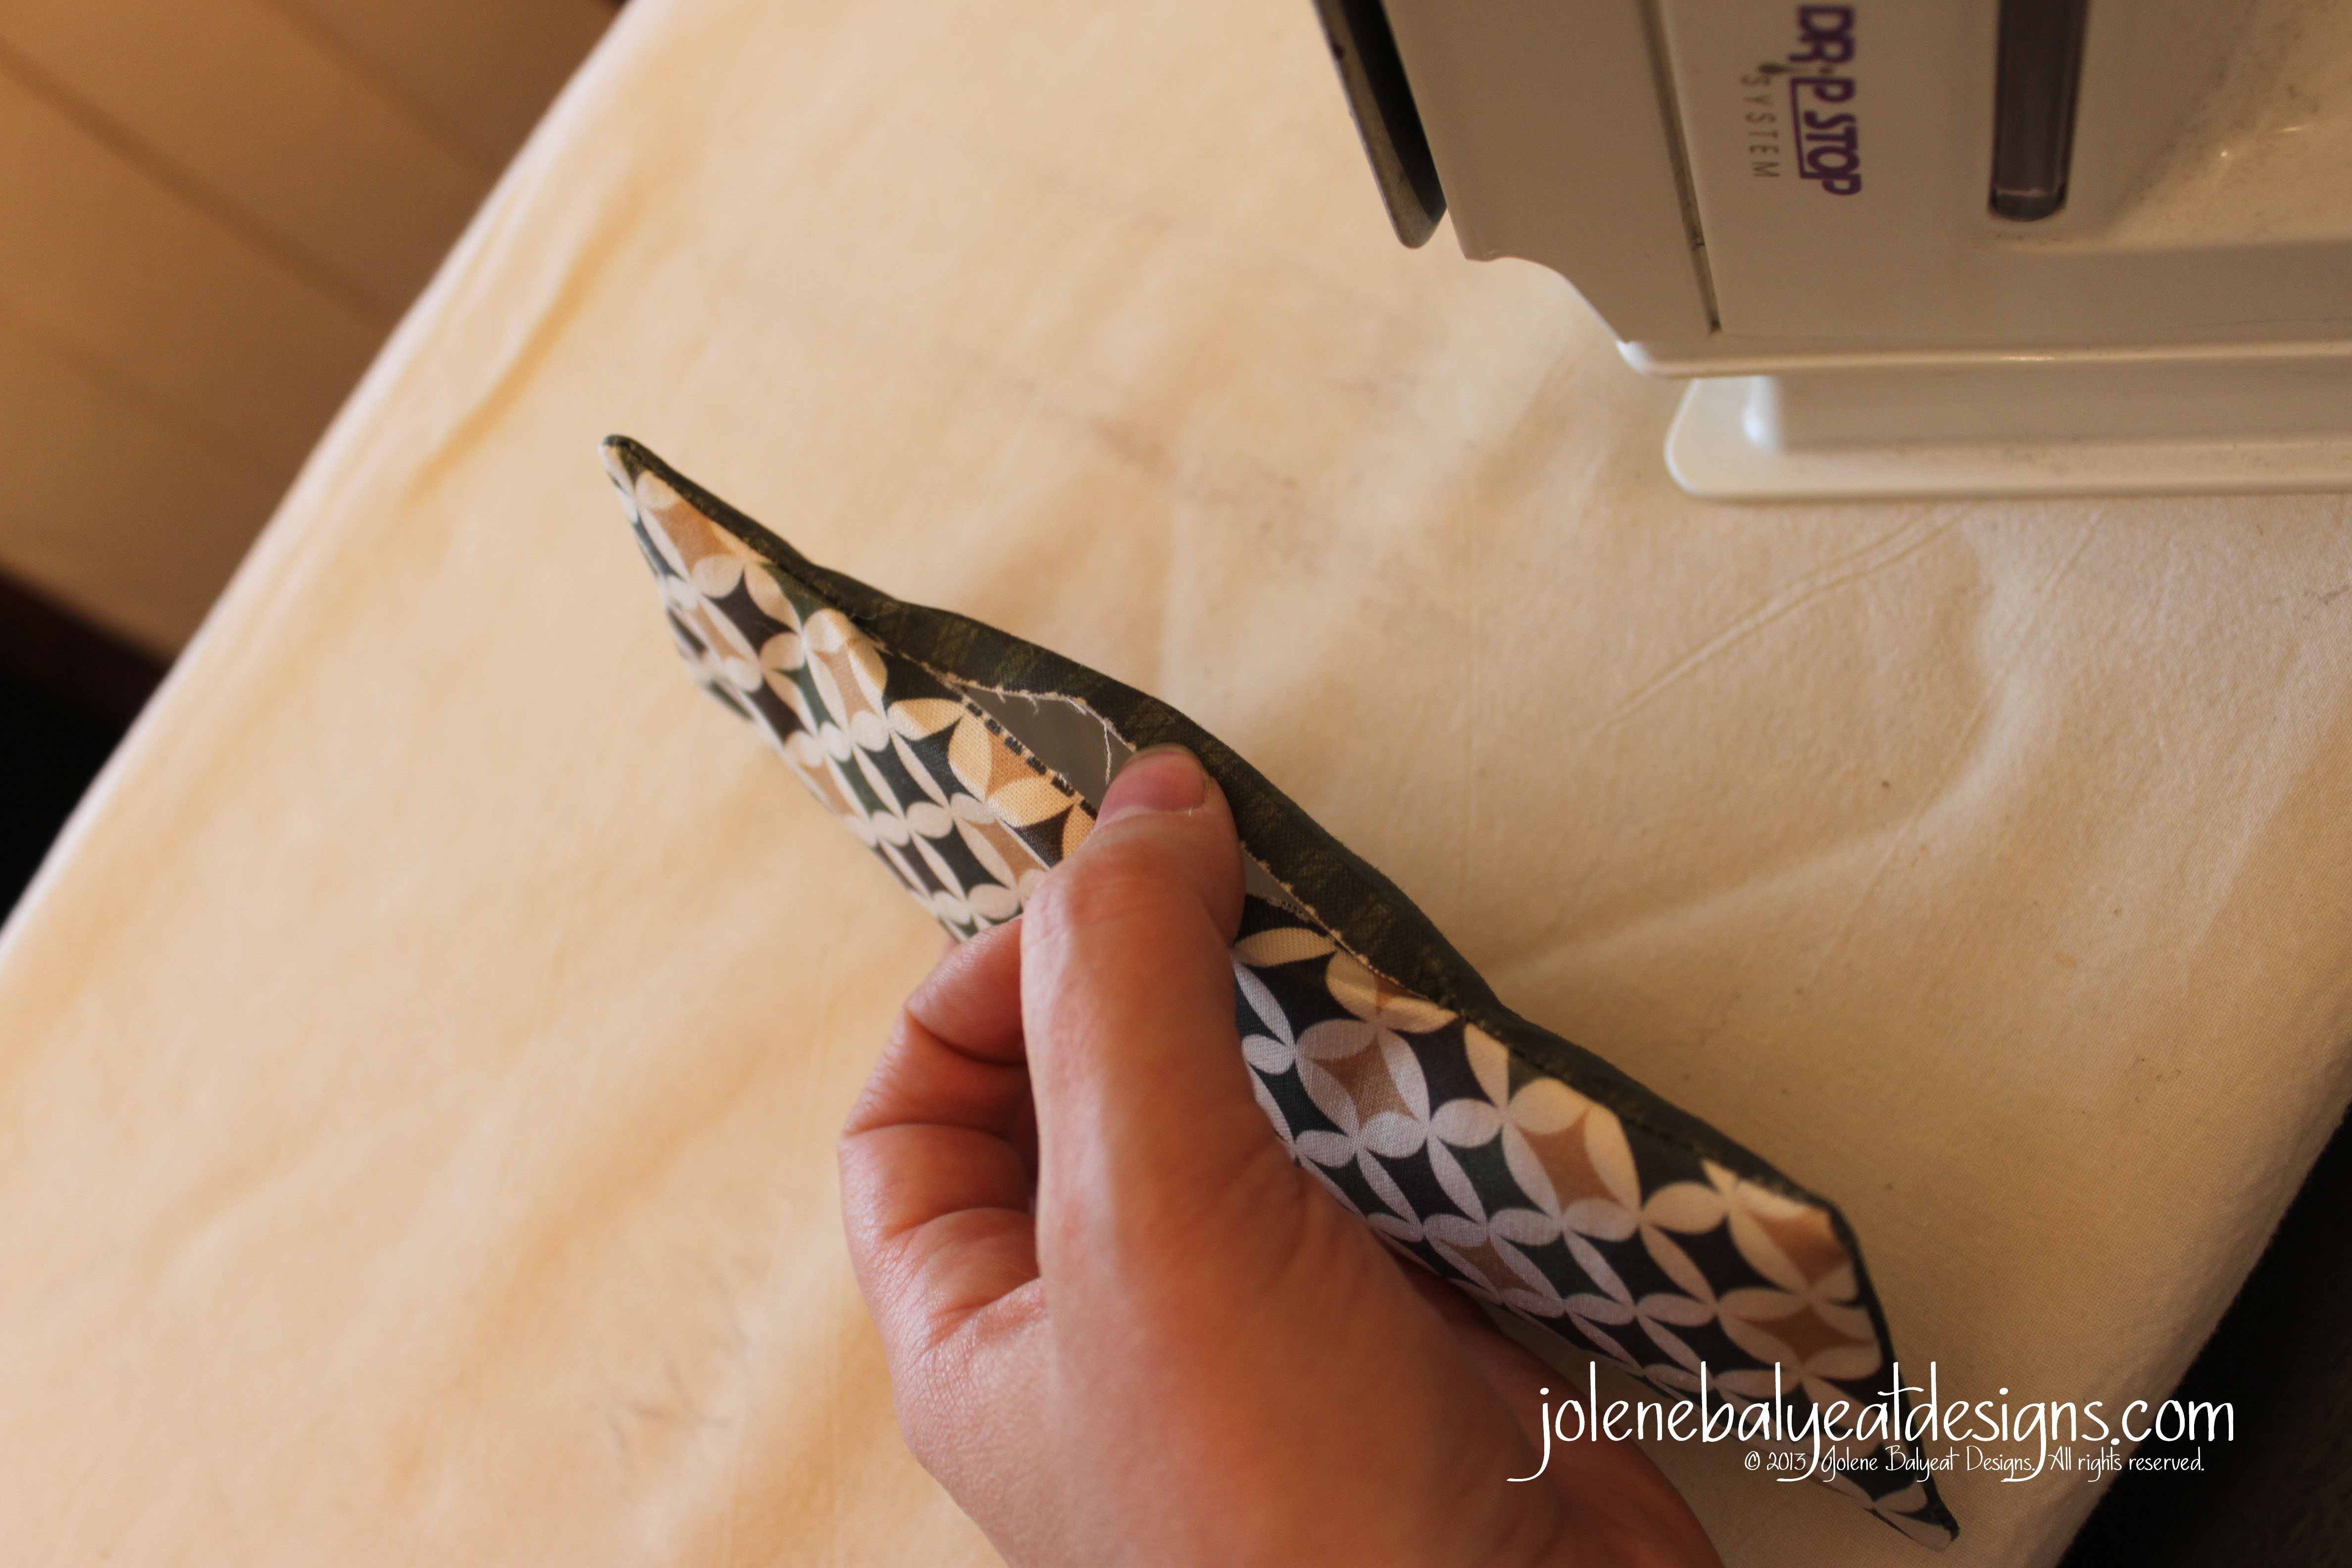
3. If you are doing one sided bunting, cut the border strip down the middle with pinking shears. If you are doing a two sided bunting you won’t need as much length, so you may decide to keep the strip wider. Then you may decide to iron the strip in half and turn the raw edges in to the middle creating a (non) bias tape. I went with the rustic, raw edge look created by the pinking shears.
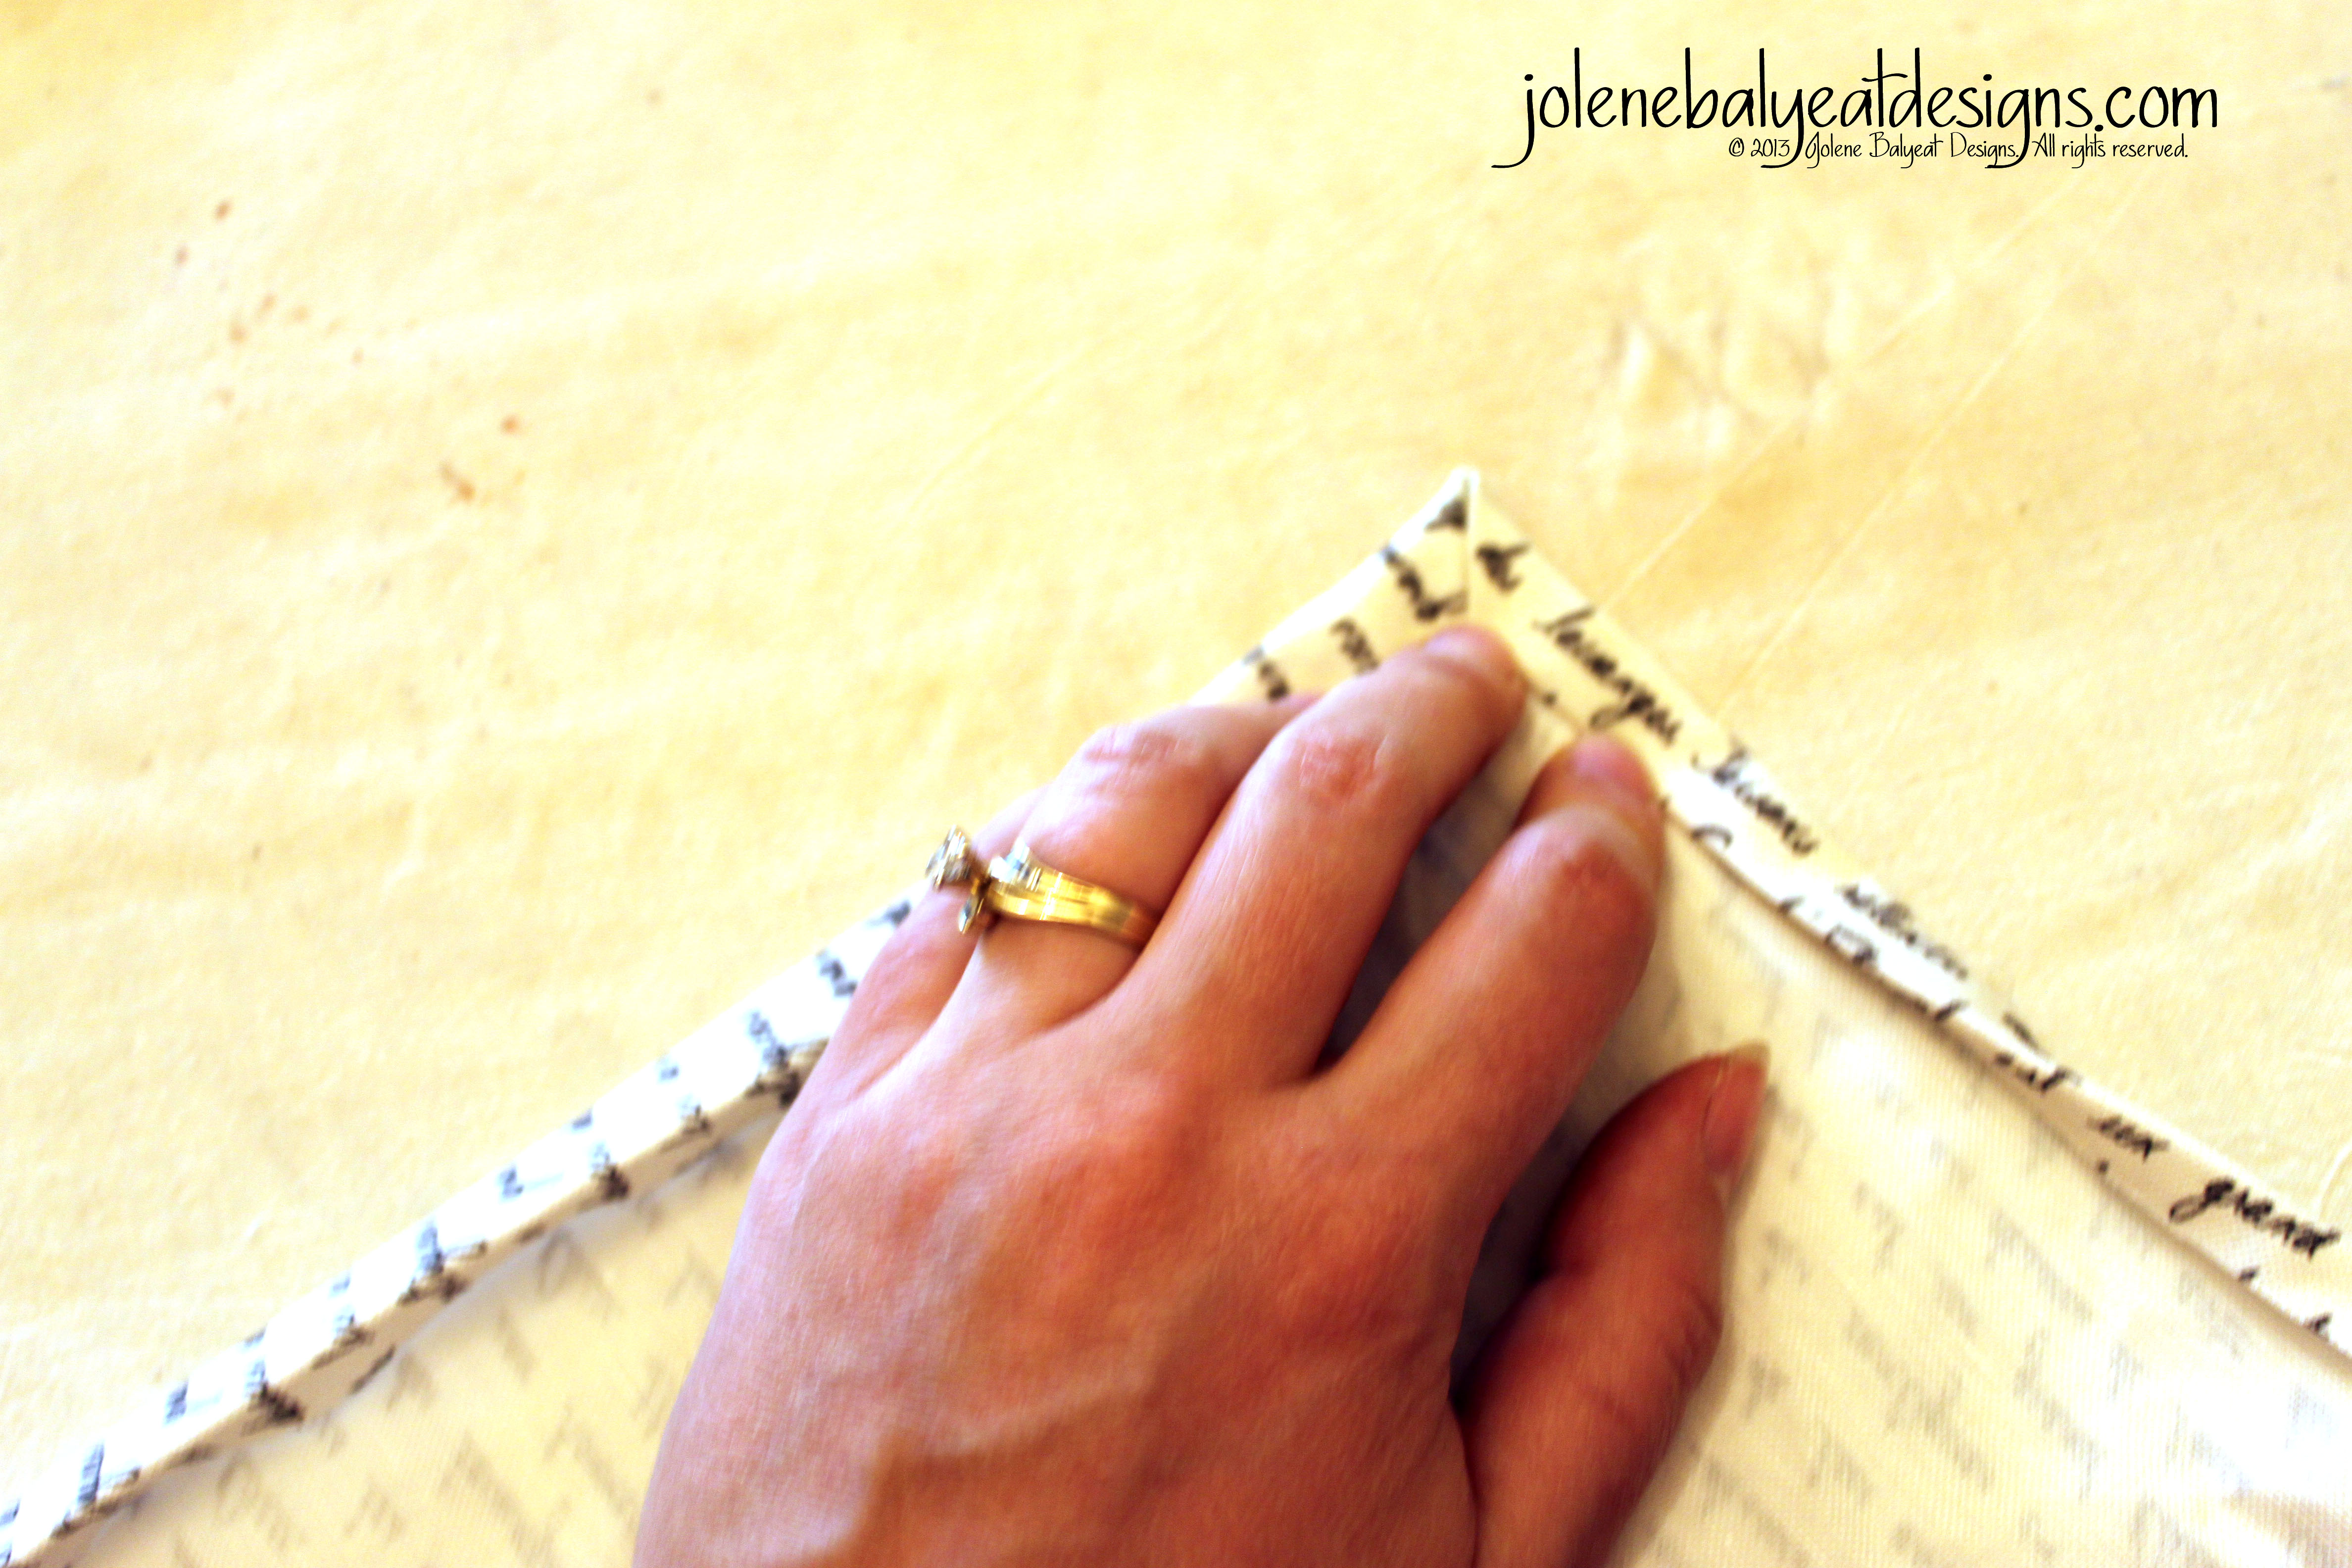
4. Count about 7 stripes in from the edging strip and sew the first flag on wrong side of edging strip with a straight stitch. Sew additional flags leaving approximately 1/2″ gaps between them.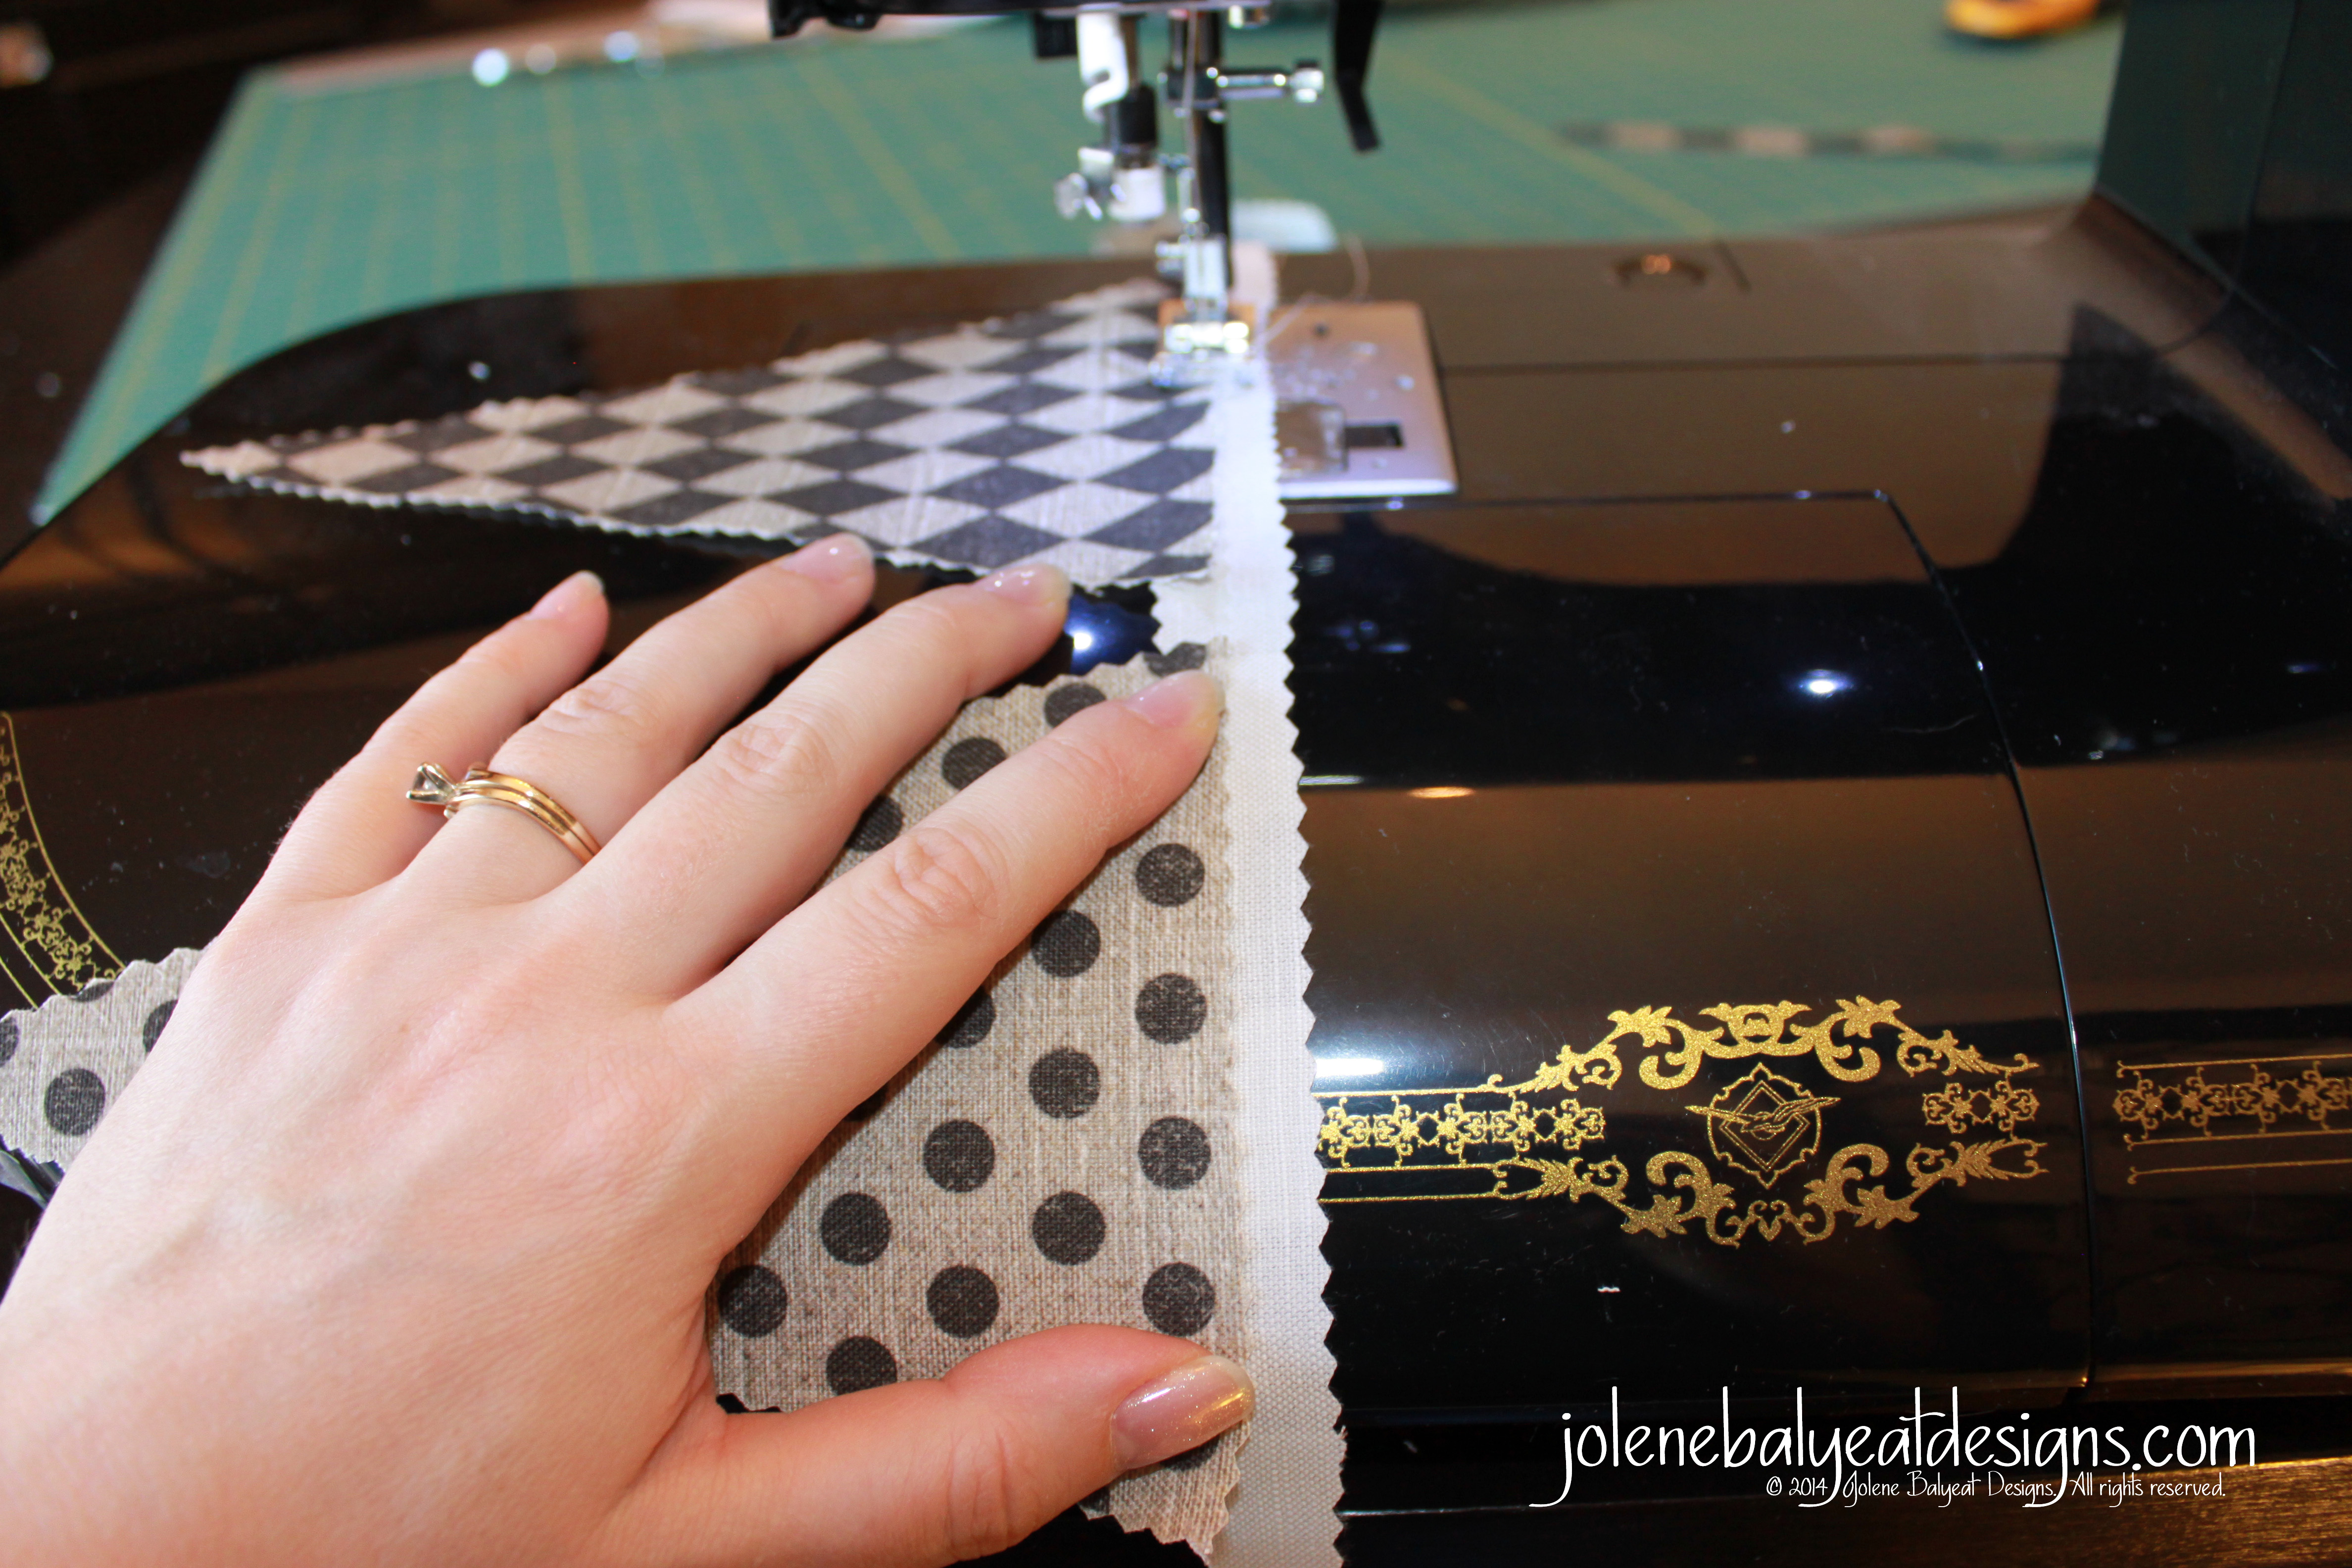
5. When you get near the end of the first edging strip, overlap the next piece and continue as before.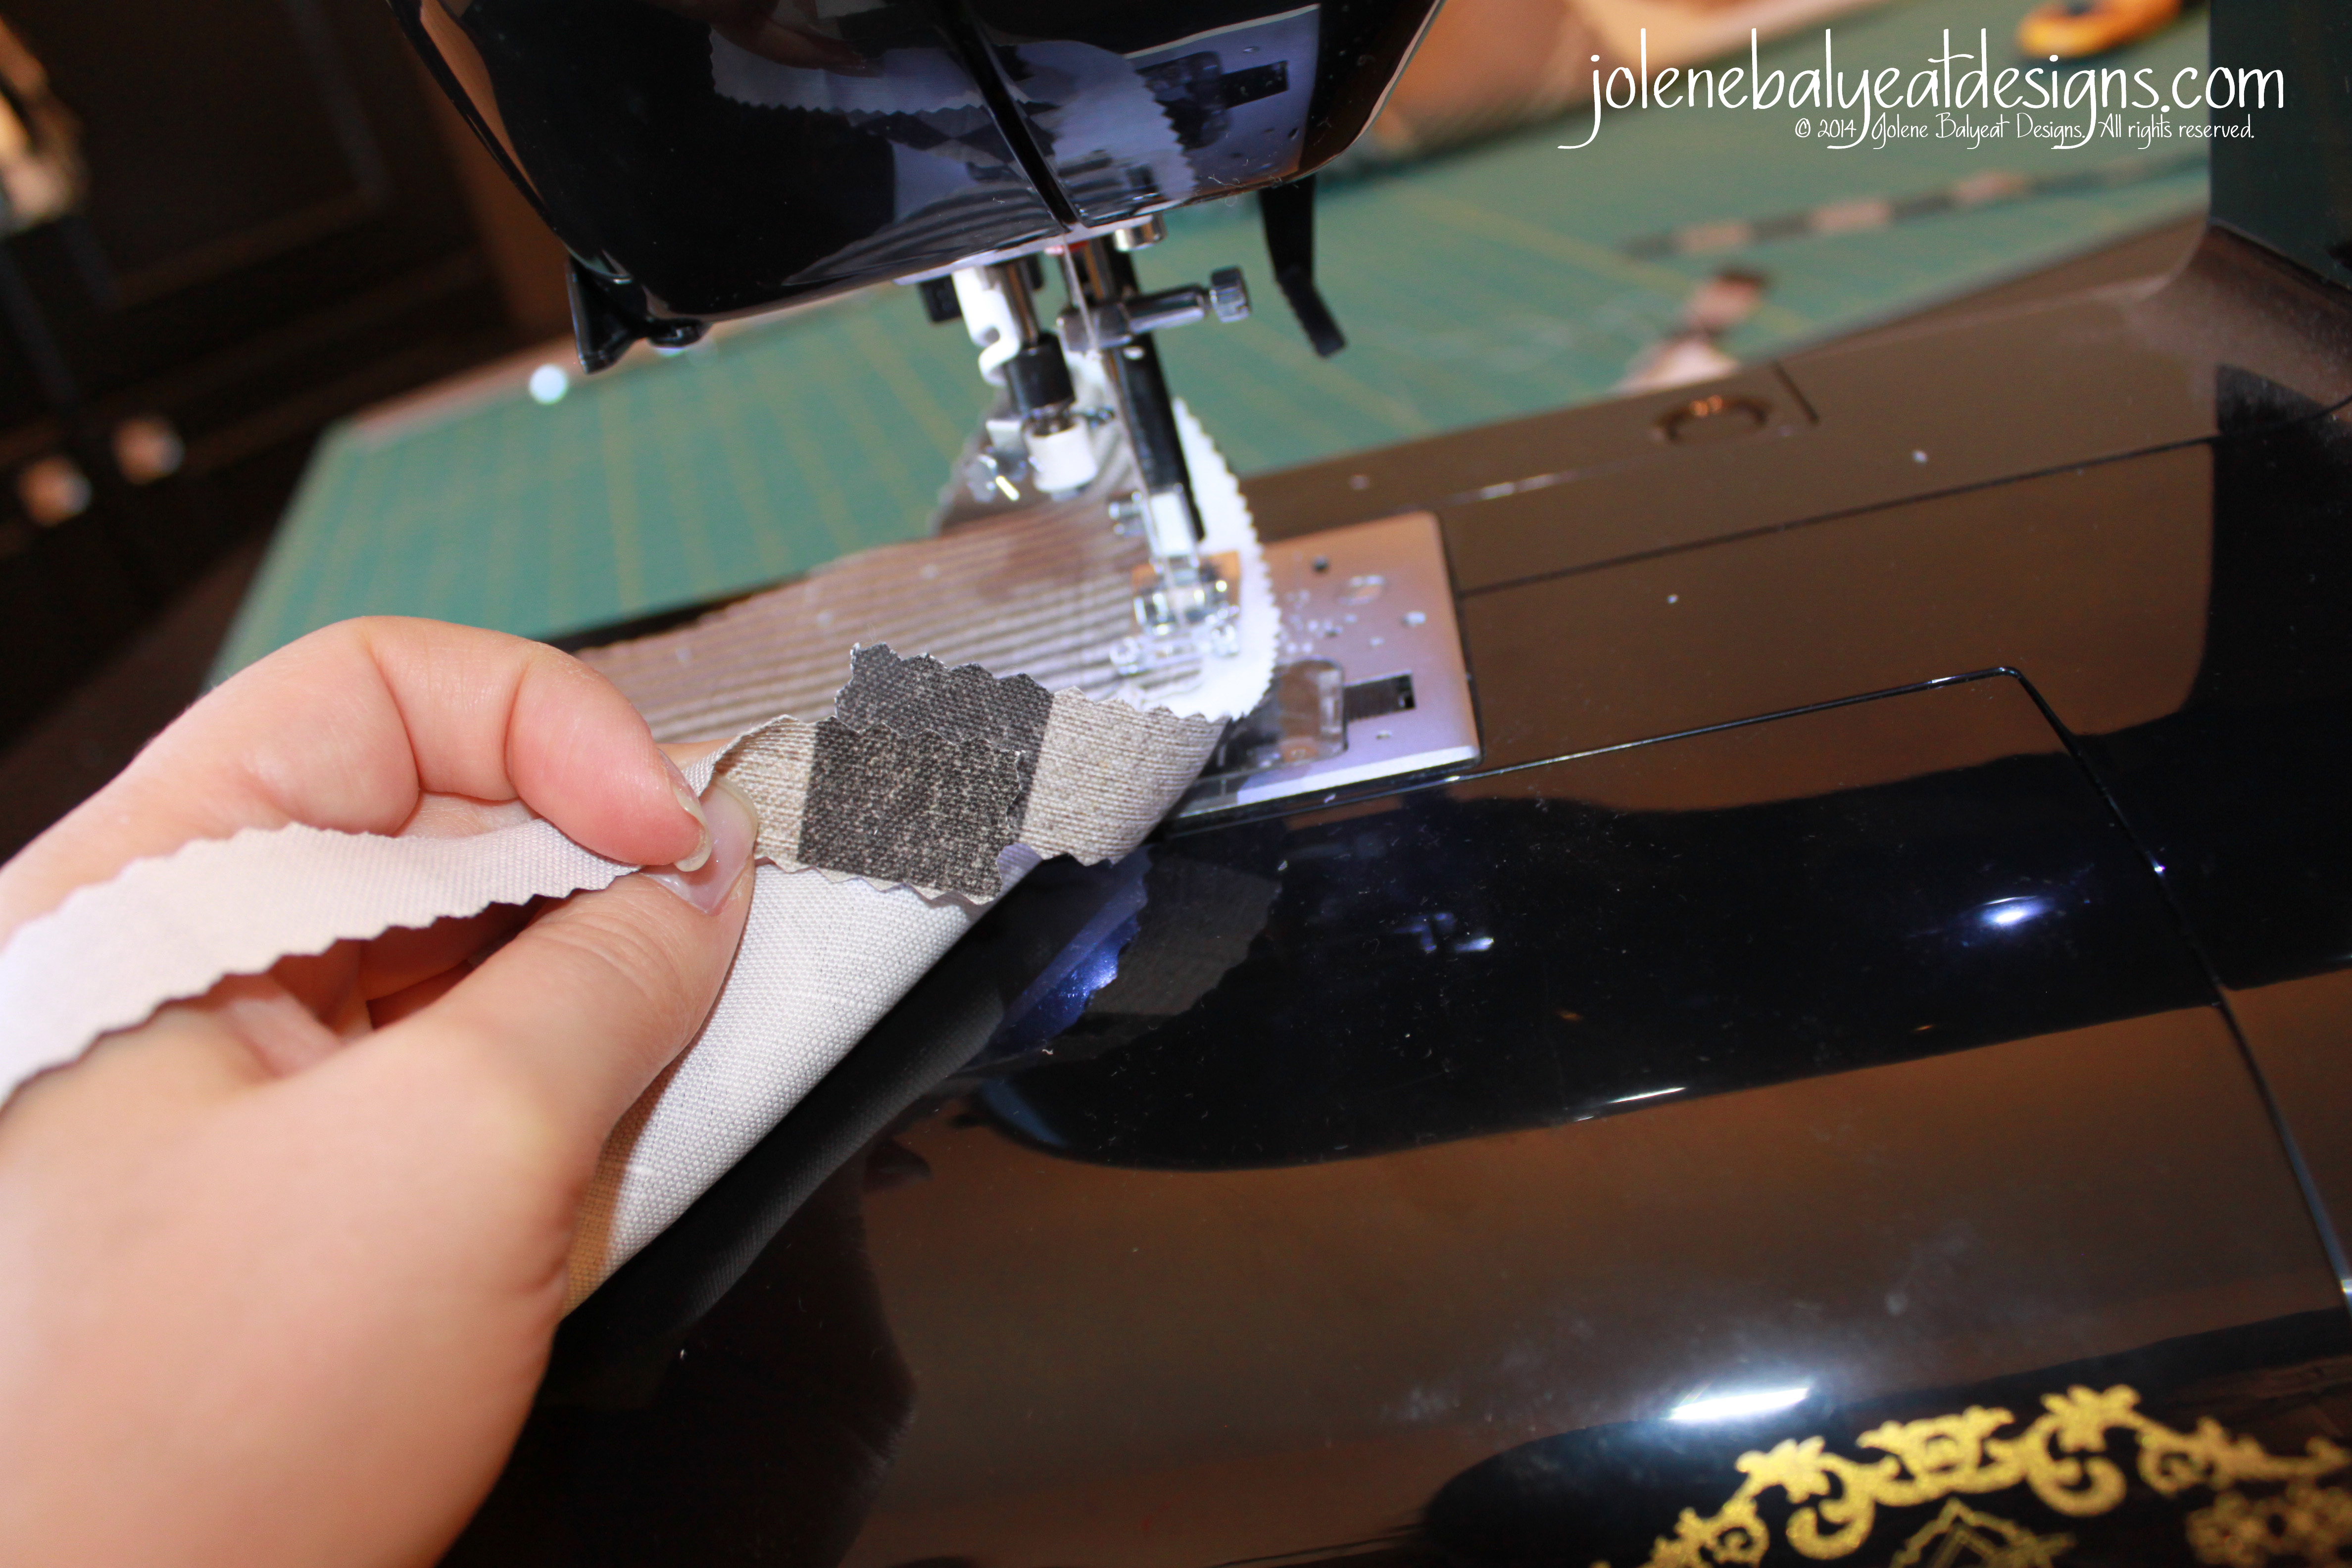
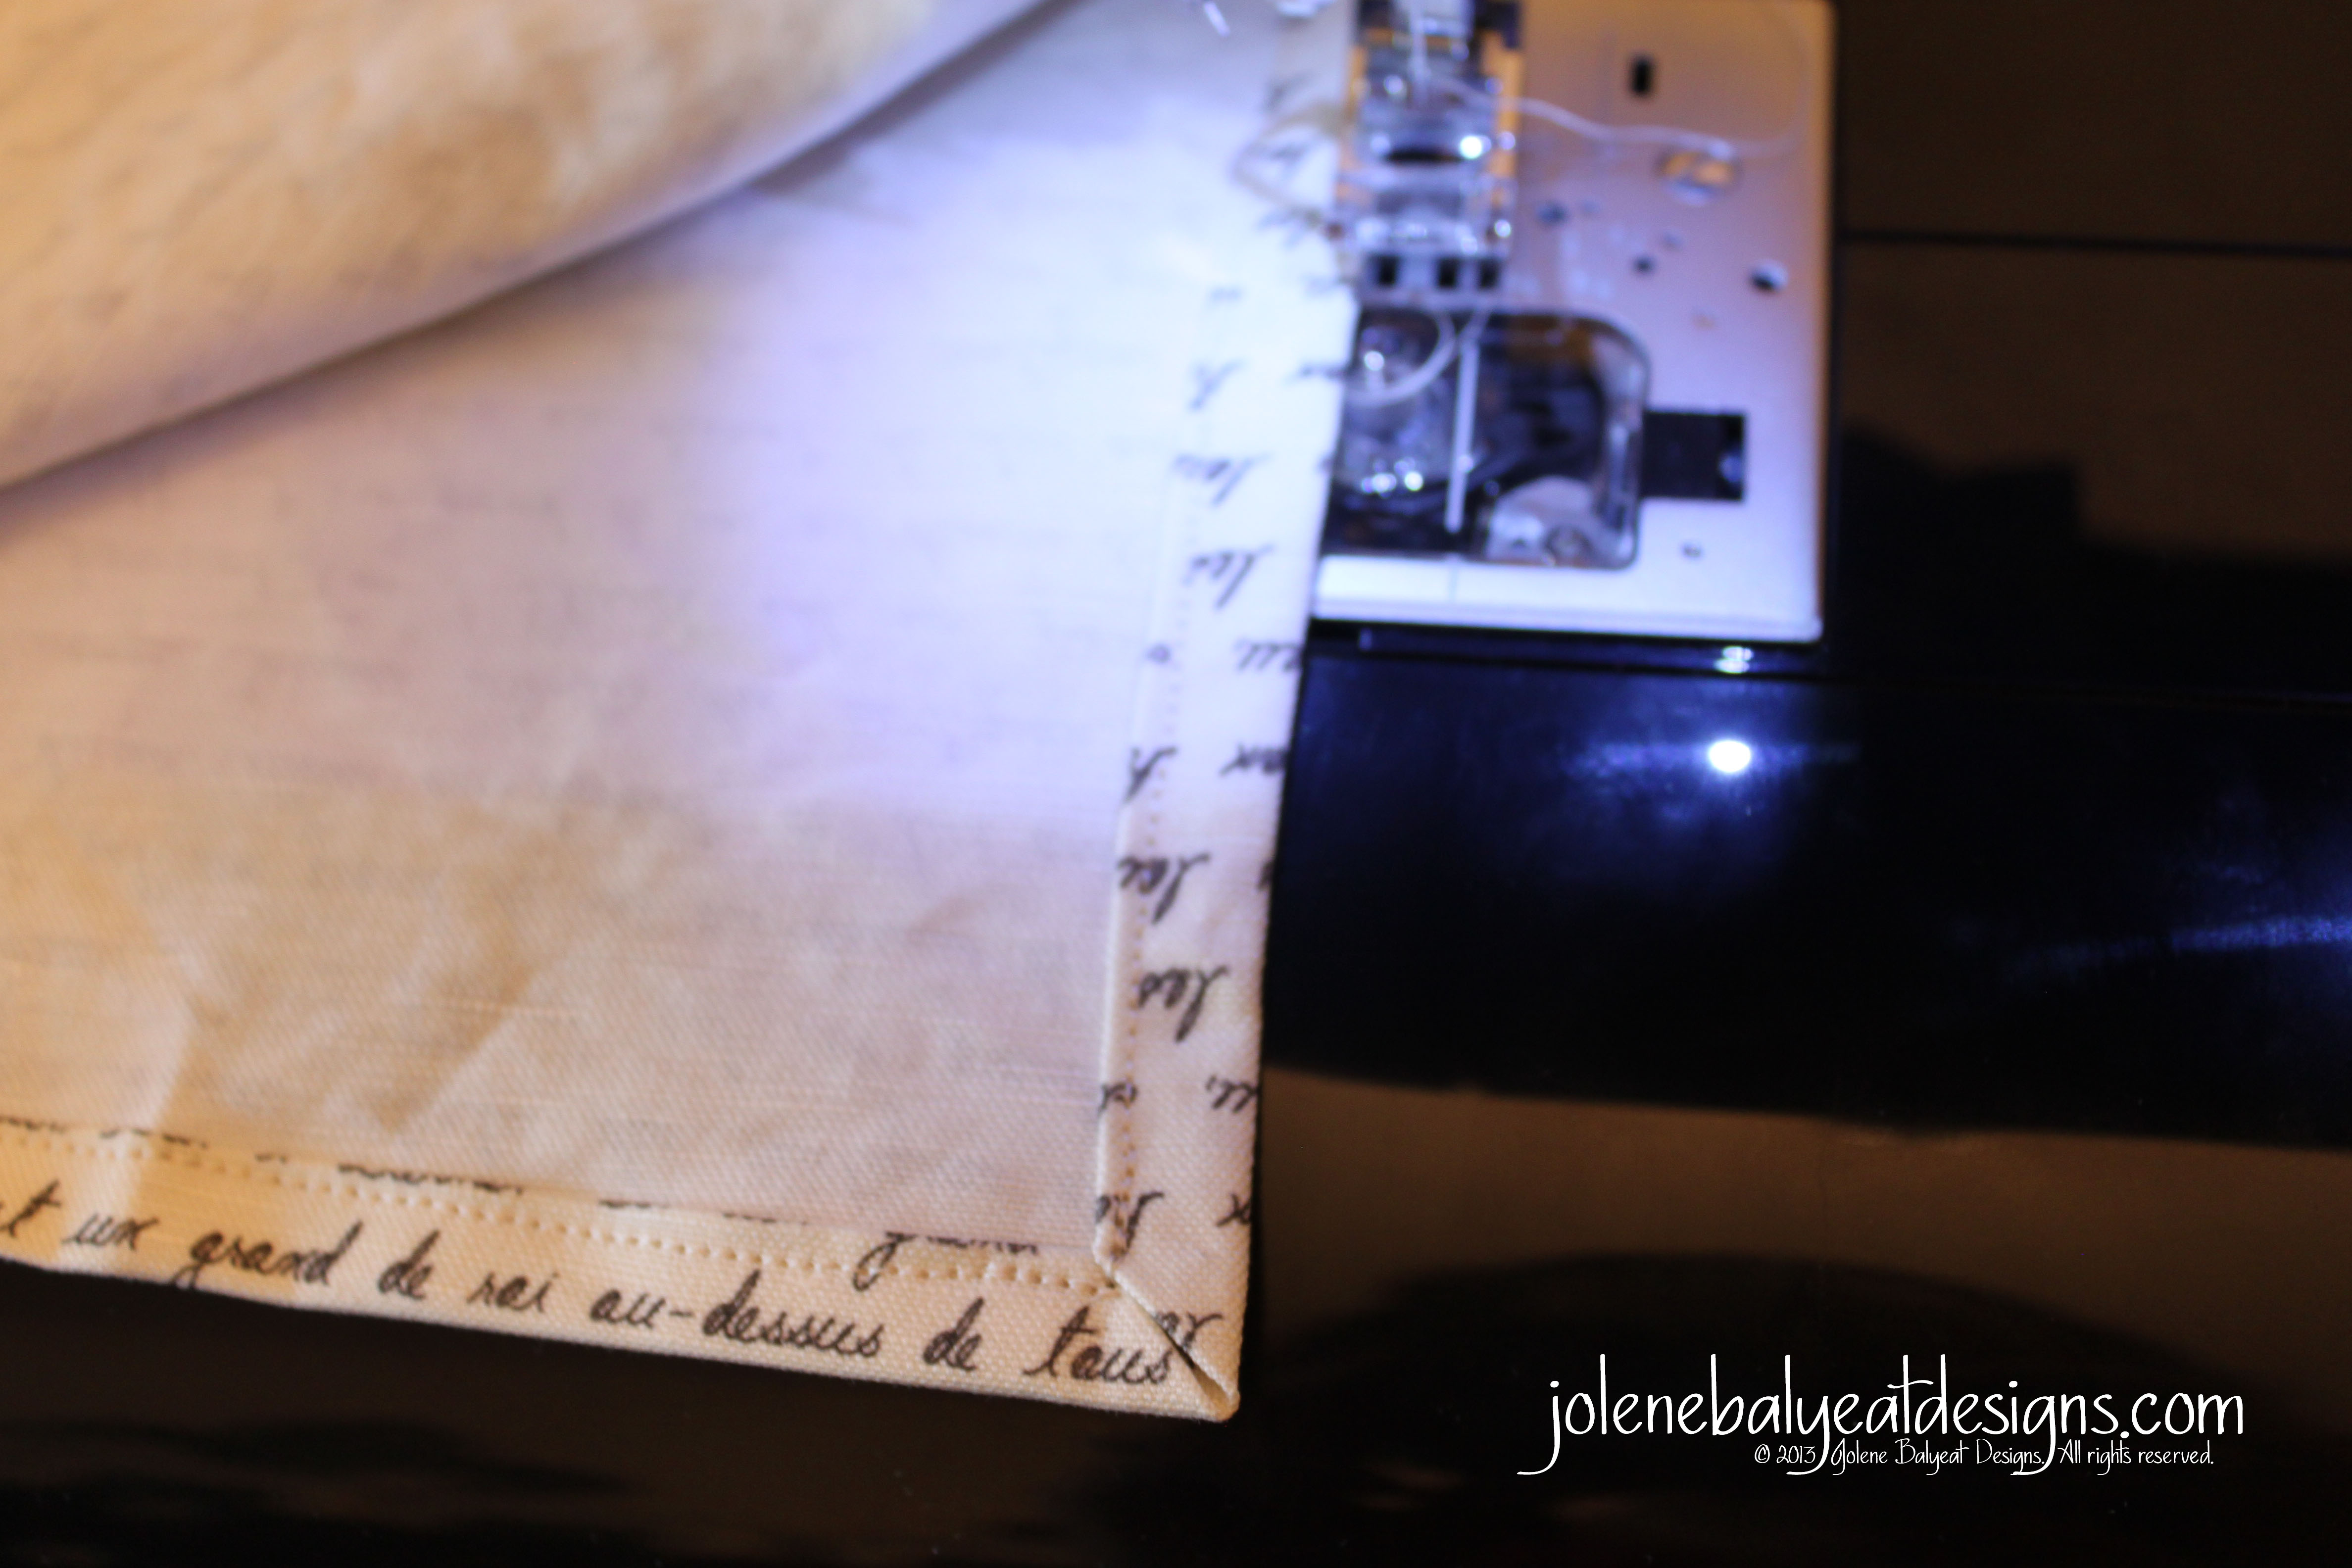
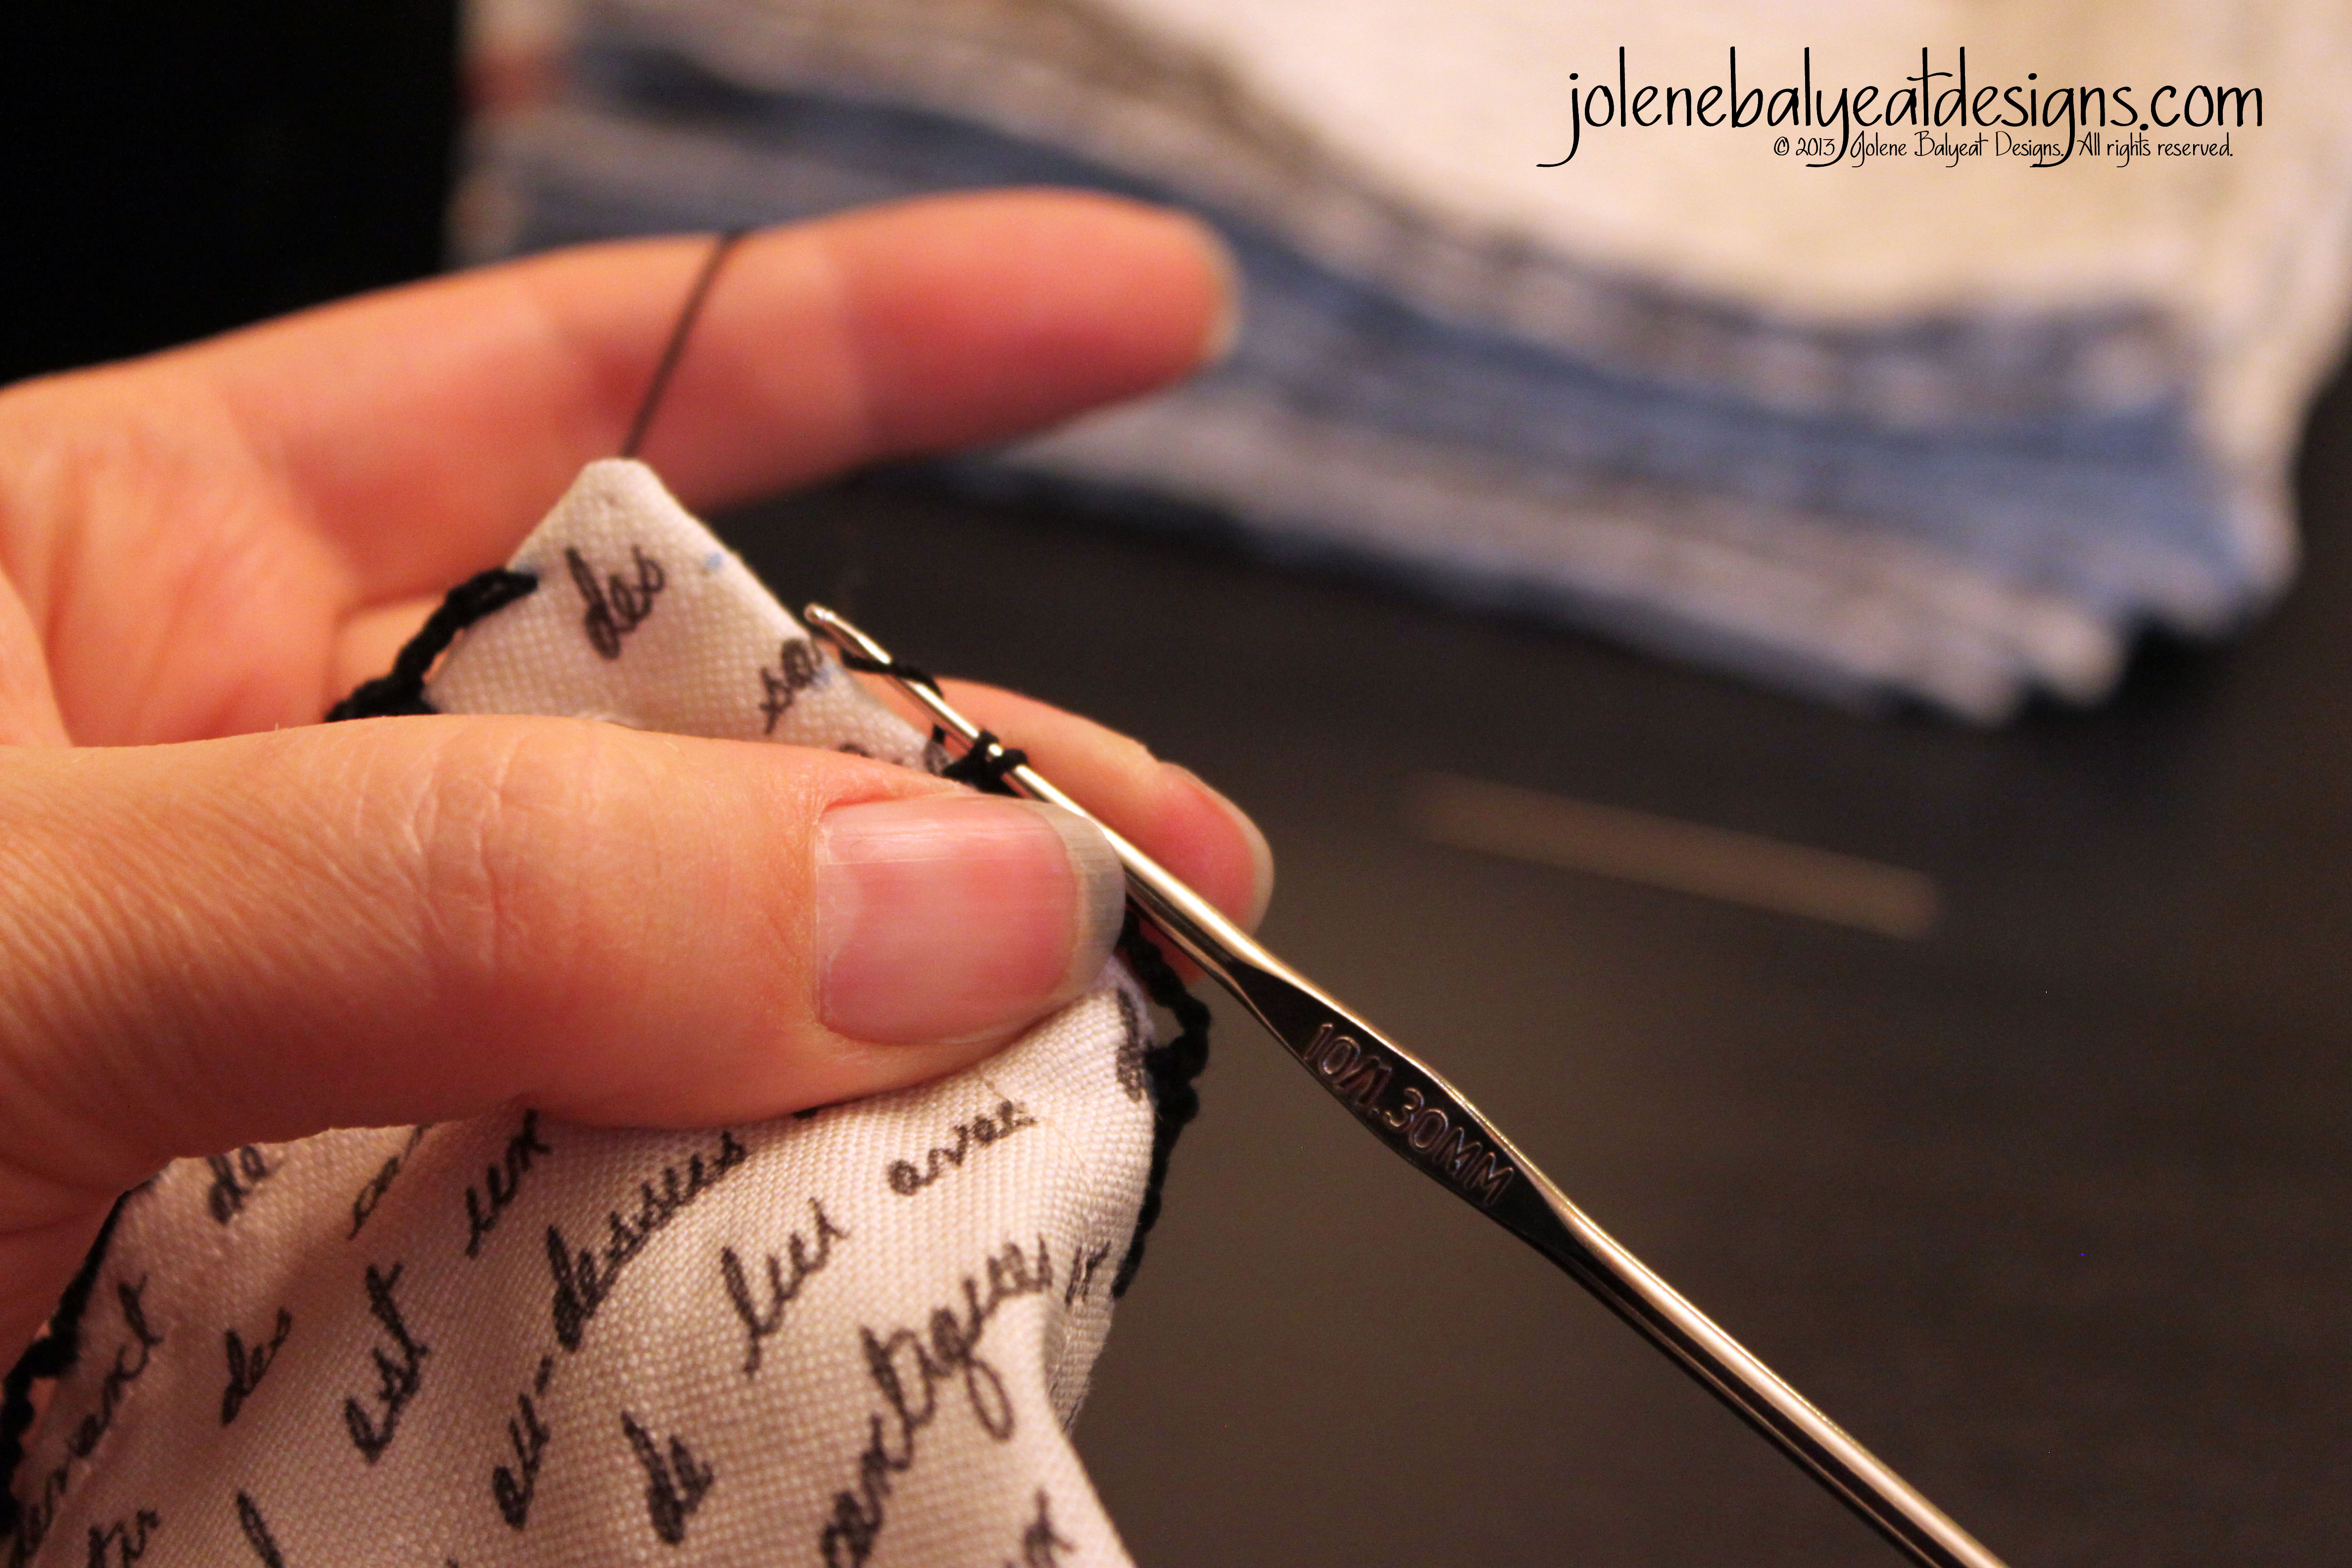
6. Once all the flags have been sewn to the middle of the edging strip, fold the edging strip over the top of the flags and sew down along the entire length of the bunting.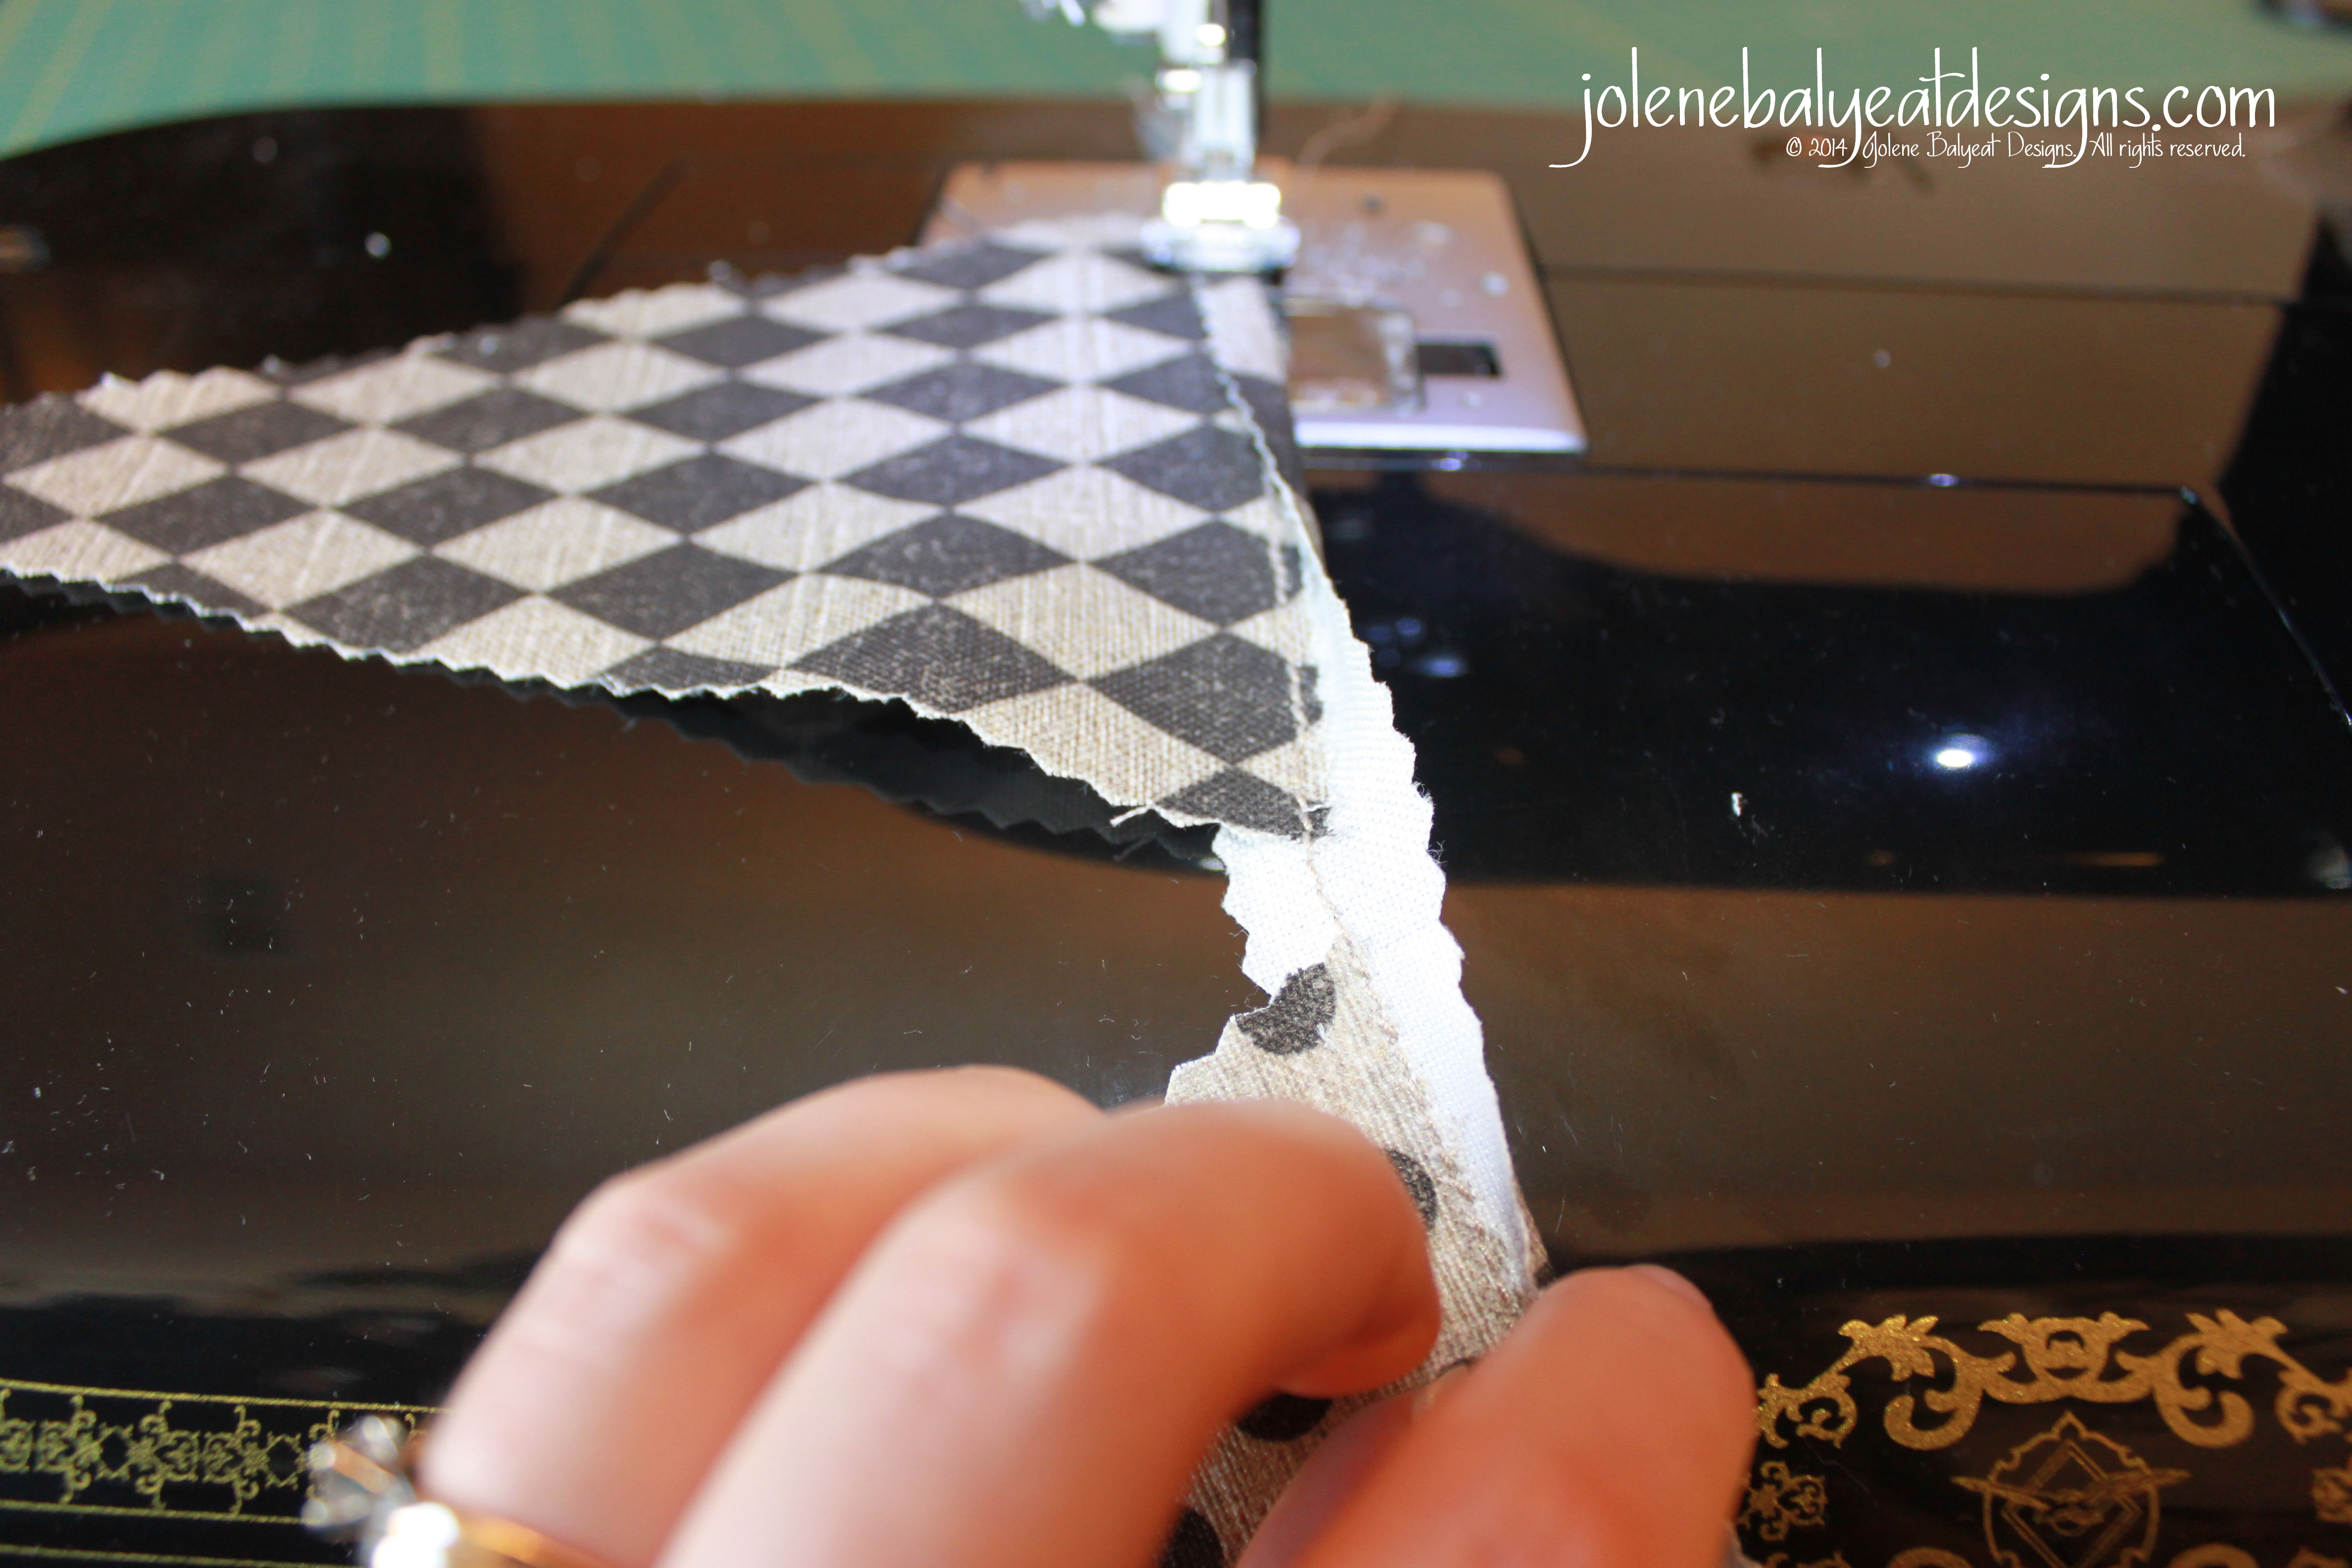
7. To finish the edges, you can make a loop as I did, or you may prefer to leave the length as a tie string.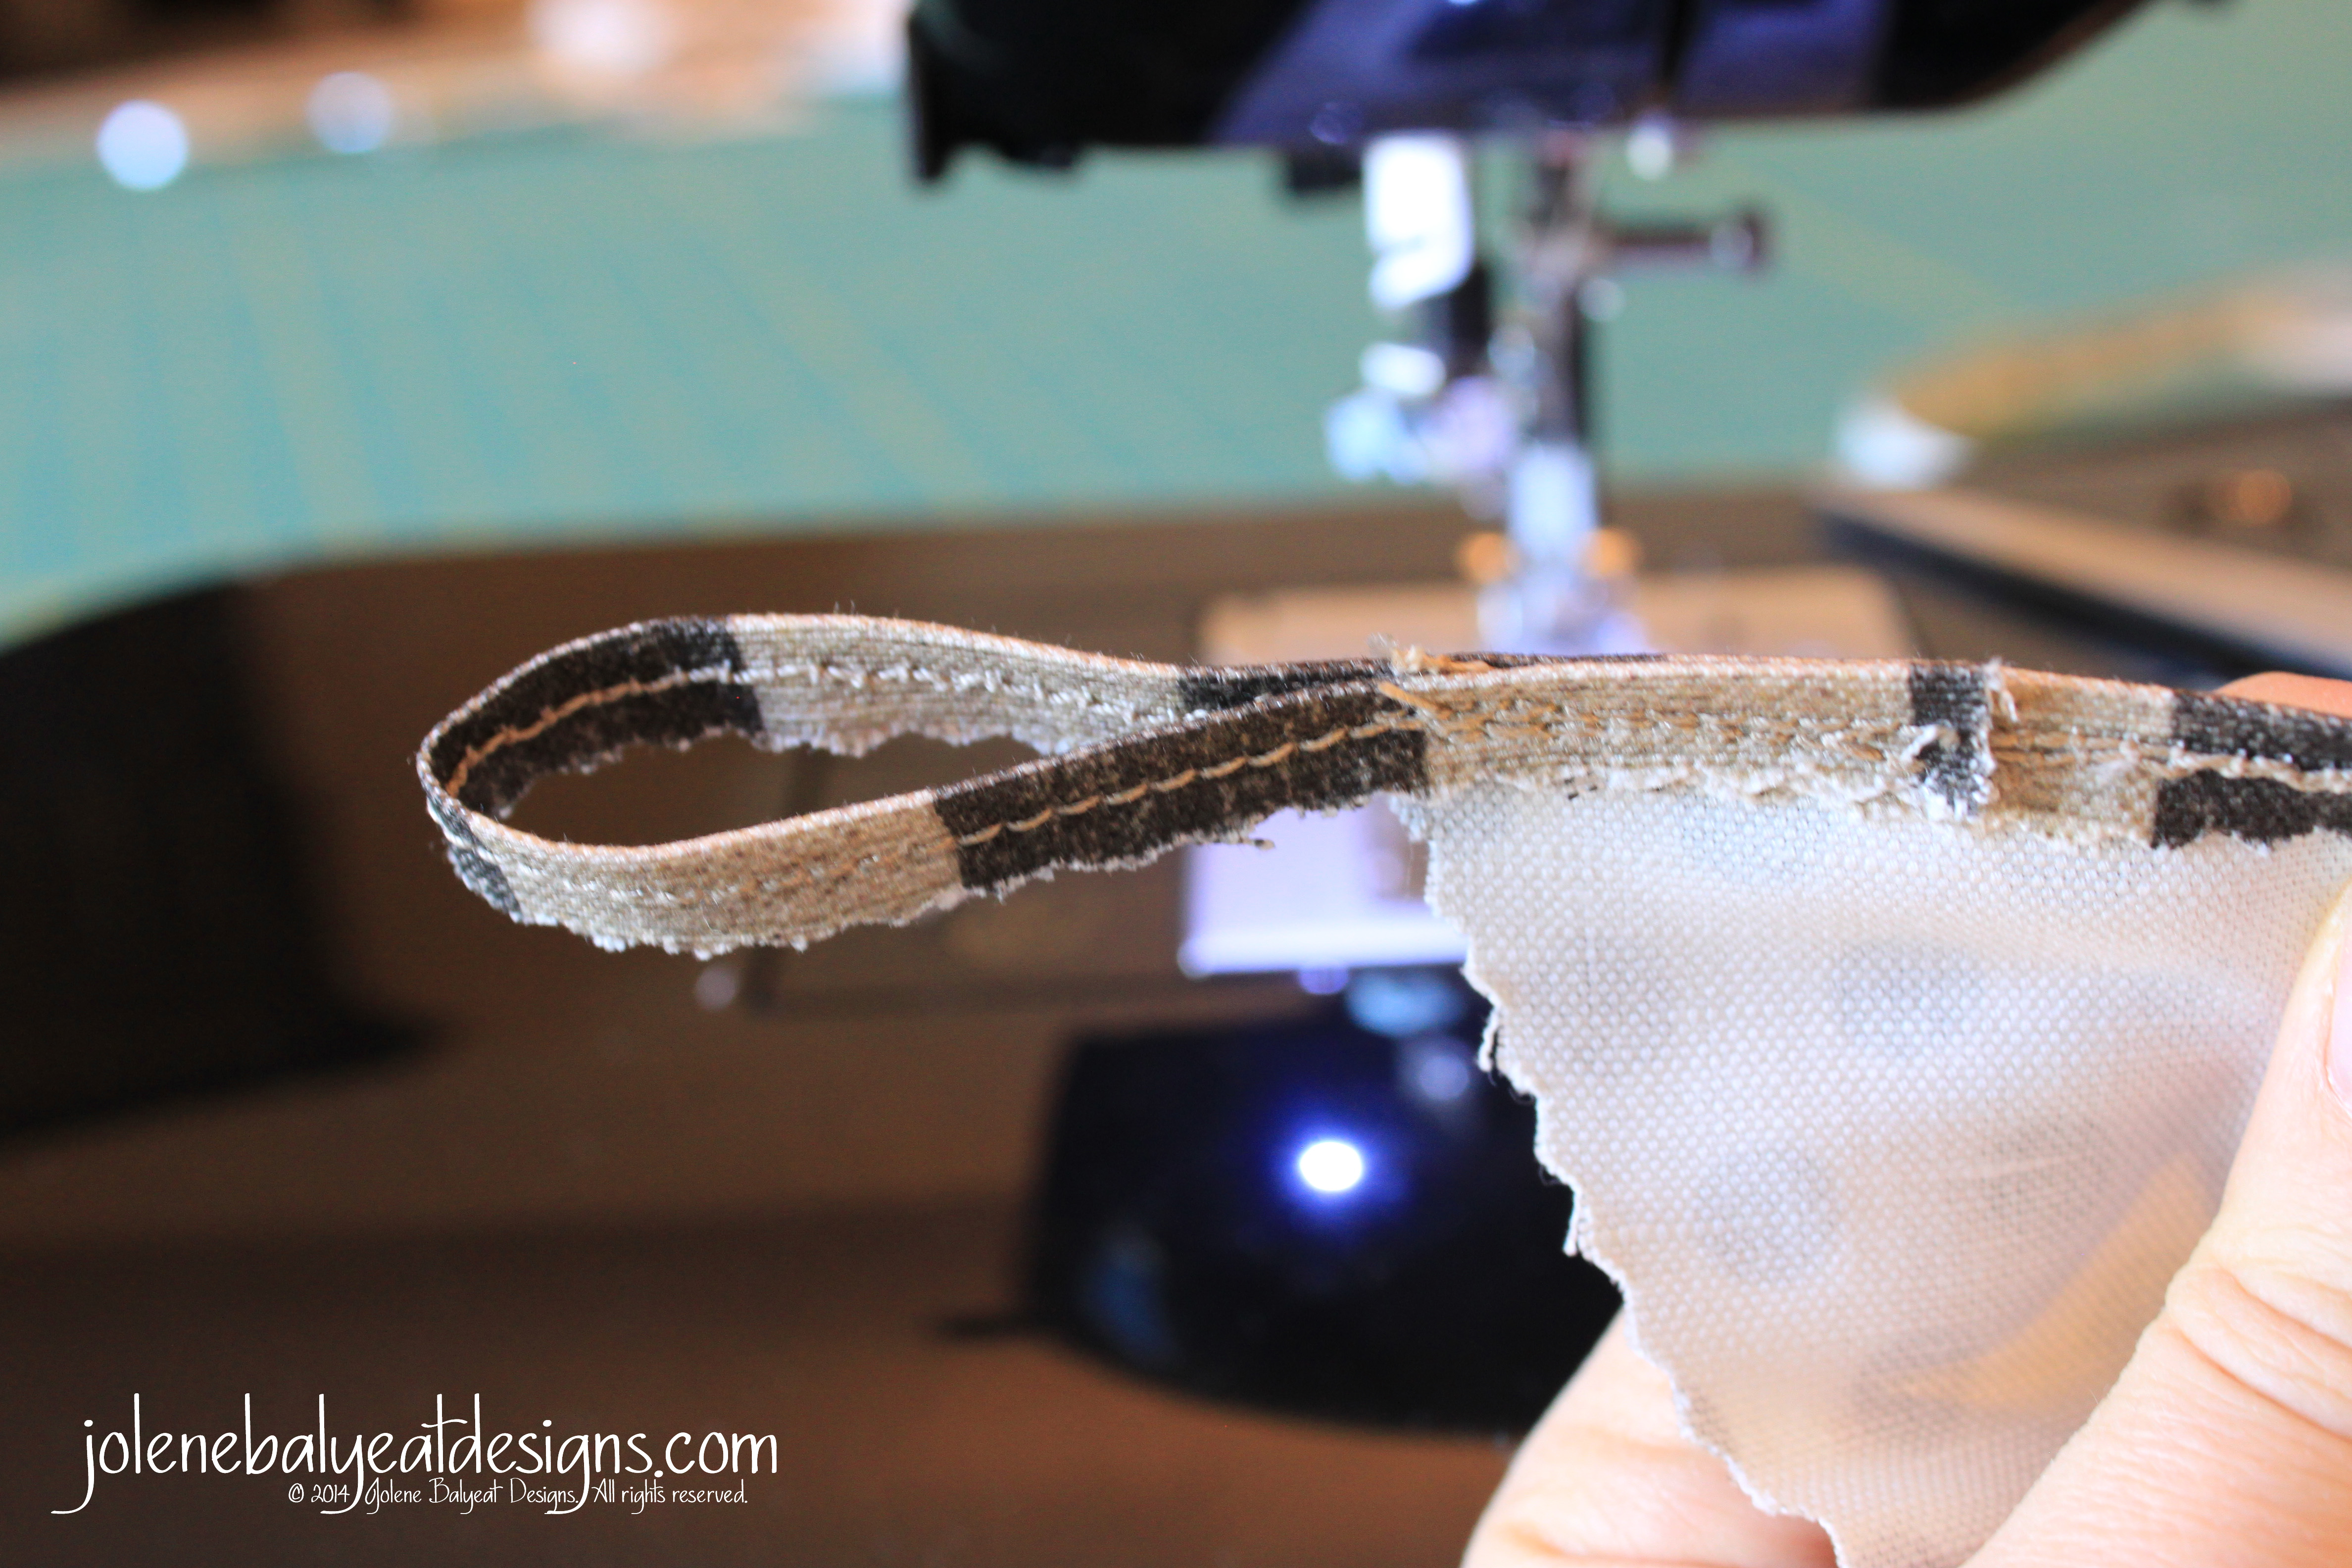
 Inspirational Scripture:
“He brought me to the banqueting house, and his banner over me was love [for love waved as a protecting and comforting banner over my head when I was near him].”
Song of Solomon 2:4 (AMP)