 One of the reasons we do not rest is because of our quest for the illusive approval of man. That is a “churchy” phrase, that basically means we look to the opinion of someone else to determine if we are in a state of “okay-ness”. Many of us do what we do for an unseen audience. We may shine outwardly, but inwardly we perform for an imaginary screaming crowd, a dead parent, an ex-lover, a critic, a hero, or an enemy. Someone to whom we have given power. Power over us to define what we look like in perfect success. Someone to whom we unwittingly abdicated responsibility to chew up our goals, values, dreams and reason only to regurgitate them back to us according to their approval. We strive for this elusive vision of dimly-lit half truth, serving a decaying idol of fickle imaginations. Instead, we must seek to discover the gift that only we can offer to the world, an identity visible solely under heaven’s revelatory light, intended as an extension of the hands who created it. Dear created gift, look only into the face of the One who created, for there in the presence of His gaze do we finally discover the joy of perfect love, acceptance, and purpose. It is found in the twinkle of His eye that knows what the rest of the world cannot see.
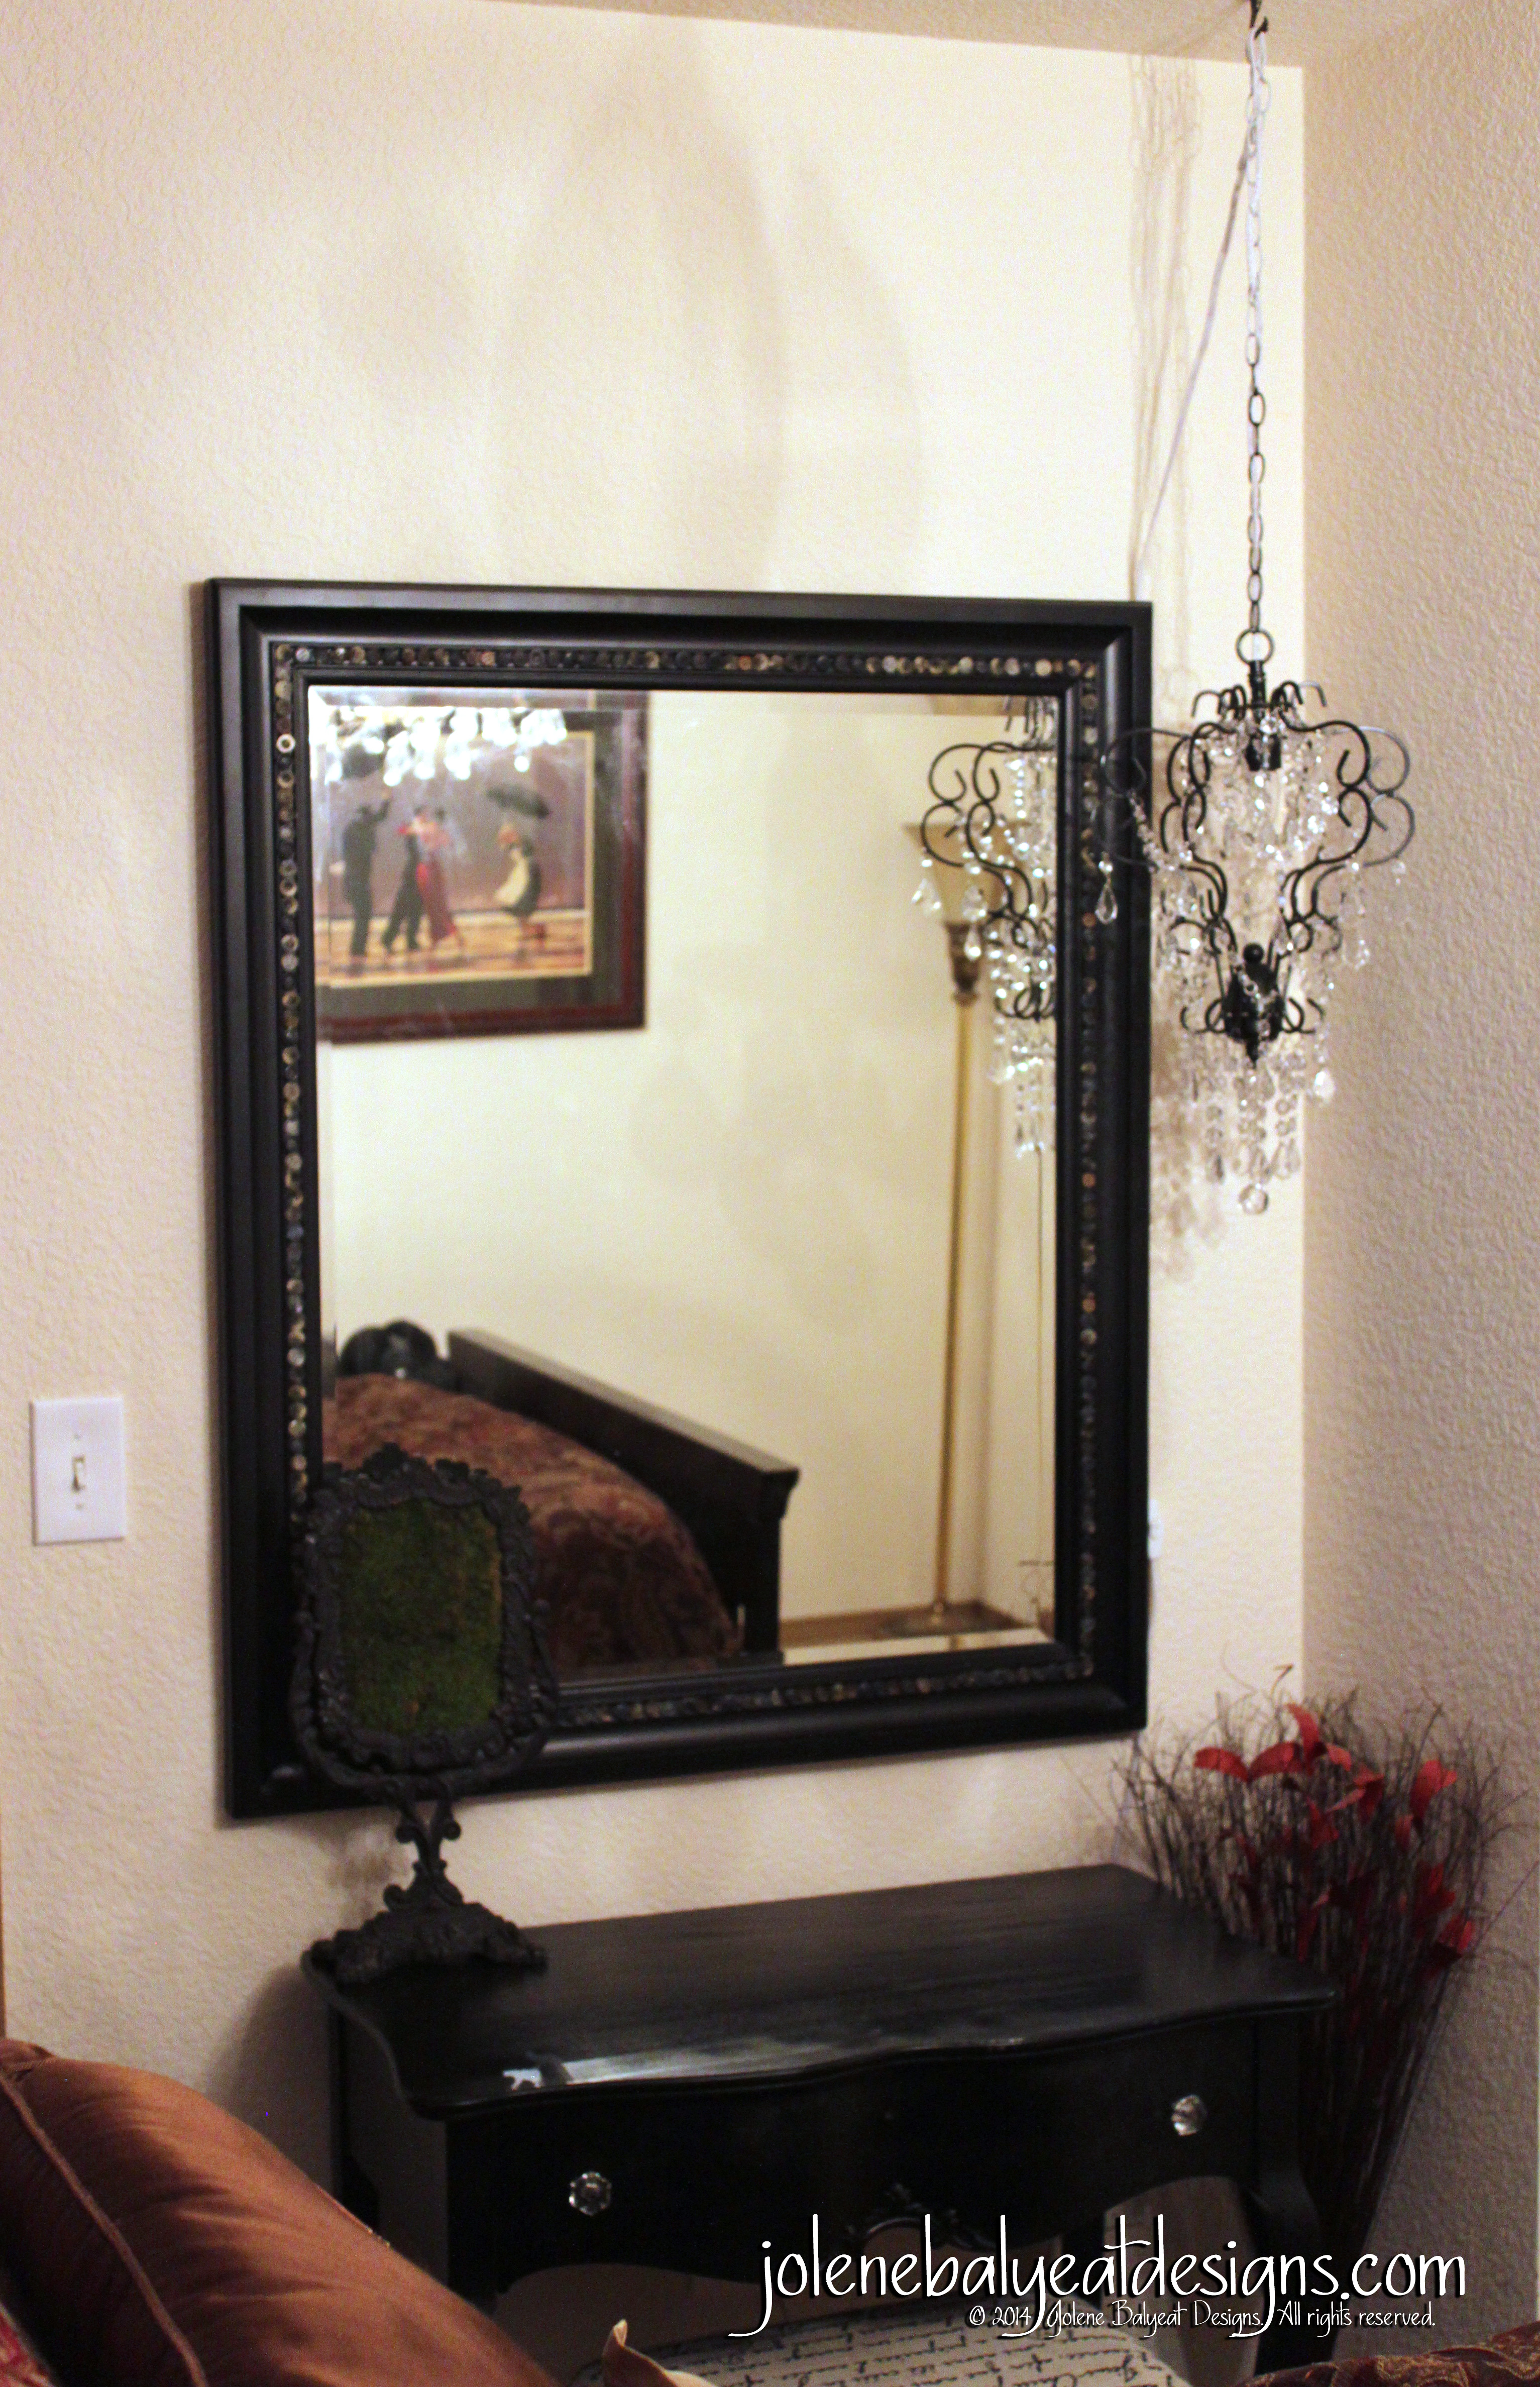
Ok, probably enough of my musings for today… now for a DIY upgrade for a mini chandelier from Hobby Lobby…
I purchased the white chandelier at my favorite store, Hobby Lobby, using a 40% off coupon to get a fabulous deal. The size was perfect, but I wanted a black chandelier, with clear “crystals”, a socket that could support a single 60 watt light bulb, and I didn’t like the way the cord snaked from the bottom of the fixture up through the beads and frame to the top. So I removed the little acrylic beads that lined the metal frame, took the entire piece apart, spray painted it black, turned it upside down so the light would shine down instead of up, rewired it with a better/higher rated socket (also spray painted black), rearranged the parts to put it back together, and finally re-distributed the “crystal” garlands… adding a few magnetic “crystal drops” (really acrylic) to complete the look.
*Disclaimer* I am not an electrician, I had only once before “re-wired” a fixture, and I don’t know much about electricity except that it can kill you, so please find your own expert in that field to consult with if you have any questions or concerns. I have done this project twice. The first time, I cut off the plug-end, kept the light socket small for the smaller, low watt candelabra bulb, and had my husband put on a different plug at the bottom once I was finished. That piece was for the “Glamper” (Picture of RV) we remodeled. This time I kept the plug-end intact and cut the wire close to the socket, assembling as pictured below, so I could safely use a brighter bulb in my mini chandelier for home. I still need to make a cord cover for the chain, but below is a picture without the cover so that you can see how easily it hangs from a ceiling hook.

 Inspirational Scripture:
“The Lord’s light penetrates the human spirit, exposing every hidden motive.”
Proverbs 20:27 (NLT)
“Come to Me, all who are weary and heavy-laden, and I will give you rest. Take My yoke upon you and learn from Me, for I am gentle and humble in heart, and you will find rest for your souls. For My yoke is easy and My burden is light.”
Matthew 11:28-30 (NASB)