Sweet Dreams

BedAfter
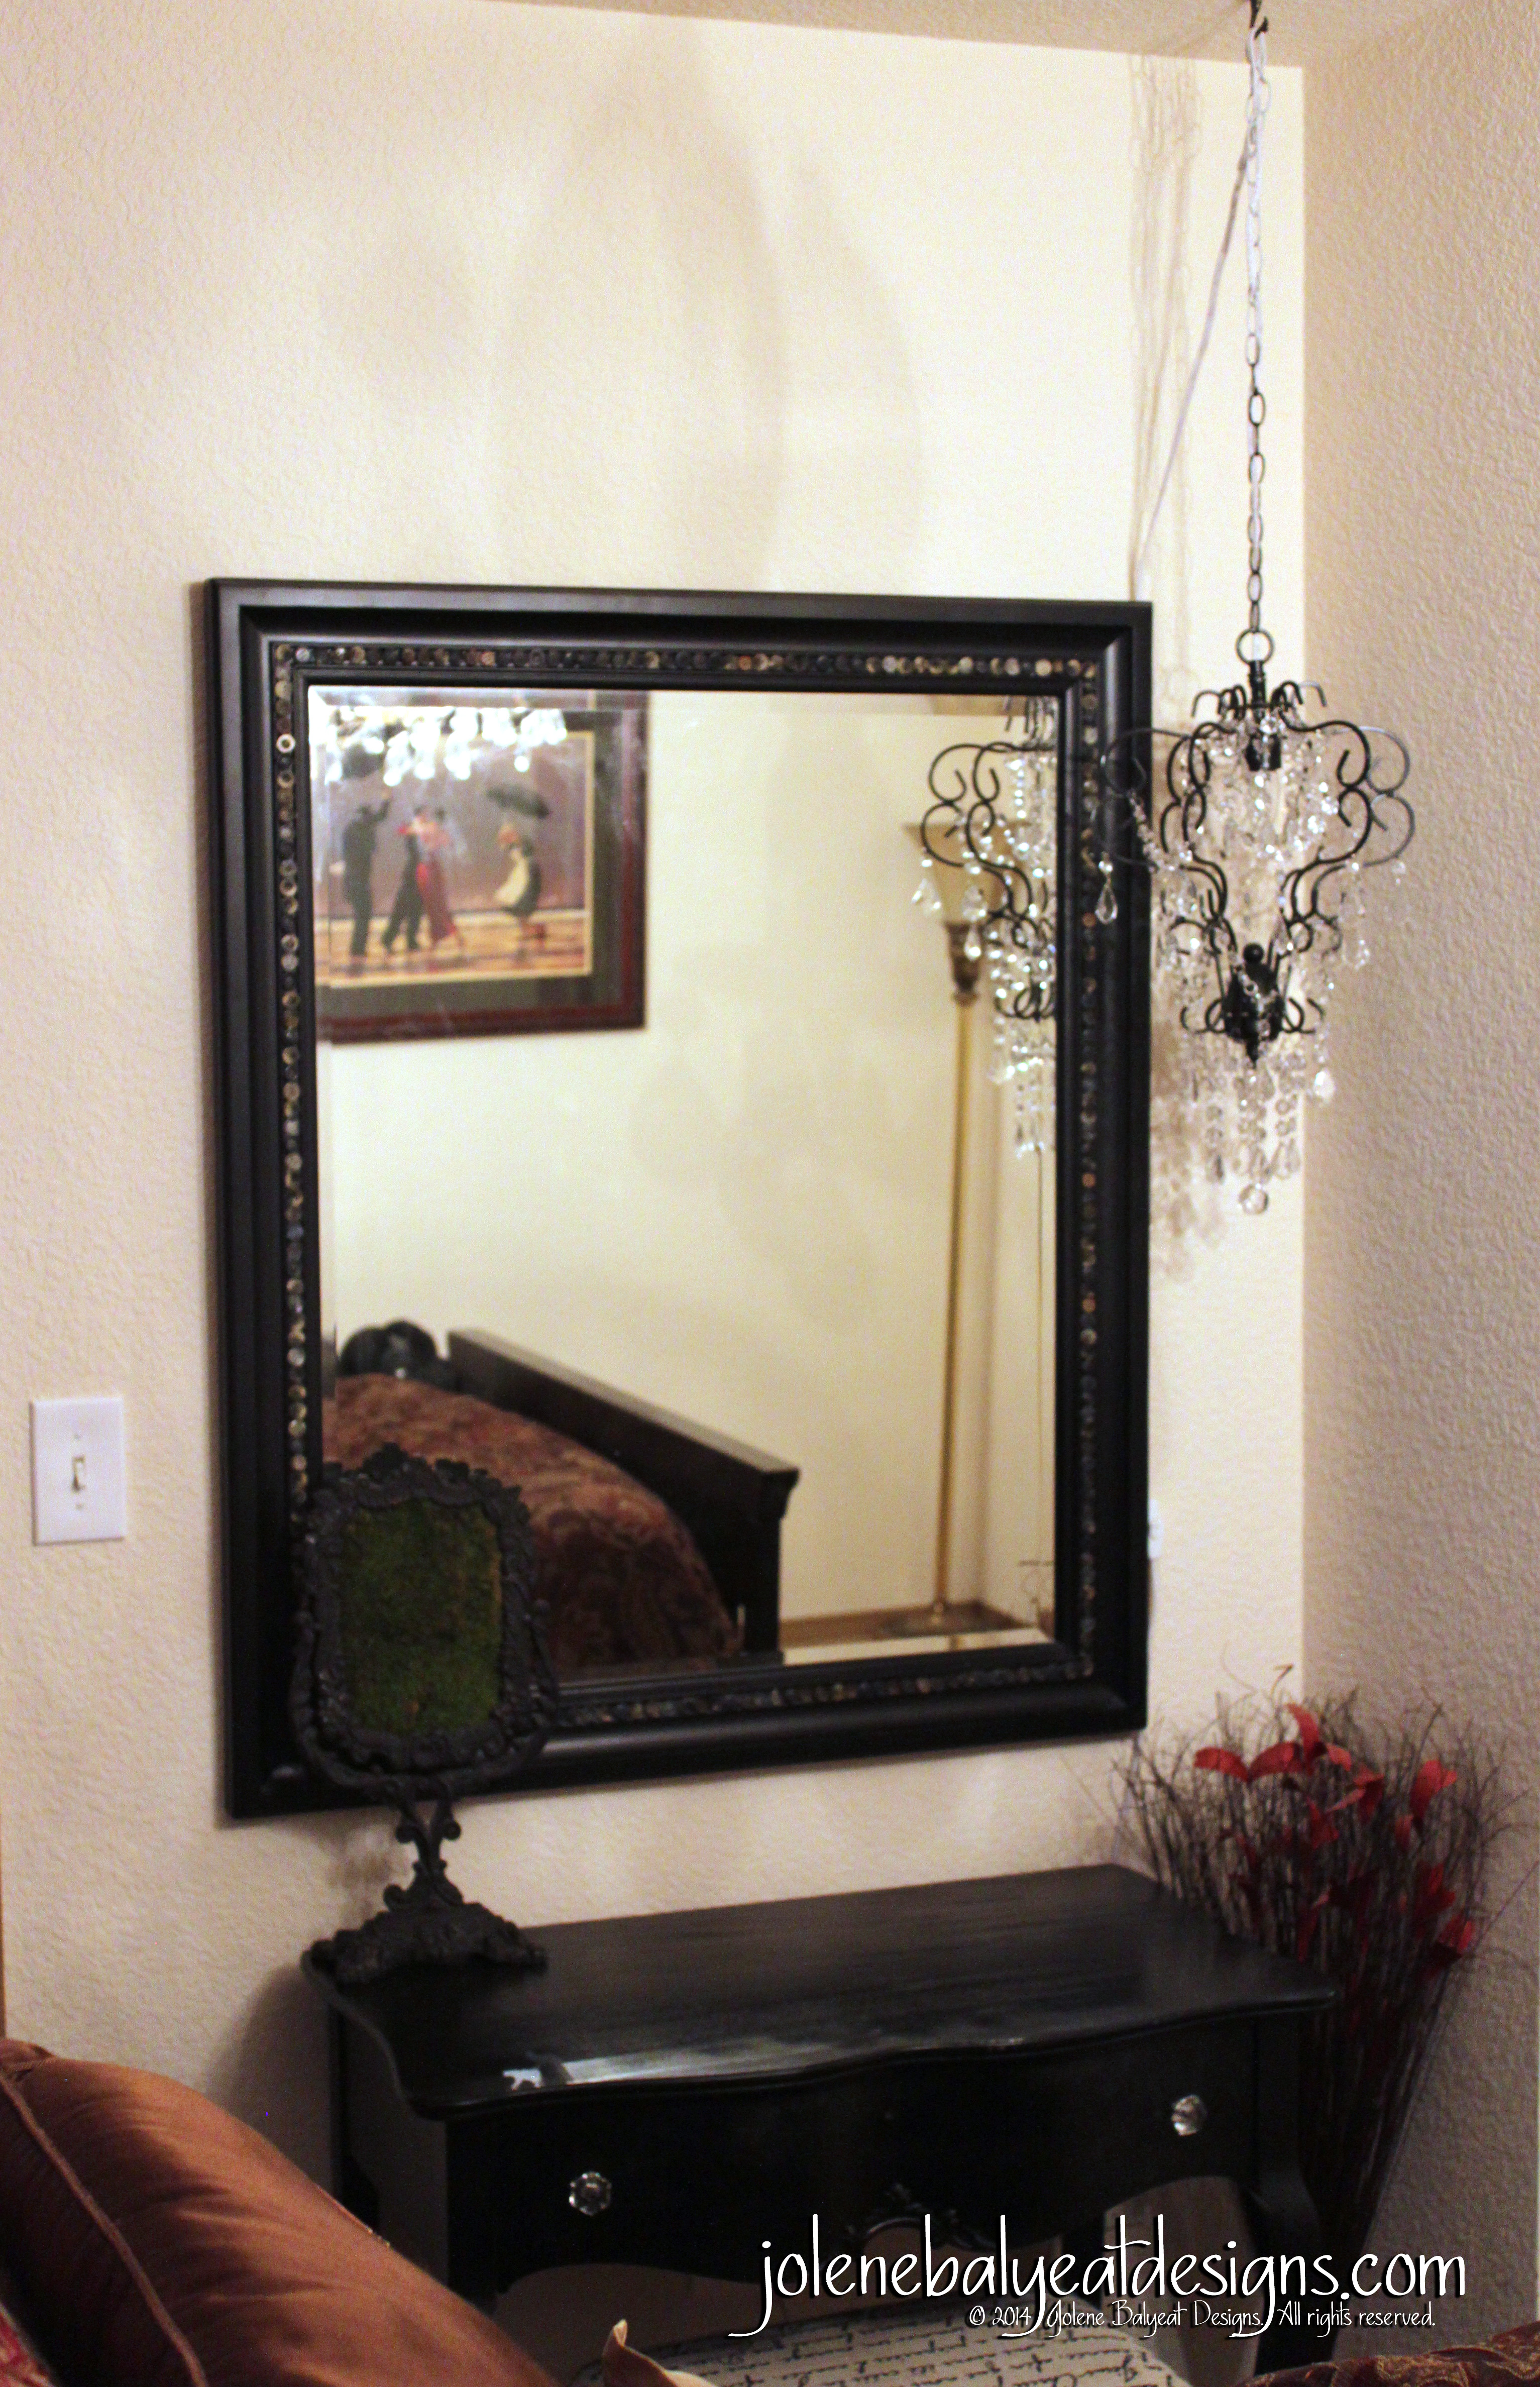
There are a couple things I kind of dread: When my husband is going to be out of town for business, and when I have a project captivating my imagination that is going to require tearing up an entire room, and perhaps a week of a mess, to complete. So why not combine the two, right? (Only a million reasons, I know!) But sometimes reason has to be put in its place for the sake of vision. And I’m happy to report that in this case, it was done successfully!

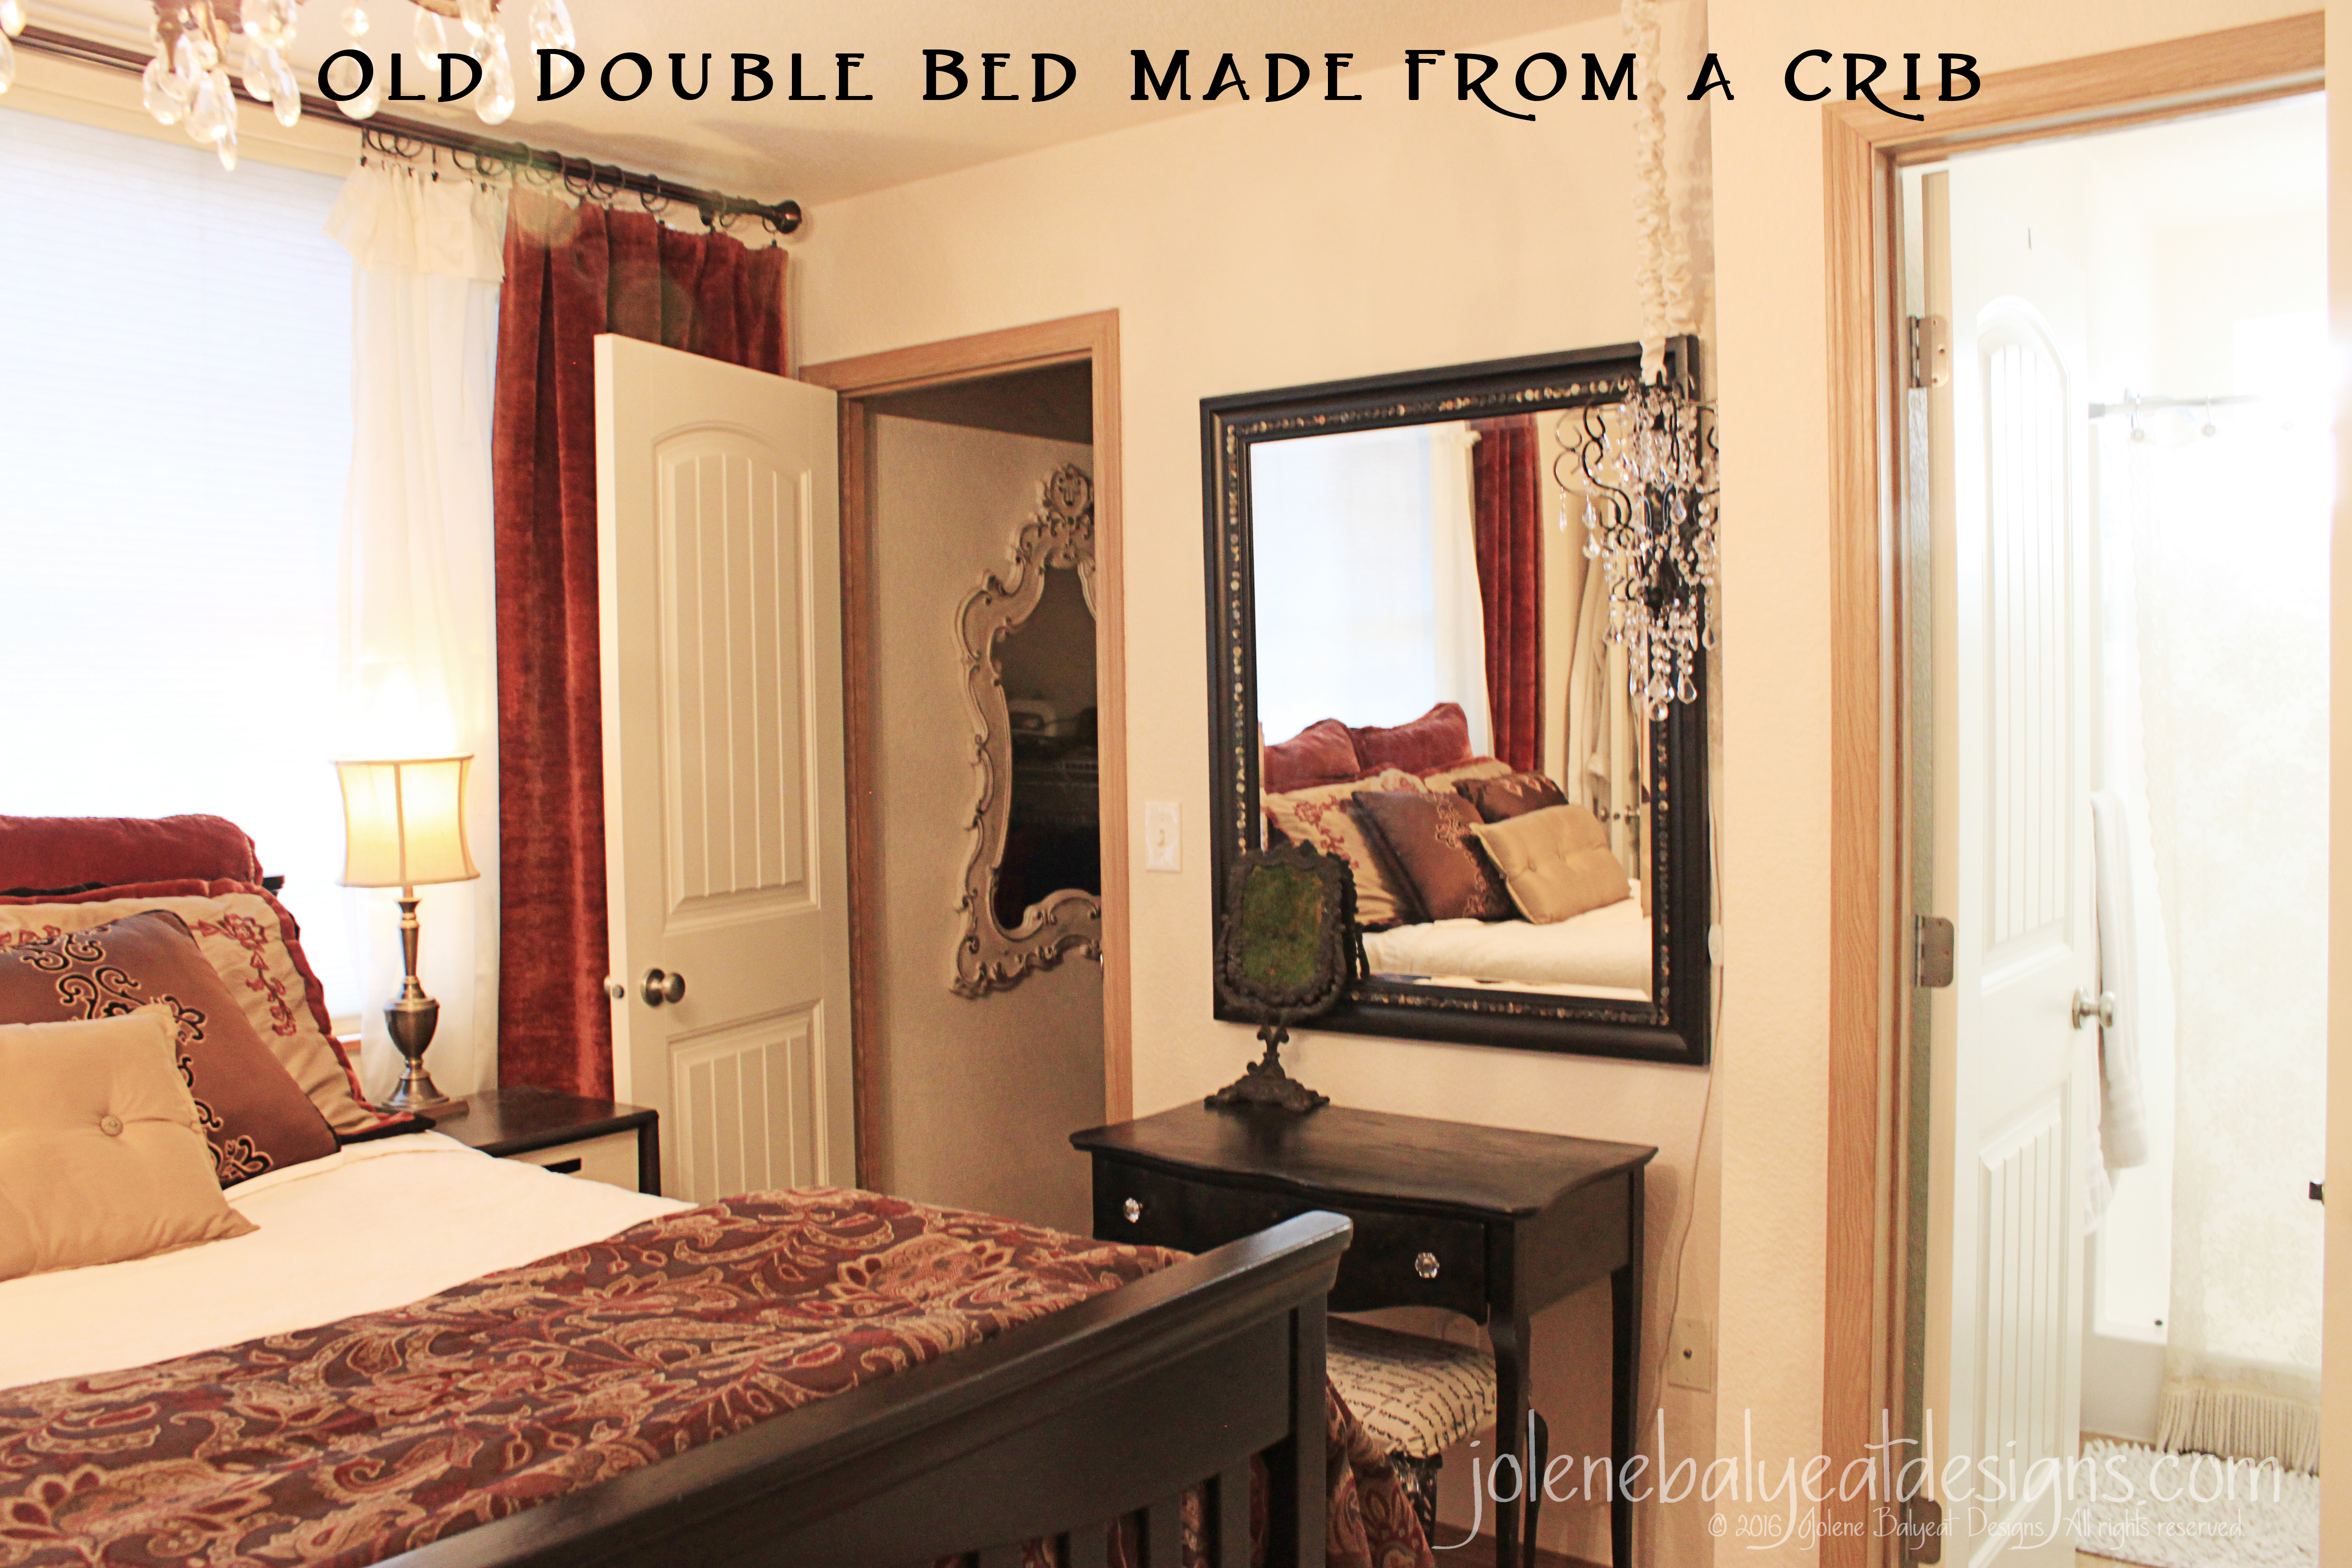
The last few years have been a bit of a wild ride, and to make a long story short, with a move for additional schooling, a career change leading to more moves, and a brief adventure (read 8 months) of living in and remodeling an RV leading up to the purchase of our current home, we loaned and gave away a few belongings. One was our bed. I don’t regret it at all, but after about two years of sleepless nights sharing a double bed, which was actually my son’s “grow with me crib”, my husband decided we needed a king.

OldCribBed
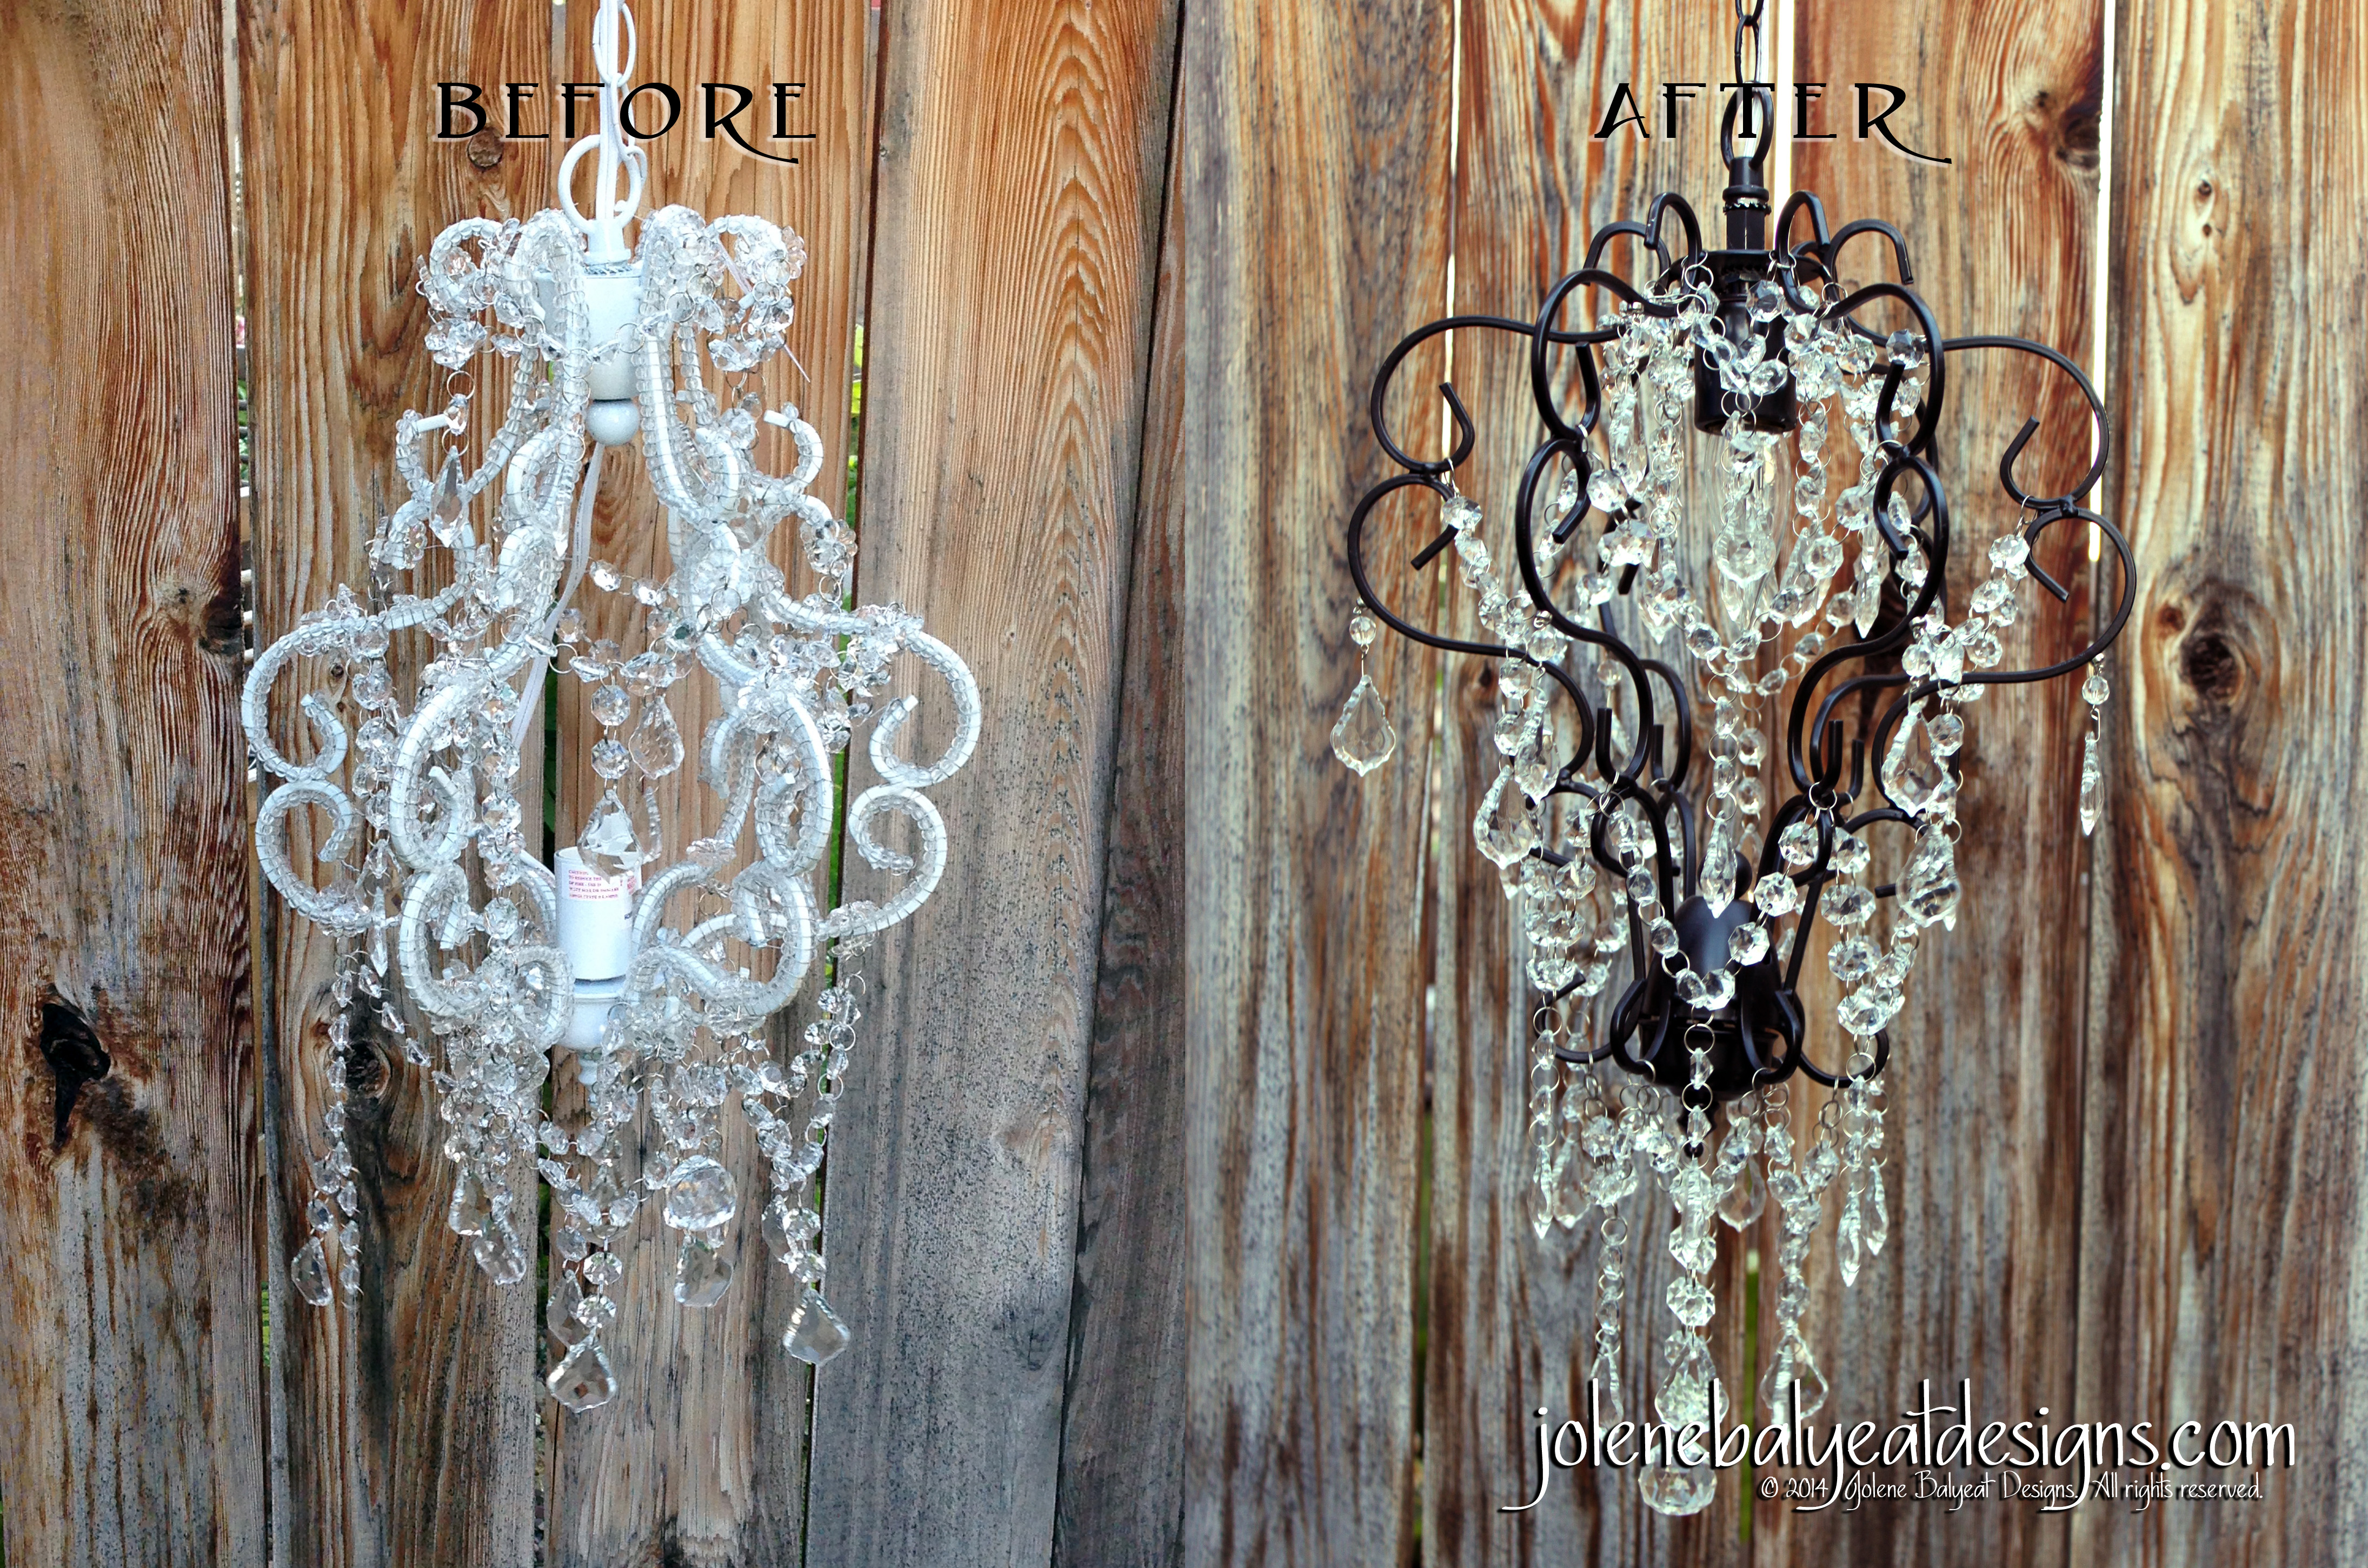
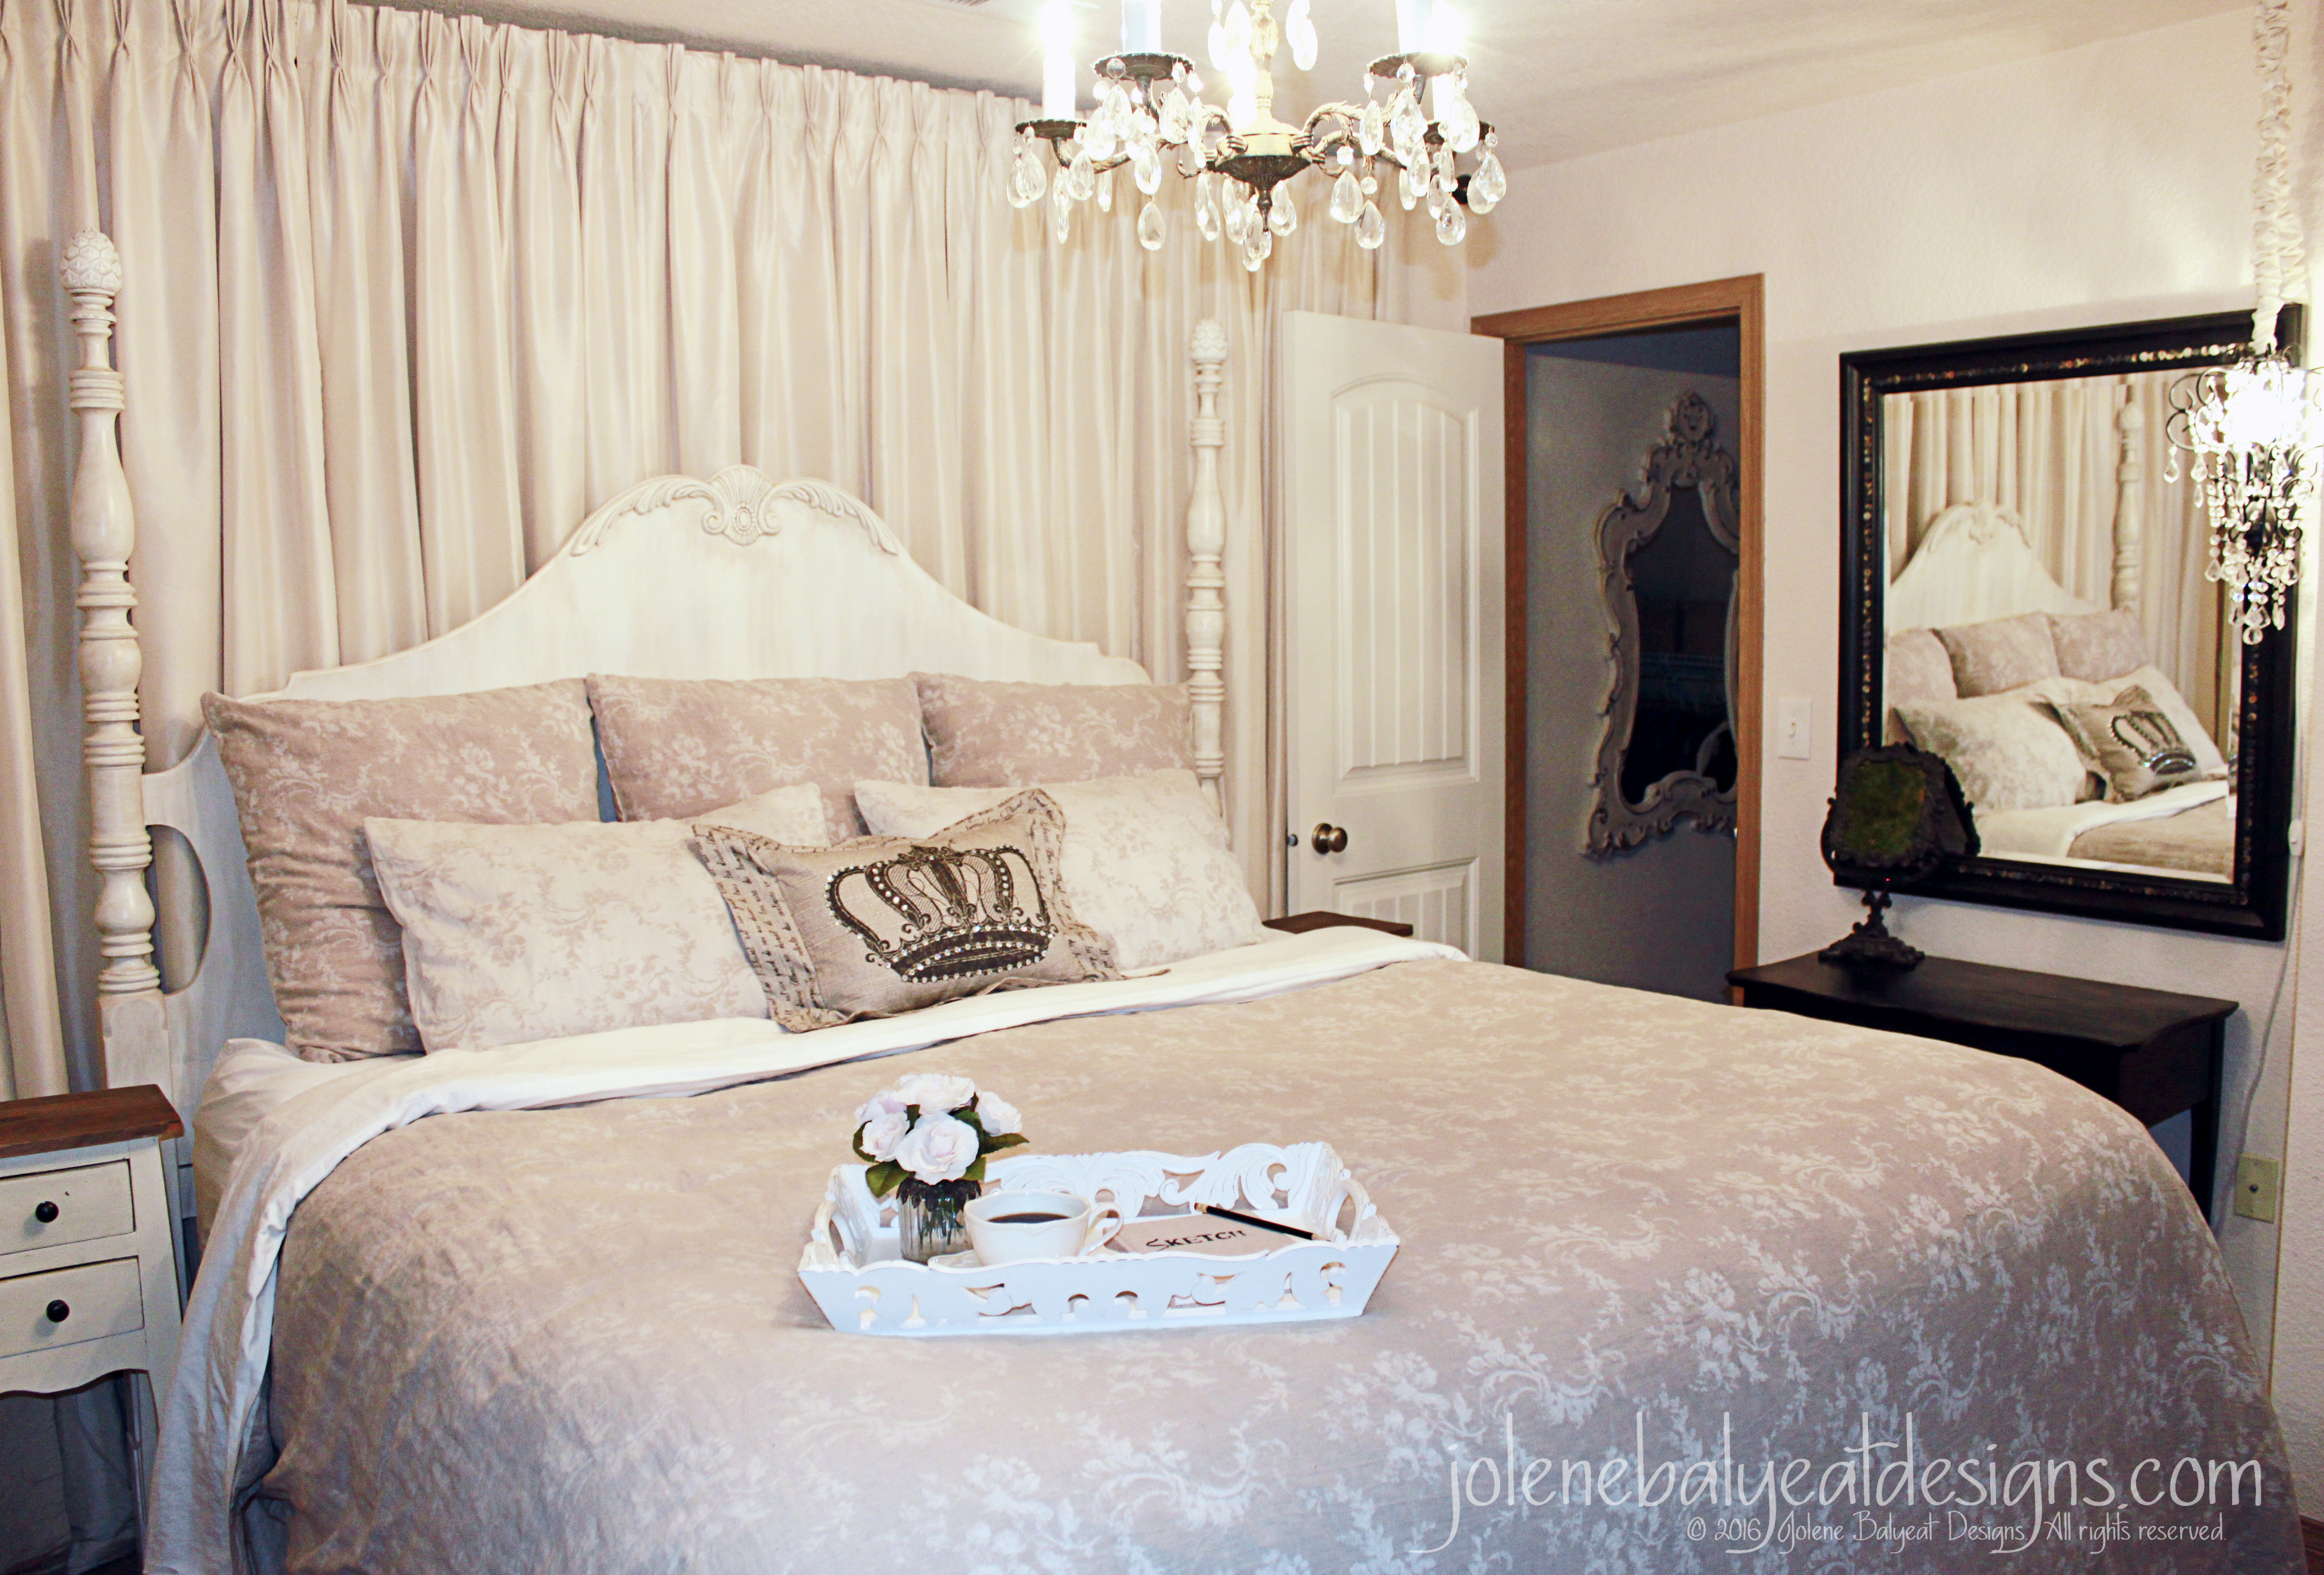
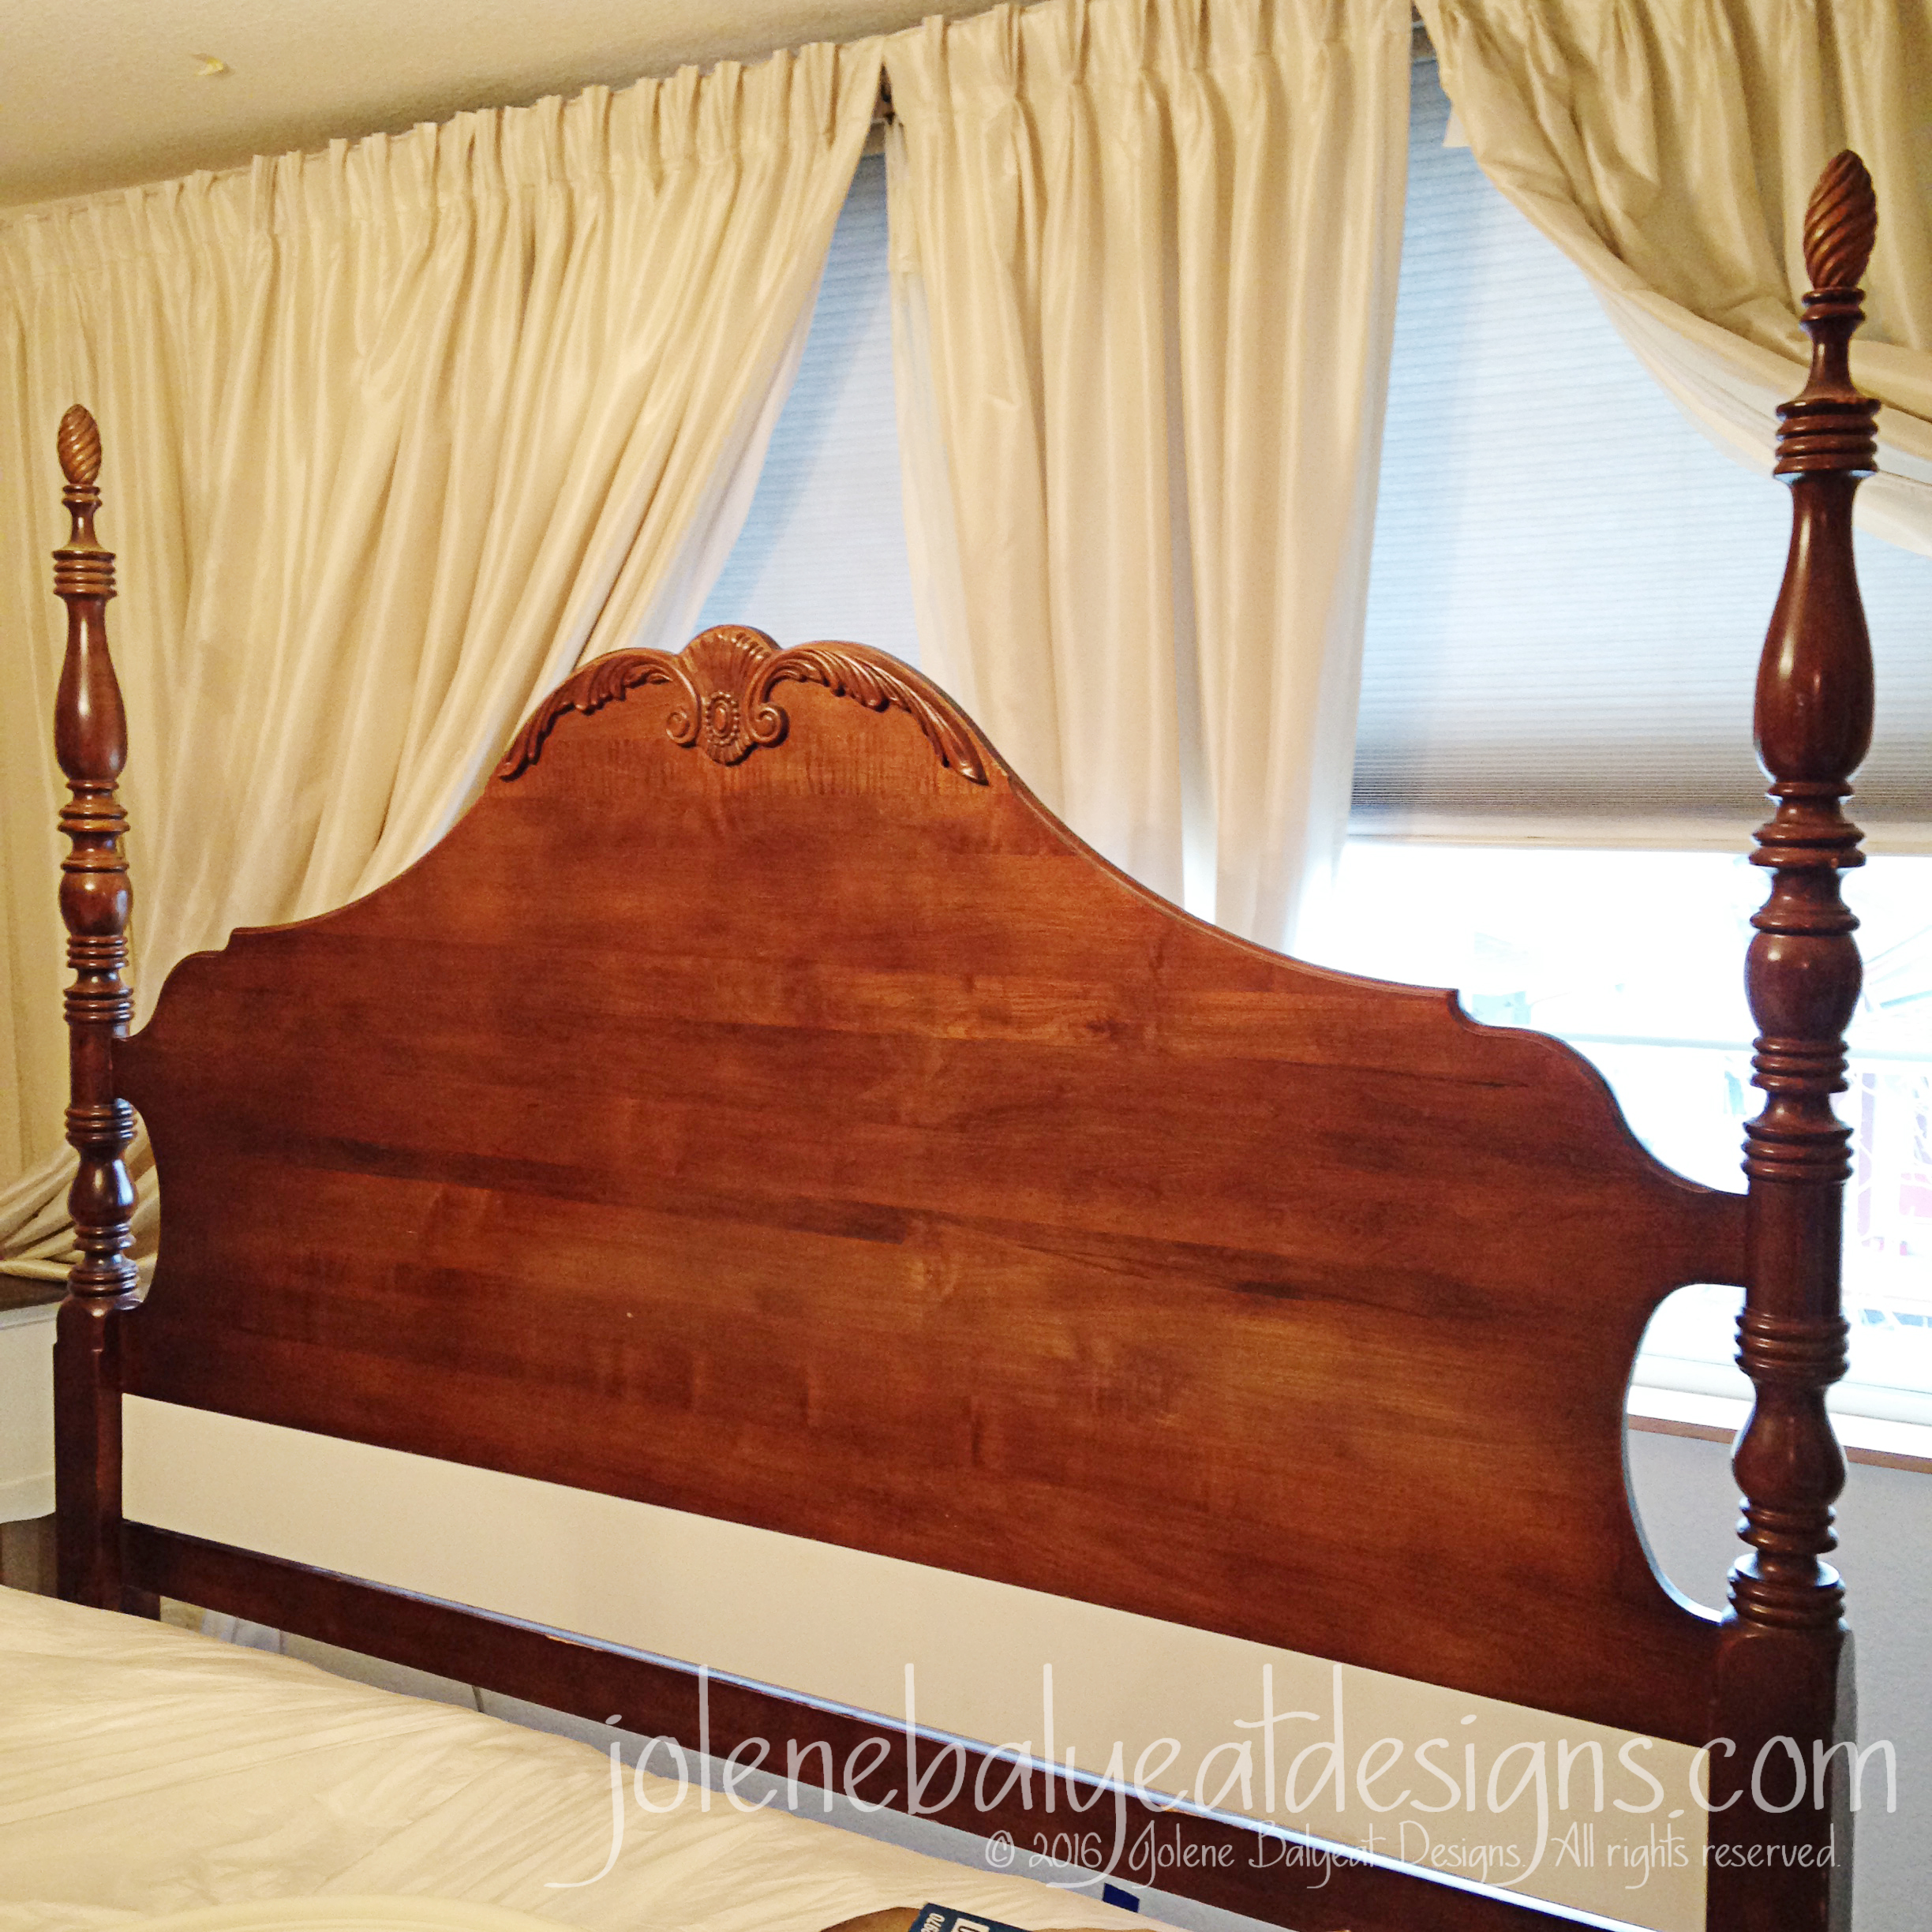
The funny thing is, although lovely, our house is quite small. A queen barely would have fit upstairs, and the double left enough marks going down that some drywall repair is needed (still!) Anyway, the dream of sleep won out over practicality, so we got the king bed and decided it was worth removing the window and sacrificing floor space to ensure a peaceful slumber. Providentially, we got this headboard from Craigslist for around $50, just in time to get it in through the window while it was out. I had intended to paint it from the start, and so after my gracious husband raised the headboard 9″ higher so it could be more visible above the pillows, I finally completed it this week!

BedBeforeBedDuringPaint
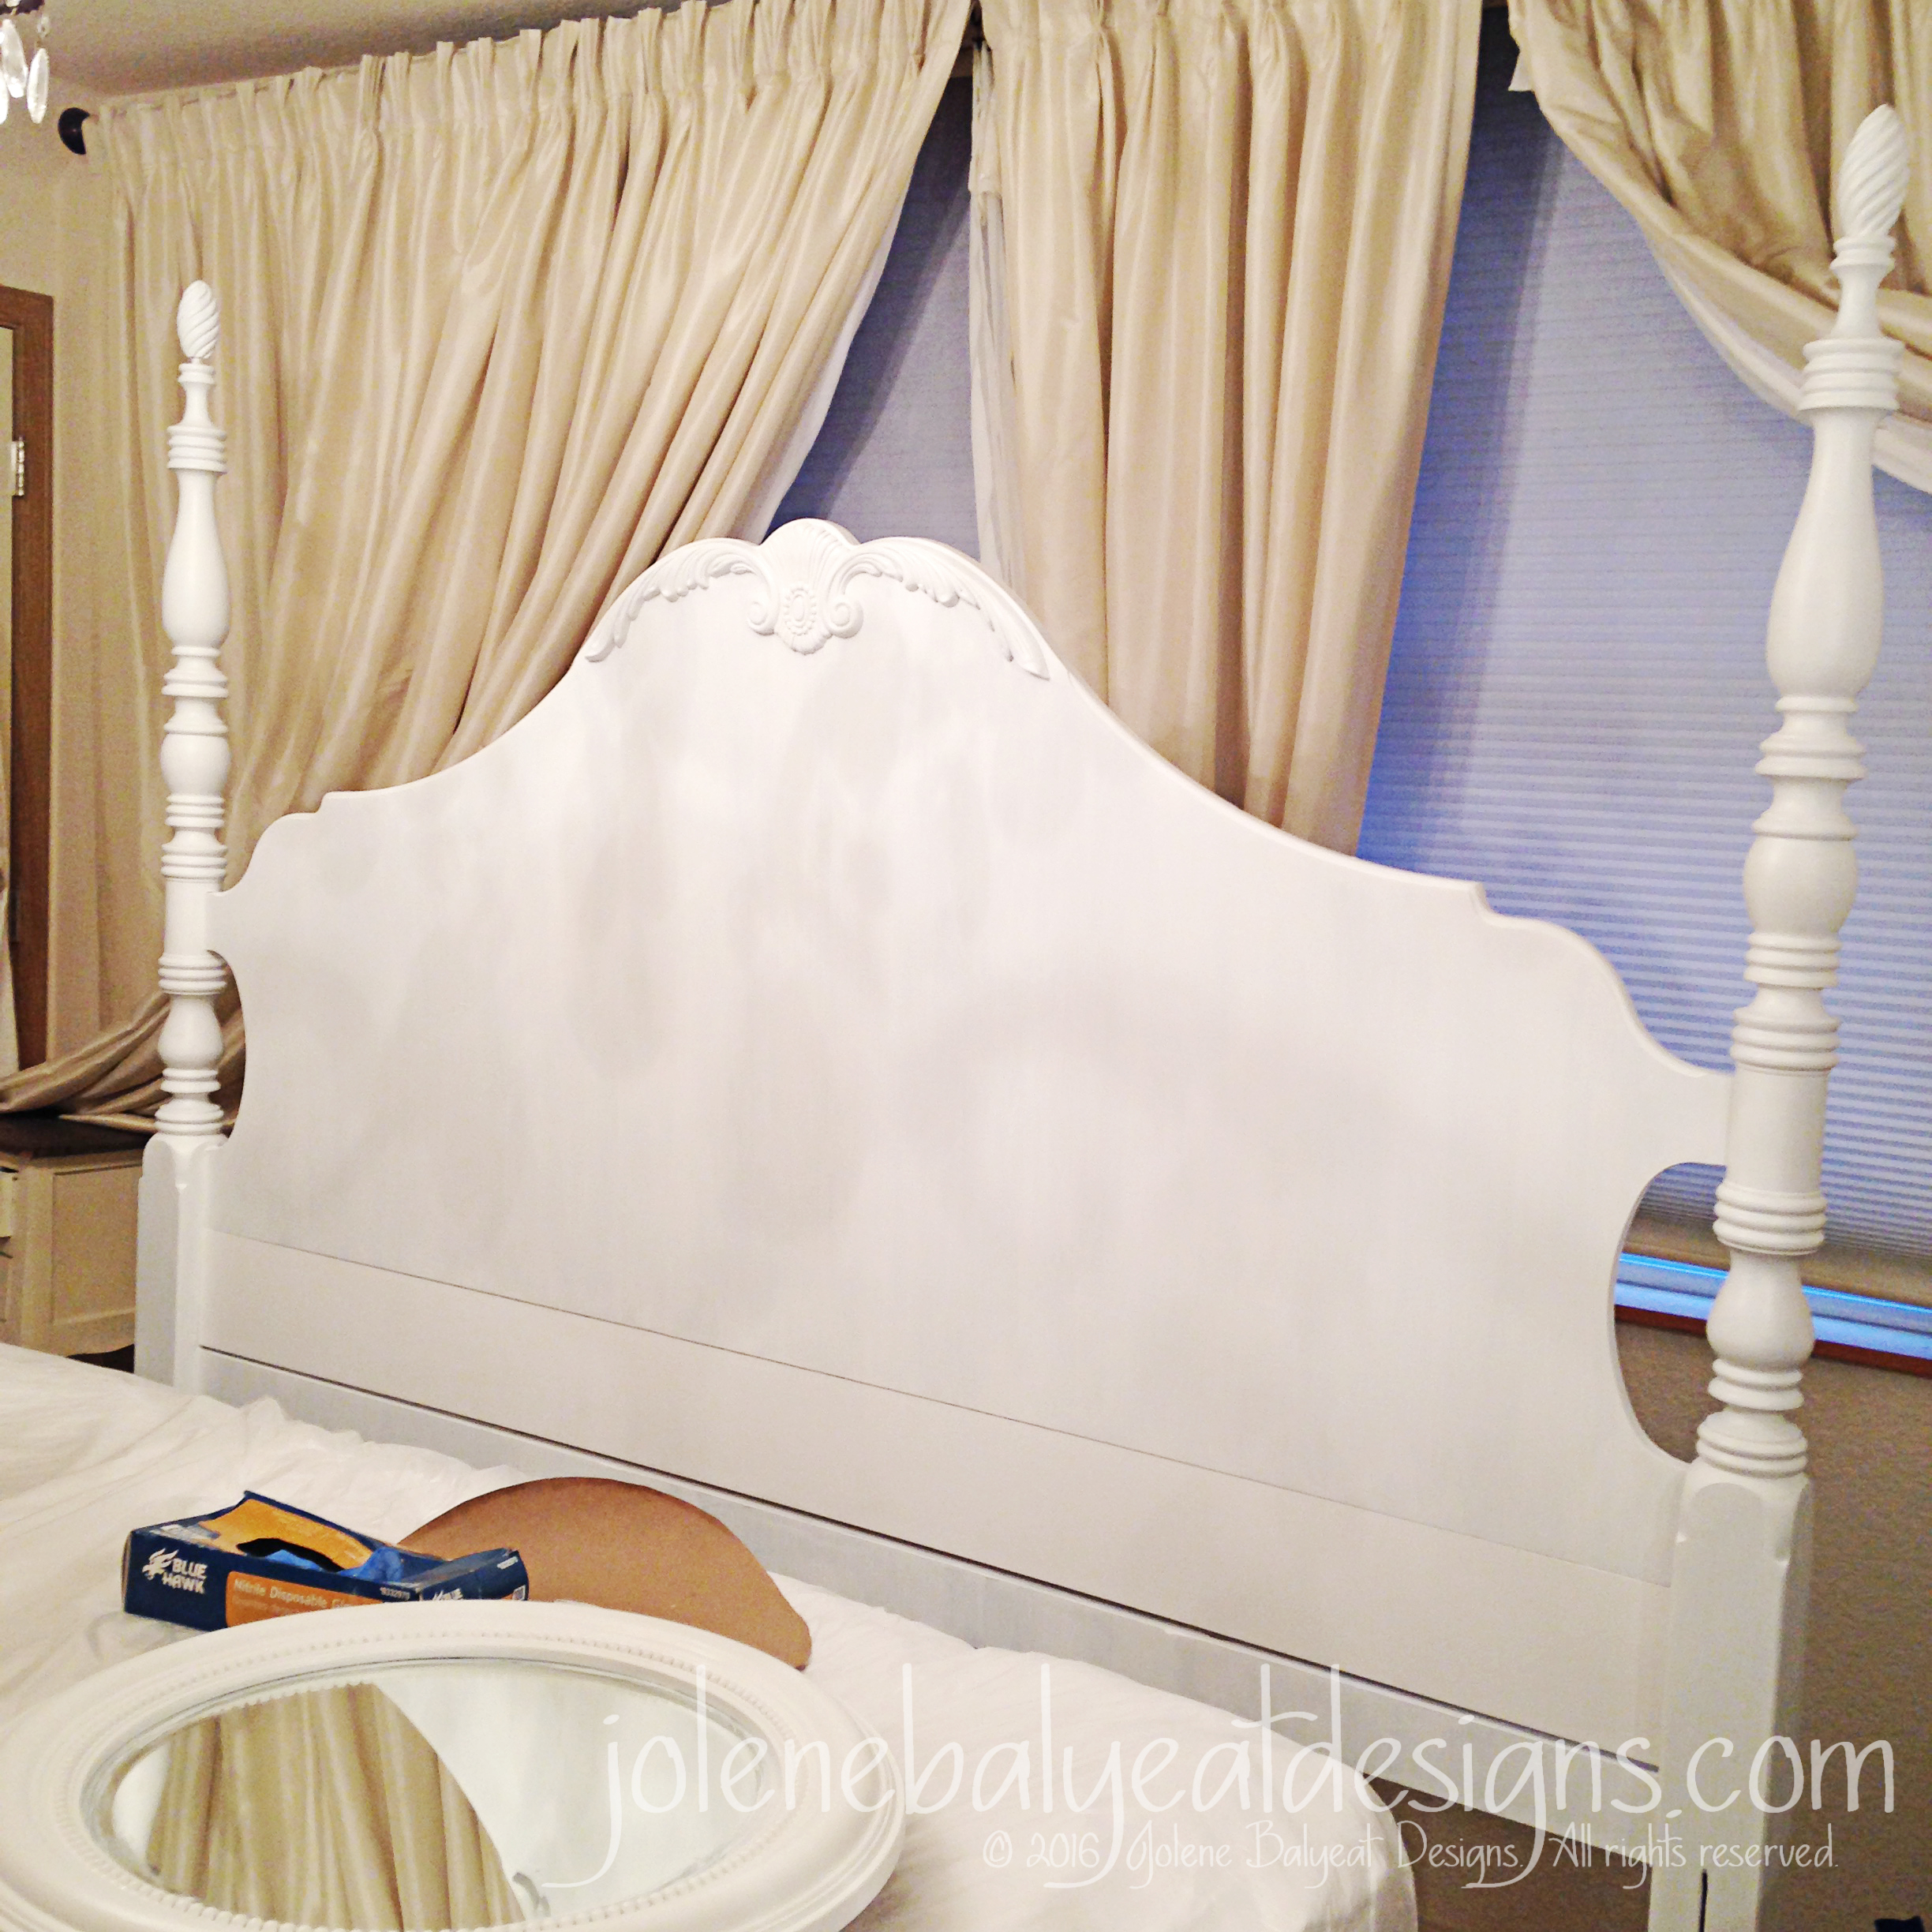
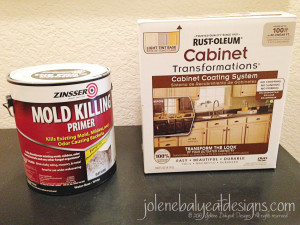
For the process I used Rust-oleum’s Cabinet Refinishing Kit, and although it says you don’t need primer, we have done a kitchen, fireplace mantel, desk, file cabinet, 2 credenzas, and a bookcase, with this product, and like the result with the primer much better than without. One of these days I’ll have to blog before and after photos of my kitchen, so you can see what I mean…I didn’t prime the cabinets, and the wood grain shows too much in my opinion. Anyway I modified their process: light sanding, deglosser, rinse, prime with a random Zinsser product, bond coat, bond coat again, glaze (antiquing), clear coat sealer.

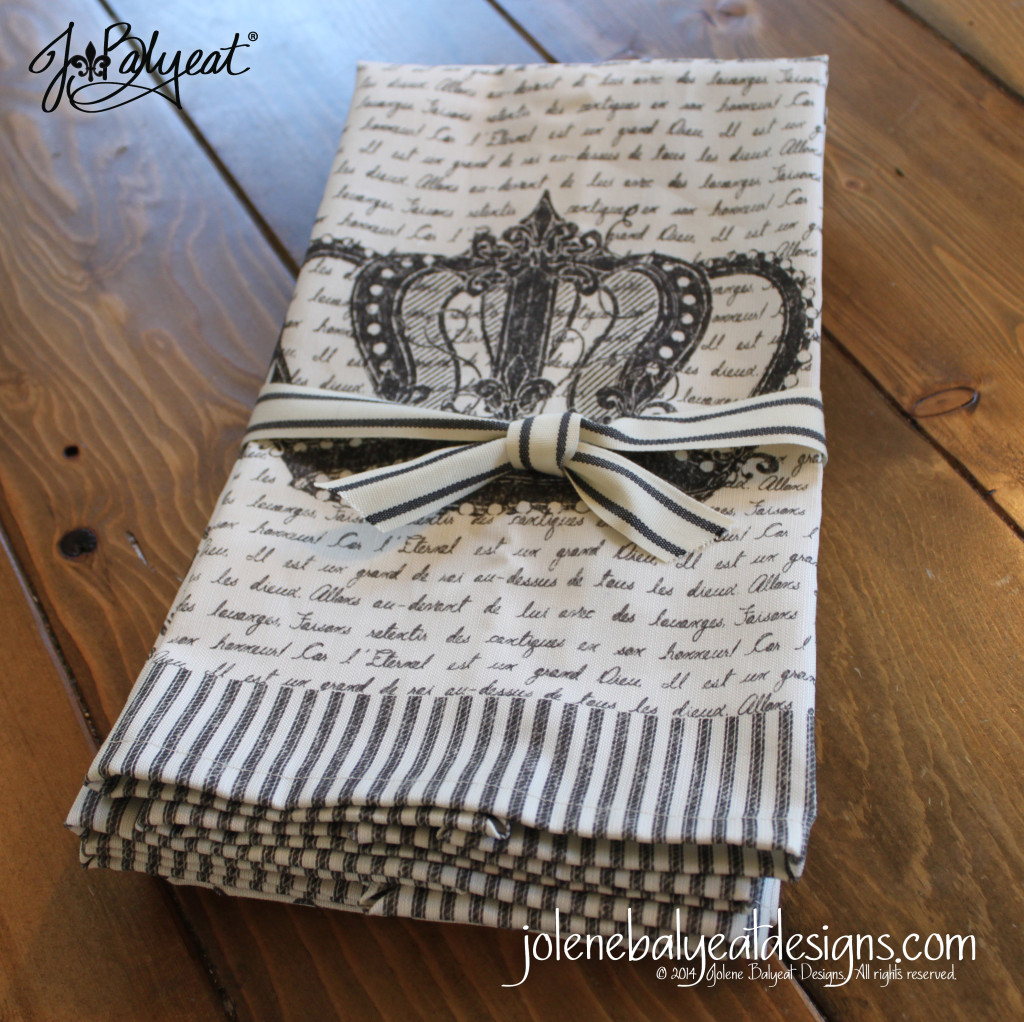
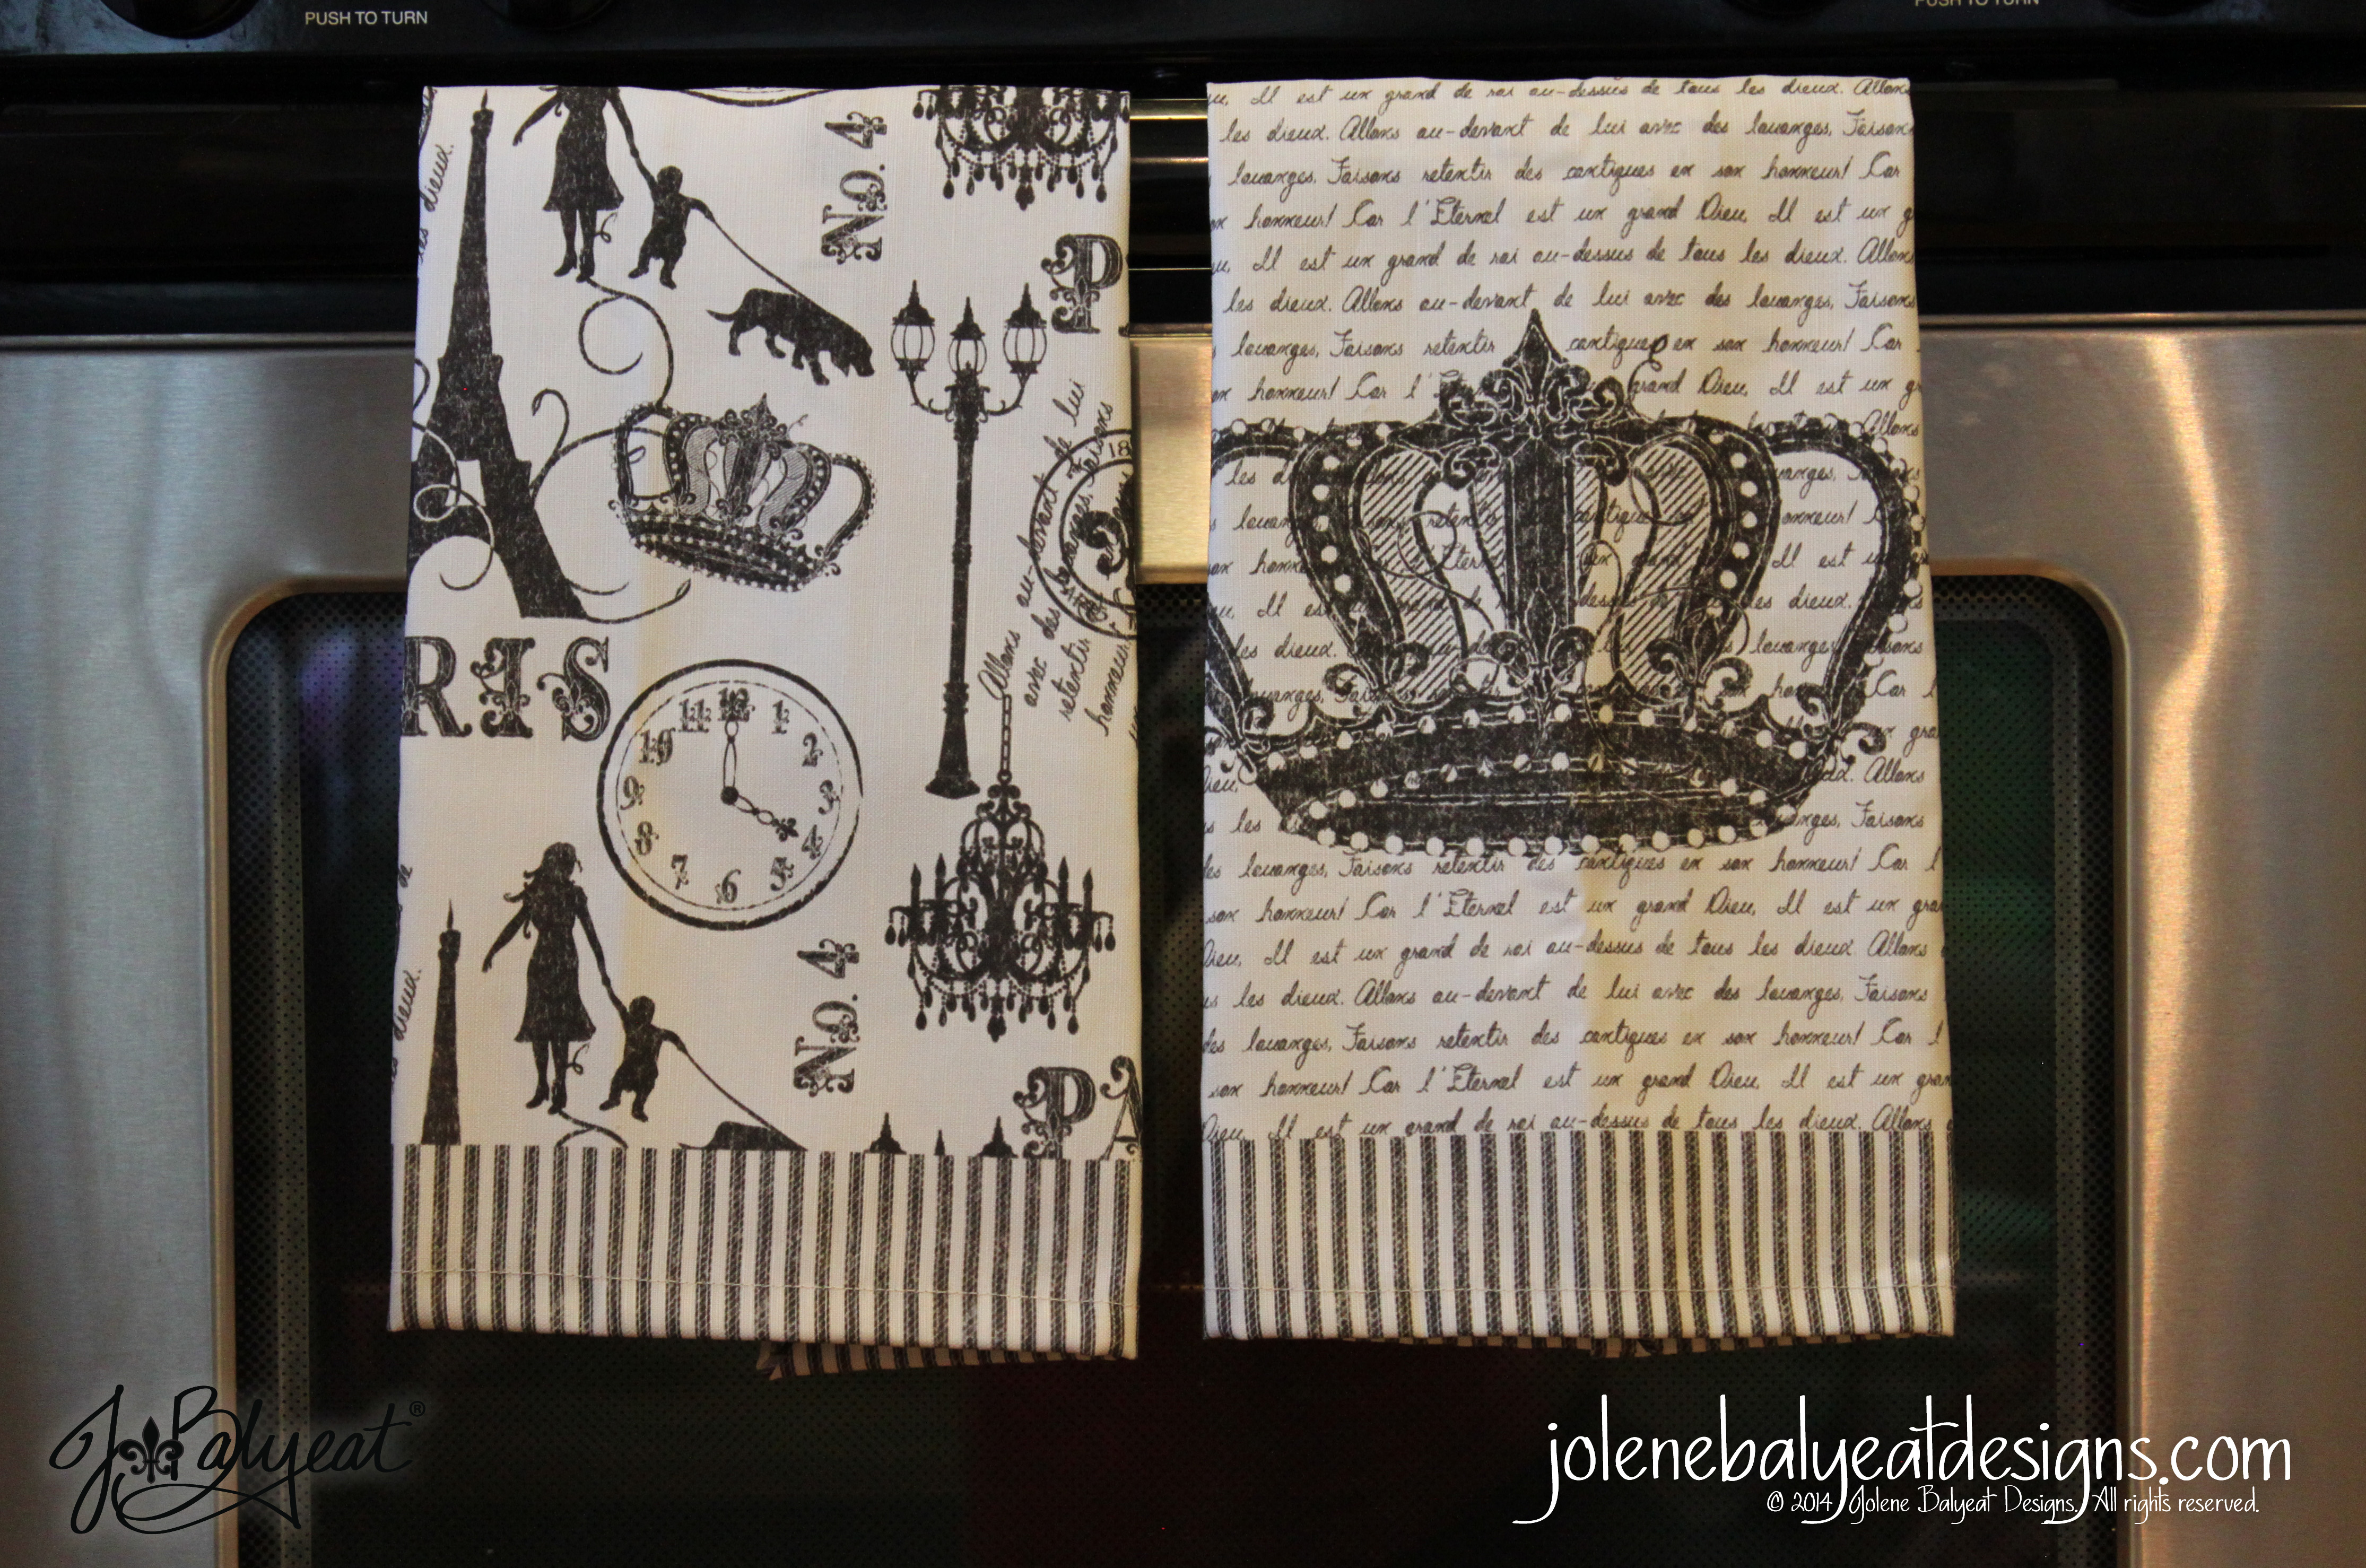
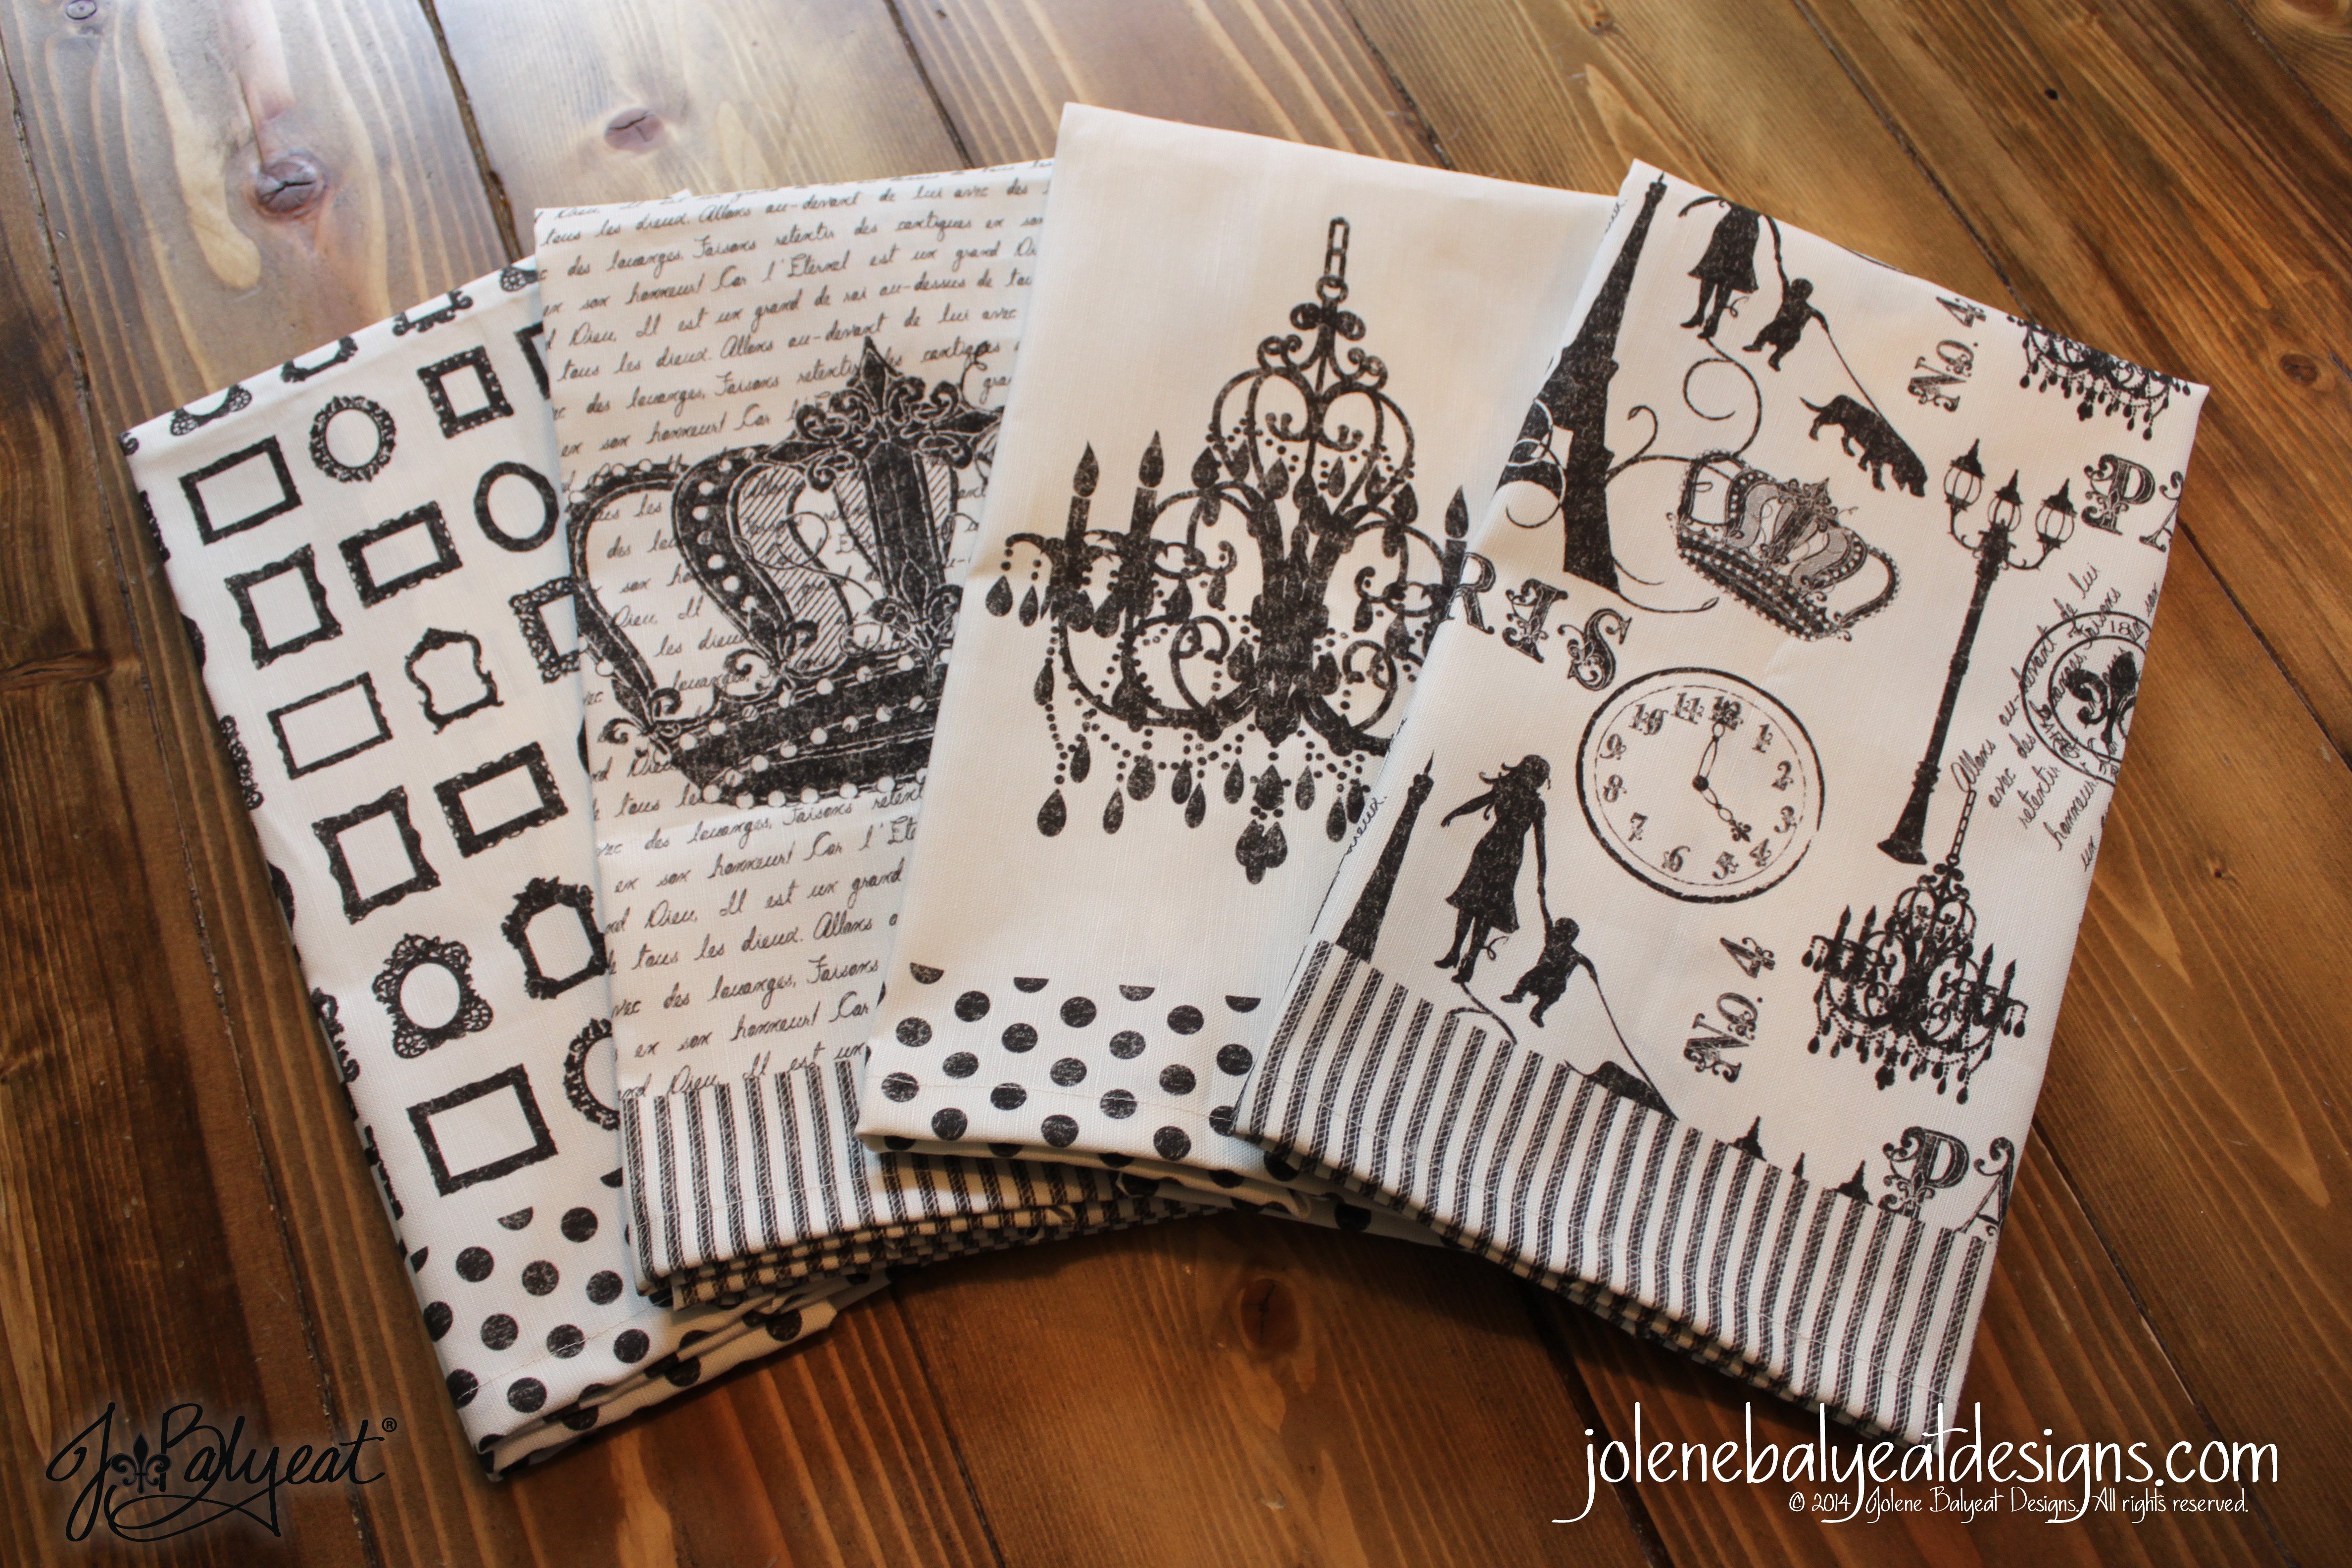
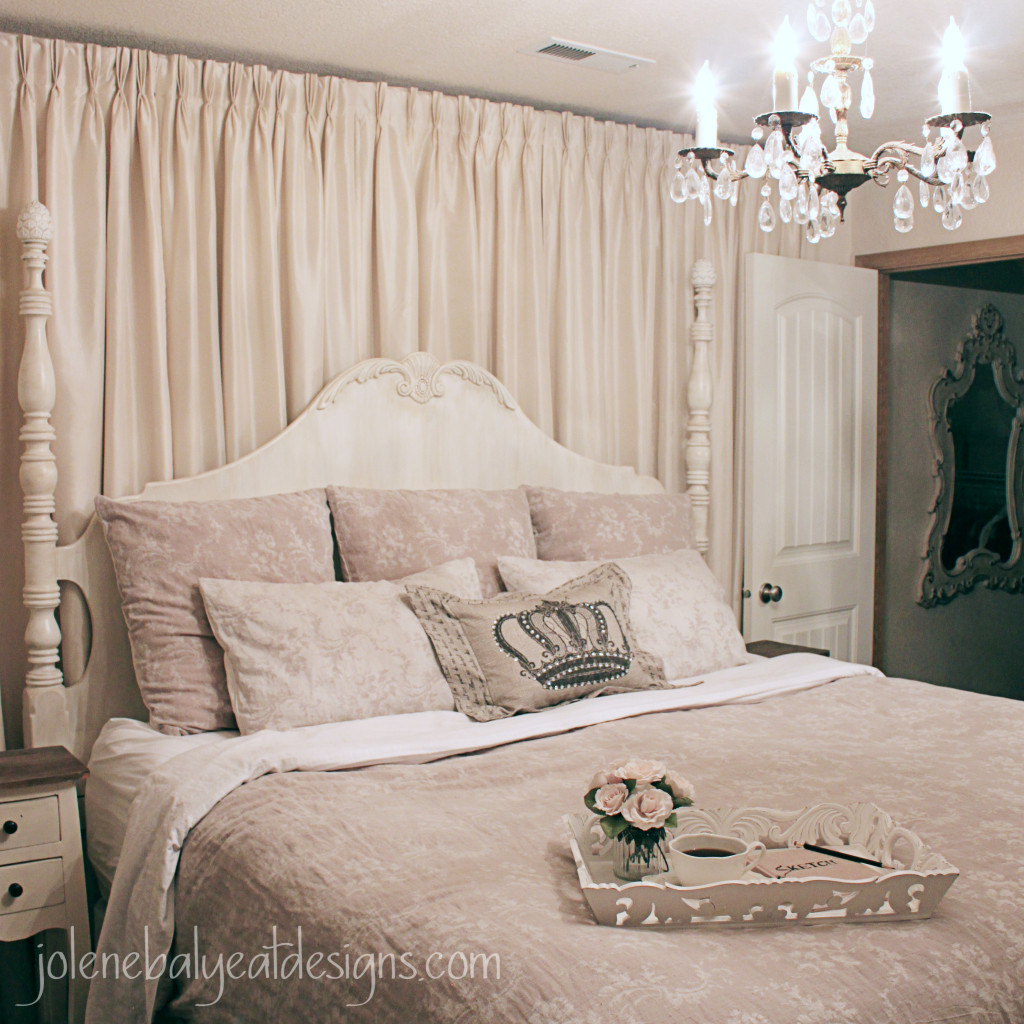
So far I’m loving the results! The crown pillow is one of my design prototypes on which I’ve been thinking of doing a tutorial. The story behind the design of the crown can be found in the post Crown of Beauty.  I’ll have to update this post if I decide to make the pillow project available on Spoonflower.  Should it be a DIY kit or a finished product? Let me know what you think!

BedAfterIGInspirational Scripture: “In vain you rise early and stay up late, toiling for food to eat for he grants sleep to those he loves.” Psalm 127:2 (NIV)

Anticipating Spring

FlowerPot

I get a kick out of going to the hardware store fully intending on getting something to use for a purpose the manufacturer never intended.  This hardware store hack flowerpot makeover was an accidental discovery. Here is how it began.  I was looking for a silver metal tape that is usually used for duct work in order to use it on a pastel painting.  (You’ll have to wait for my blog post to find out why a mirror surface was needed for my pastel painting!)

As we exited the Duck tape aisle, I told my Lowes personal shopper that you would think they would call it “duckt tape” (Yep, it sounded funnier in my head.)  When we found the duct tape, it had 3M stamped in red all over it which wasn’t going to work and the other brand was not very mirror-like.  So I grabbed some Underlayment Tape just in case I couldn’t find the perfect solution.  As I was leaving, another personal shopper suggested I try an auto parts store.  (Yeah, I know that Lowes’ employee’s aren’t technically personal shoppers, but they sure can be a ray of sunshine on a cold winter’s day… even more so if their courtesy extended to laughing at my jokes.)   Anyway, he was brilliant and so I did.Underlayment Tape

At the auto parts store I found a Cut-to-Fit Mirror Replacement Sheet that will work perfectly for the pastel painting.  So I went home to try it out.  Alas, before I could return the underlayment tape, I spied my little flowerpots across the room and they begged me to give them a quick makeover.  So here is the world’s fastest tutorial: Stick pretty tape on plastic terracotta pots.  The End.  They were shiny silver in minutes and I love the added texture from the crinkles.  It was so quick and easy, I just had to share!

Oh, and this little suitcase was quite the find for 50 cents at a local theater’s prop sale!  It is so sweet recovered with my favorite Birch Gift Wrap from Pier1. Hopefully they will carry it again this next Christmas!

Suitcase.jpg

Inspirational Scripture:
See! The winter is past; the rains are over and gone. Flowers appear on the earth; the season of singing has come, the cooing of doves is heard in our land.” Song of Songs 2:11-12 (NIV)

A Light to Expose the Illusive Approval of Man

MiniChandelierOne of the reasons we do not rest is because of our quest for the illusive approval of man. That is a “churchy” phrase, that basically means we look to the opinion of someone else to determine if we are in a state of “okay-ness”.  Many of us do what we do for an unseen audience. We may shine outwardly, but inwardly we perform for an imaginary screaming crowd, a dead parent, an ex-lover, a critic, a hero, or an enemy. Someone to whom we have given power. Power over us to define what we look like in perfect success. Someone to whom we unwittingly abdicated responsibility to chew up our goals, values, dreams and reason only to regurgitate them back to us according to their approval. We strive for this elusive vision of dimly-lit half truth, serving a decaying idol of fickle imaginations. Instead, we must seek to discover the gift that only we can offer to the world, an identity visible solely under heaven’s revelatory light, intended as an extension of the hands who created it. Dear created gift, look only into the face of the One who created, for there in the presence of His gaze do we finally discover the joy of perfect love, acceptance, and purpose. It is found in the twinkle of His eye that knows what the rest of the world cannot see.

Ok, probably enough of my musings for today… now for a DIY upgrade for a mini chandelier from Hobby Lobby…

I purchased the white chandelier at my favorite store, Hobby Lobby, using a 40% off coupon to get a fabulous deal.  The size was perfect, but I wanted a black chandelier, with clear “crystals”, a socket that could support a single 60 watt light bulb, and I didn’t like the way the cord snaked from the bottom of the fixture up through the beads and frame to the top.  So I removed the little acrylic beads that lined the metal frame, took the entire piece apart, spray painted it black, turned it upside down so the light would shine down instead of up, rewired it with a better/higher rated socket (also spray painted black), rearranged the parts to put it back together, and finally re-distributed the “crystal” garlands… adding a few magnetic “crystal drops” (really acrylic) to complete the look.

*Disclaimer* I am not an electrician, I had only once before “re-wired” a fixture, and I don’t know much about electricity except that it can kill you, so please find your own expert in that field to consult with if you have any questions or concerns. I have done this project twice.  The first time, I cut off the plug-end, kept the light socket small for the smaller, low watt candelabra bulb, and had my husband put on a different plug at the bottom once I was finished.  That piece was for the “Glamper” (Picture of RV) we remodeled.  This time I kept the plug-end intact and cut the wire close to the socket, assembling as pictured below, so I could safely use a brighter bulb in my mini chandelier for home.  I still need to make a cord cover for the chain, but below is a picture without the cover so that you can see how easily it hangs from a ceiling hook.

SocketMiniChandelieratHomeInspirational Scripture:
“The Lord’s light penetrates the human spirit, exposing every hidden motive.”
Proverbs 20:27 (NLT)

“Come to Me, all who are weary and heavy-laden, and I will give you rest. Take My yoke upon you and learn from Me, for I am gentle and humble in heart, and you will find rest for your souls.  For My yoke is easy and My burden is light.”
Matthew 11:28-30 (NASB)


Bailey’s Boutique Squeaks

BoutiqueSqueaksThis is Bailey’s favorite toy.  She love’s them.  I mean she absolutely loves them!  And because they bring her so much joy, they just might delight a little creature you know. Therefore, I have to share.  I used the word creature because although I designed these with a puppy in mind, I have had multiple people say that a baby would love them too. There are 3 bone plushies as well as a kitty and puppy plushy on each fat quarter of fabric.  Insert disclaimer here…Hopefully it is obvious that I wouldn’t be suggesting someone should give their kid a bone but one never knows who might read this in bloggy land…Animals for the kiddo and bones for the pets…capisce? But really it doesn’t matter…I know some of your senses of humor…you are going to let your kids have the bone.  Disclaimer part 2…Some dogs literally EAT squeak toys.  These doggies must be supervised so that they don’t choke if you put a squeaker inside the plushy.  My doggie prefers to fetch with hers, snuggle it, and race around the house with it in her mouth, holding it by its tag.

“How does one make one of these beauties,” you ask?  Why, I am delighted you asked, inquisitive reader…continue reading for the complete tutorial below!

Supplies needed to complete this project:

  • Fat Quarter of Boutique Squeak fabric design of your choice
  • Sewing Machine
  • Squeakers
  • Stuffing (method A) or Quilt Batting (method B)
  • 1/2 inch double fold bias tape (if you choose method B)
  • Thread
  • Scissors

There are four different Cut and Sew panels to choose from.
0_SqueakPanel

Boutique Squeak Blaze’s Favorite (pictured above)
Boutique Squeak Good Dog Bad Dog
Boutique Squeak Linen Looks
Boutique Squeak Painted Linen
Boutique Squeak Sampler (All 4 of the above sized to fit on one yard)

First, cut out the designs along the outer lines, then chose desired method to assemble.

A1_CutOut

Method A:  

1. Sew right sides together leaving an opening to turn

A2_SewA3_LeaveOpening

2. Clip corners.  When doing the kitty or puppy shapes, clip and trim the seams a bit to make turning easier.

A4_ClipCurves

A4B_ClipCurves

3. Turn right sides out, insert stuffing and squeaker, and then topstitch closed

A567_TurnStuffTpStch

Method B:

(NOTE:  This is NOT my favorite method.  I tried it for the dogs I know that must kill stuffing, and their owners therefore try to have minimal fluffing arround.  It works for the bone shapes, but I wasn’t pleased with the results/lack of neatness of the bias application. And I even bought a special attachment for my sewing machine to try to assemble it all in one fell swoop.  However, if your machine and/or sewing skills are exceptional, then this could be a viable option, so I included it just in case!)

1. Trim batting slightly smaller than the circumference of the bone shape.

B1_CutOut

2. Sandwich squeaker between layers of batting with rights sides of design outward.

B2_LayoutSqueaker

3. Pin and then staystich .25″ around edge and encase seam with 1/2 inch double fold bias tape.

B345_PinBiasSew

Present to one lucky creature and watch them joyfully play!

Inspirational Scripture:
“The righteous care for the needs of their animals, but the kindest acts of the wicked are cruel.” Proverbs 12:10 (NIV)


Vintage Tea Towels

JBalyeatTeaTowelsGiftSummer is finally here! Perhaps it is the idea of a peaceful cup of tea juxtaposed against the sounds of a barking puppy and little boy busily at play that make me smile when I look across my table strewn with a few thousand legos and see these little tea towels hanging from my oven. Regardless, I love them and the vintage charm they add to my kitchen. They are a snap to sew up, and four different designs come on one yard of Linen-Cotton Canvas from Spoonflower. There are two background pattern/color options. One is the black and cream version that is pictured, and the other is more of a burlap/linen color.

JBalyeatTeaTowelStoveI just finished sewing up the 4th towel in the set.

JBalyeatTeaTowels4If you would like a tutorial on how to sew these, check out my blog on making cloth dinner napkins here!

*For more pictures or to purchase a finished set of these vintage tea towels, visit JBalyeat.com.

Inspirational Scripture:
“He settles the childless woman in her home as a happy mother of children. Praise the Lord.”
Psalm 113:9 (NIV)


Save